

No-Bake Triple Chocolate Cheesecake Bars Recipe
We may receive a commission on purchases made from links.
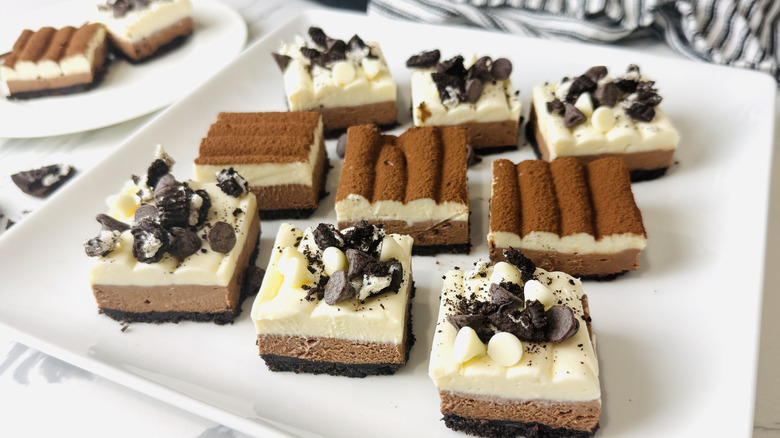
This no-bake triple chocolate cheesecake bars recipe proves that making an elegant, bakery-worthy treat doesn't necessarily require lots of time in the kitchen or extensive baking skills. These bars are positively packed with rich, creamy, and chocolatey goodness, with a layered finish that makes them look just as impressive as they taste. Even better yet, there's no need to turn on the oven for this recipe (although baking the crust is optional, but we'll touch on that down the line), adding an extra layer of convenience to an already decked-out dessert.
Serve these bars at your next dinner party, holiday gathering, or simply whip them up as a weeknight treat for the family. Since the bars are ideal for making ahead and are easy to slice and transport, they're great for just about any occasion, including bake sales and beyond. And, although not all no-bake cheesecakes last well in the freezer, these bars are an exception, and the freezer is exactly where I've been storing my leftovers. These cheesecake bars are super dense, creamy, and almost ice cream-like straight out of the freezer — an excellent sweet treat with a cool, refreshing flair.
Gather the ingredients for no-bake triple chocolate cheesecake bars
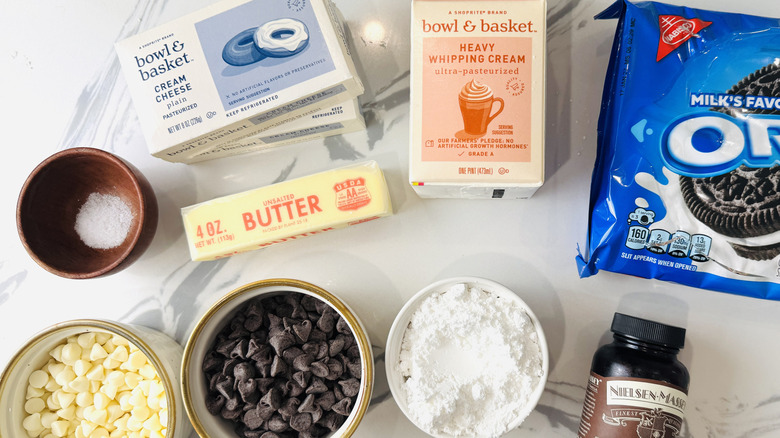
These indulgent no-bake cheesecake bars come together with a combo of everyday baking staples and a few specialty ingredients. A classic Oreo crust comes together quickly in the food processor (or zip-top bag) by combining Oreos, melted unsalted butter, and salt. It's rich, chocolatey, and easy to press right into the baking pan. Choose to bake it or not depending on whether you're keen on leaving the oven turned off.
For the filling, full-fat cream cheese gives the bars that luscious, cheesecake texture and flavor, with confectioners' sugar to sweeten the mixture without leaving any graininess. Kosher salt and vanilla bean paste enhance the flavor, and whipped cream lightens the mixture slightly. You'll mix half of the filling with melted white chocolate and half with semisweet chocolate to get that final layered effect.
Step 1: Prepare the Oreo crust
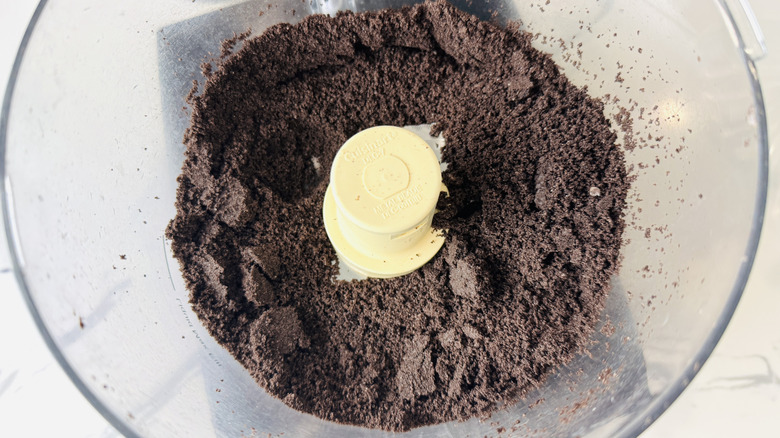
Begin the crust: Add the Oreos to a food processor and pulse to fine crumbs. (Alternatively, you can place the cookies in a zip-top bag and crush them using a rolling pin.)
Step 2: Add butter
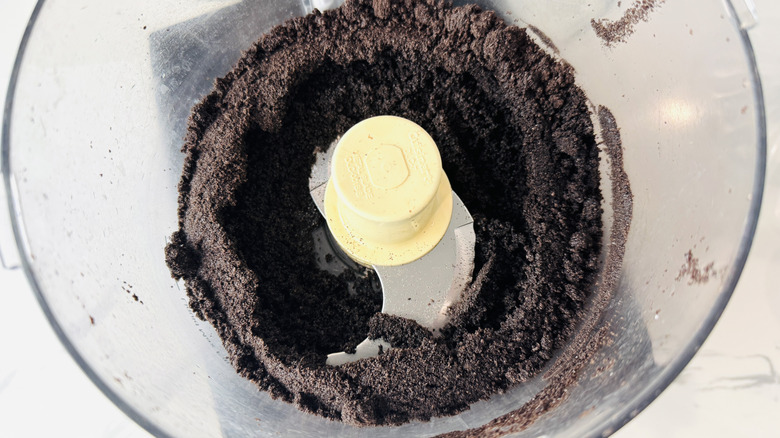
Add melted butter and mix or process to combine.
Step 3: Line a baking pan
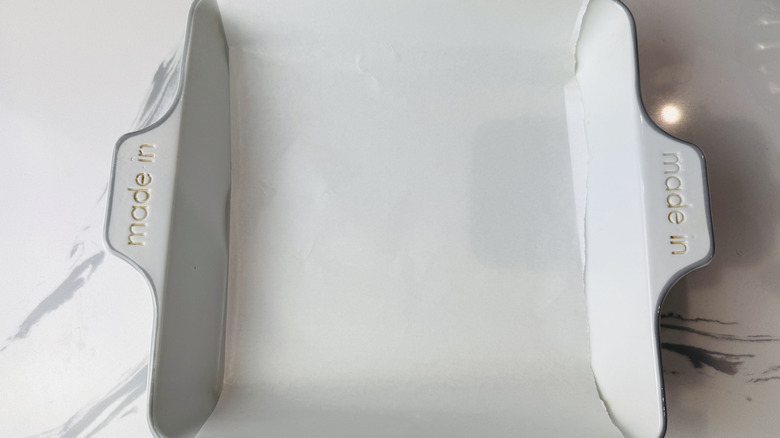
Line a 10-inch baking pan with parchment paper, leaving an overhang on two sides.
Step 4: Press the crust into the pan and optionally bake
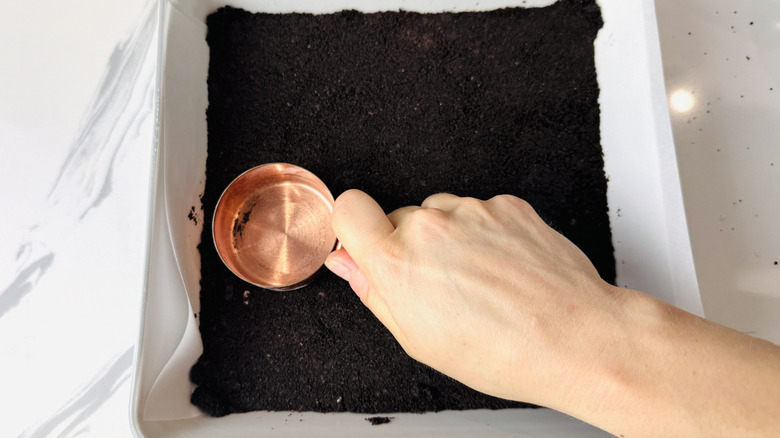
Press the Oreo mixture into the bottom of the pan to form an even crust. You can optionally bake the crust at 350 F for 8-10 minutes and cool completely before proceeding. Otherwise, set the crust aside.
Step 5: Make whipped cream for the filling
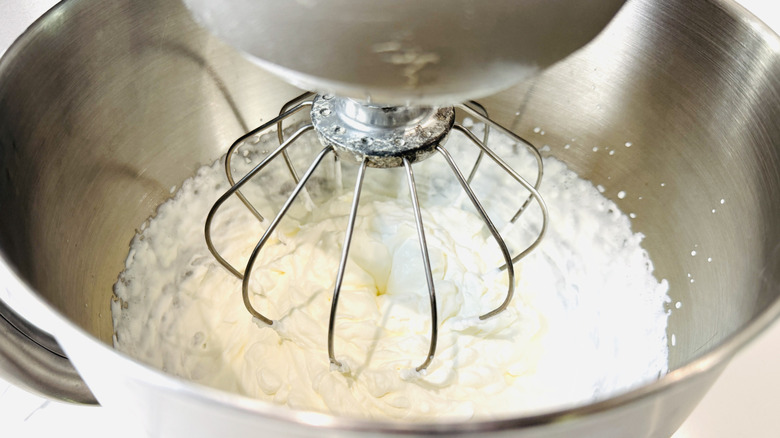
Begin the filling: Whip the heavy cream to medium peaks.
Step 6: Separate the filling into bowls
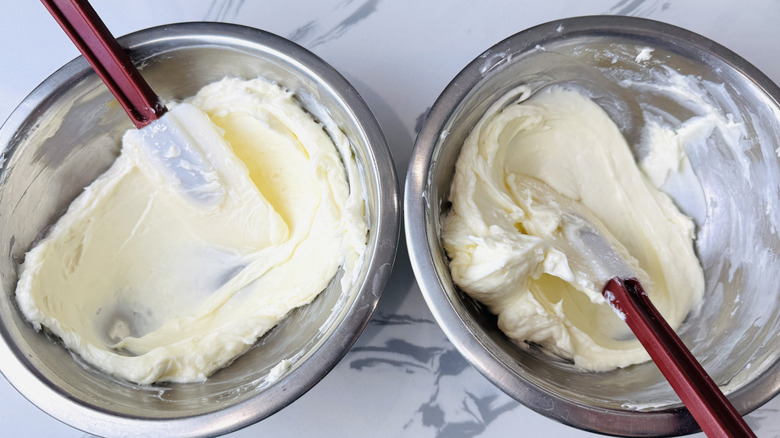
In each of two separate bowls, stir half the cream cheese, half the confectioners' sugar, half the salt, and half the vanilla to combine.
Step 7: Melt the white and semisweet chocolate
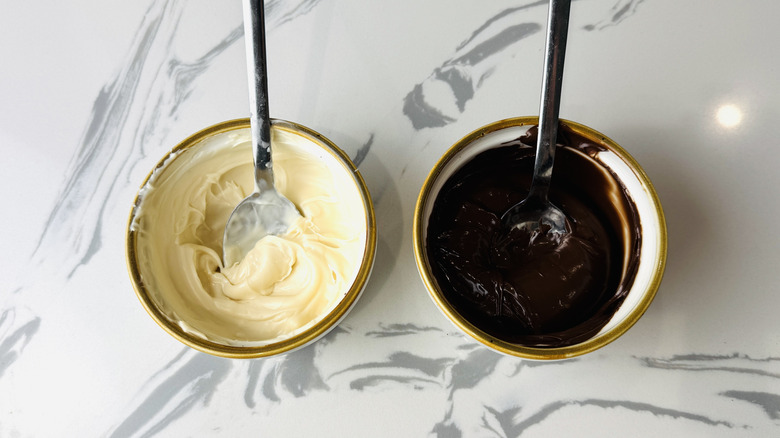
In separate microwave-safe bowls, melt white and semisweet chocolates until smooth.
Step 8: Fold melted chocolate into separate filling bowls
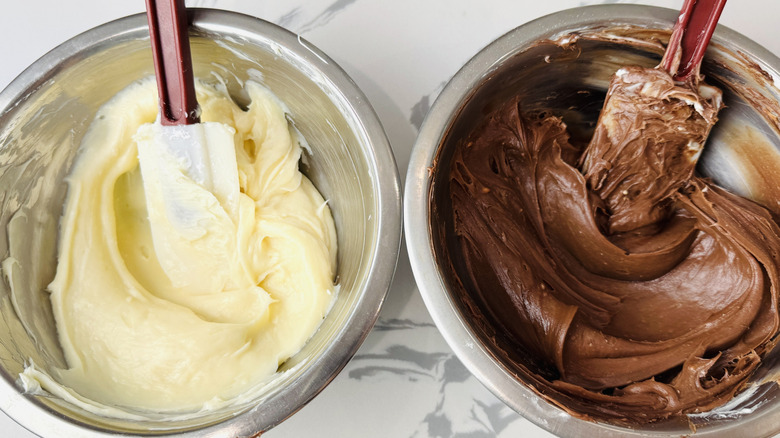
Working quickly (or with one at a time), fold white chocolate into one cream cheese bowl and semisweet chocolate into the other.
Step 9: Fold in whipped cream
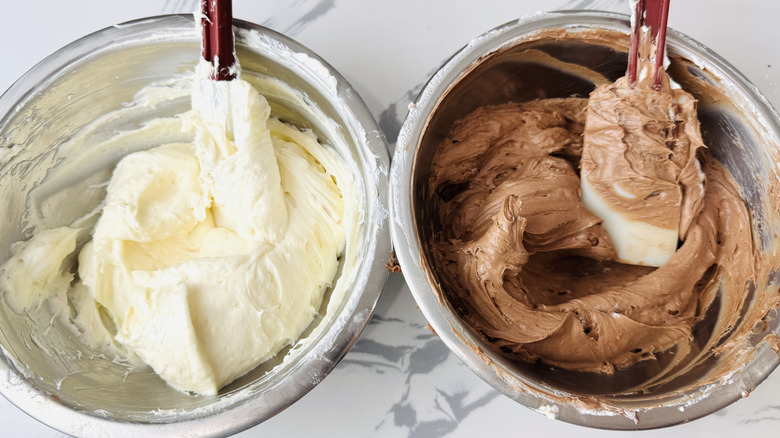
Quickly fold half of the whipped cream into each chocolate mixture, until uniform.
Step 10: Spread the semisweet chocolate layer over the crust
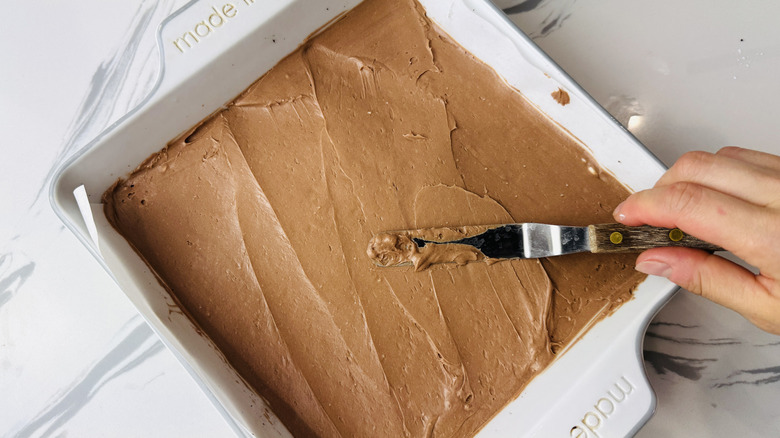
Spread semisweet chocolate mixture evenly over the prepared crust.
Step 11: Top with the white chocolate layer
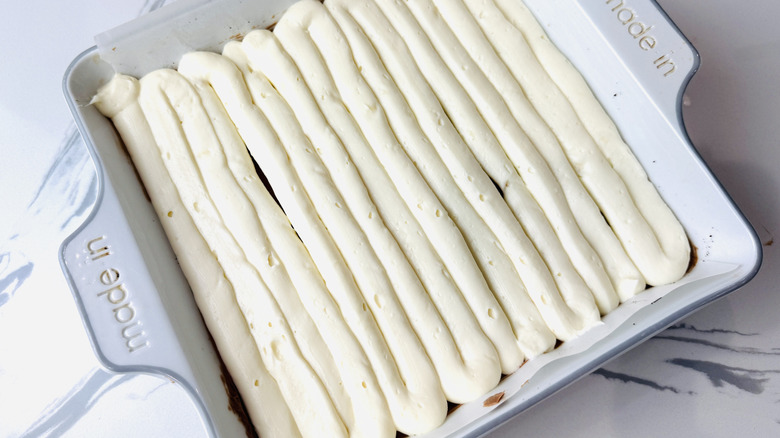
Spread or pipe the white chocolate mixture over the semisweet layer.
Step 12: Cover and chill the cheesecake
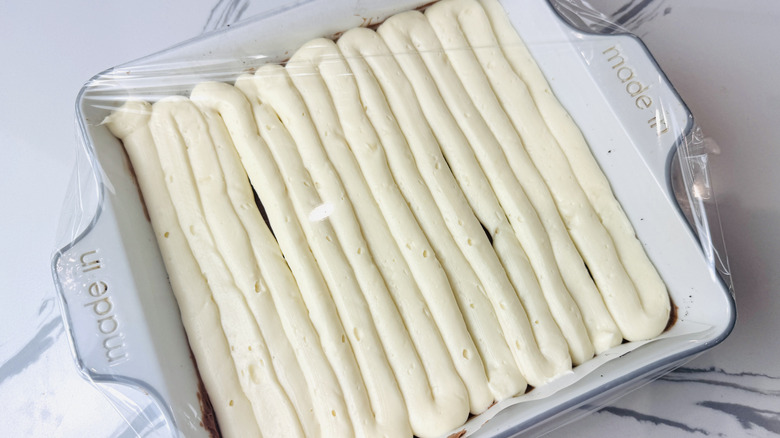
Cover and refrigerate for at least 4 hours, or overnight.
Step 13: Transfer the cheesecake to a cutting board
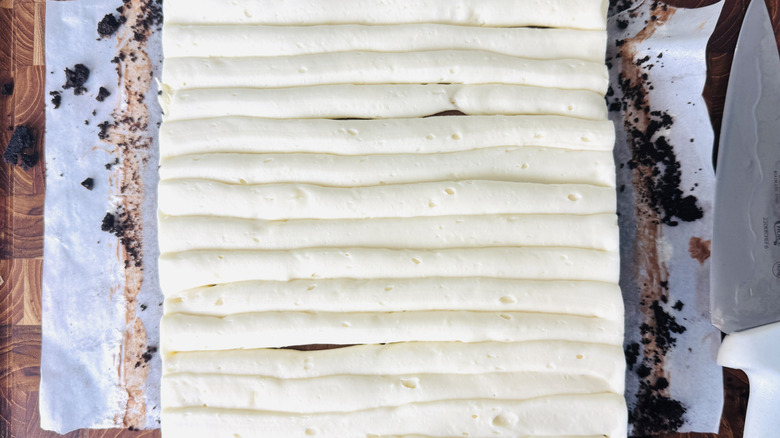
Remove the cheesecake bars from the fridge and transfer to a cutting board. Trim away edges if desired.
Step 14: Cut the cheesecake into bars
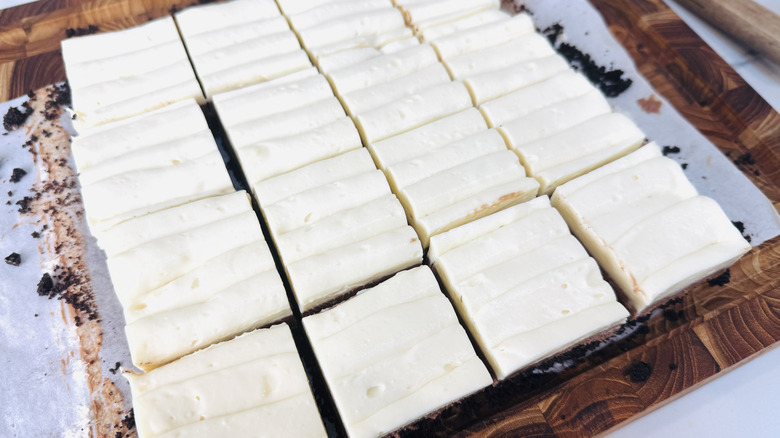
Use a sharp knife dipped into hot water to cut 16 even bars, wiping the knife in-between cuts.
Step 15: Garnish and serve the cheesecake bars
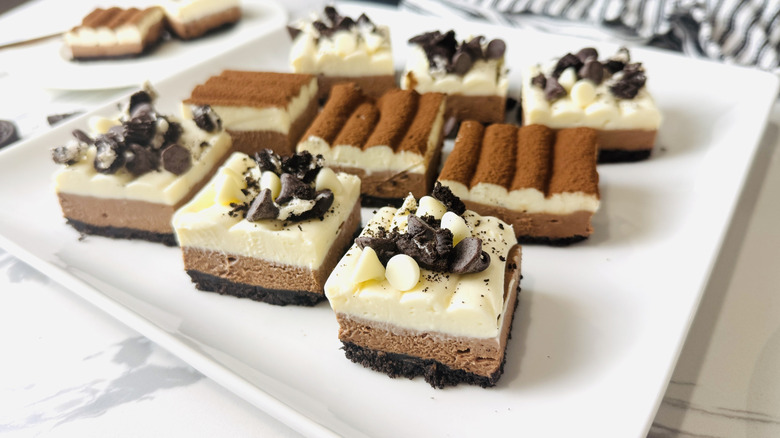
Garnish bars with a dusting of cocoa powder, chocolate chips, or crushed Oreos before serving.
What to serve with no-bake triple chocolate cheesecake bars
No-Bake Triple Chocolate Cheesecake Bars Recipe
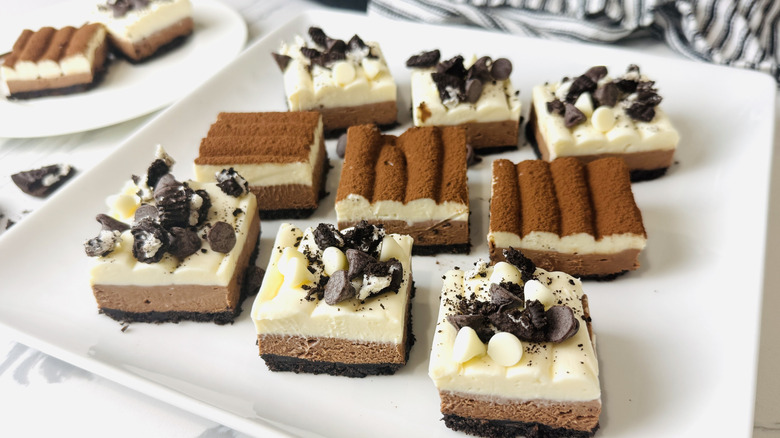
These triple chocolate cheesecake bars are cool, creamy, rich, and refreshing -- and best of all, they require absolutely no baking.
Ingredients
- For the crust
- 22 Oreo cookies
- 6 tablespoons unsalted butter, melted
- ¼ teaspoon kosher salt
- For the filling
- 1 cup heavy cream
- 1 pound cream cheese, room temperature, divided
- ⅔ cup confectioners’ sugar, divided
- ½ teaspoon kosher salt, divided
- 1 teaspoon vanilla extract or vanilla bean paste, divided
- 4 ½ ounces (¾ cup) semisweet chocolate chips
- 4 ½ ounces (¾ cup) white chocolate chips
Optional Ingredients
- Cocoa powder, for dusting
- Chocolate chocolate chips, for garnishing
- Crushed Oreos, for garnishing
Directions
- Begin the crust: Add the Oreos to a food processor and pulse to fine crumbs. (Alternatively, you can place the cookies in a zip-top bag and crush them using a rolling pin.)
- Add melted butter and mix or process to combine.
- Line a 10-inch baking pan with parchment paper, leaving an overhang on two sides.
- Press the Oreo mixture into the bottom of the pan to form an even crust. You can optionally bake the crust at 350 F for 8-10 minutes and cool completely before proceeding. Otherwise, set the crust aside.
- Begin the filling: Whip the heavy cream to medium peaks.
- In each of two separate bowls, stir half the cream cheese, half the confectioners’ sugar, half the salt, and half the vanilla to combine.
- In separate microwave-safe bowls, melt white and semisweet chocolates until smooth.
- Working quickly (or with one at a time), fold white chocolate into one cream cheese bowl and semisweet chocolate into the other.
- Quickly fold half of the whipped cream into each chocolate mixture, until uniform.
- Spread semisweet chocolate mixture evenly over the prepared crust.
- Spread or pipe the white chocolate mixture over the semisweet layer.
- Cover and refrigerate for at least 4 hours, or overnight.
- Remove the cheesecake bars from the fridge and transfer to a cutting board. Trim away edges if desired.
- Use a sharp knife dipped into hot water to cut 16 even bars, wiping the knife in-between cuts.
- Garnish bars with a dusting of cocoa powder, chocolate chips, or crushed Oreos before serving.
Nutrition
| Calories per Serving | 366 |
| Total Fat | 27.6 g |
| Saturated Fat | 15.7 g |
| Trans Fat | 0.5 g |
| Cholesterol | 58.6 mg |
| Total Carbohydrates | 28.6 g |
| Dietary Fiber | 1.0 g |
| Total Sugars | 22.2 g |
| Sodium | 200.8 mg |
| Protein | 3.9 g |

What makes no-bake cheesecake different from other types of cheesecake?
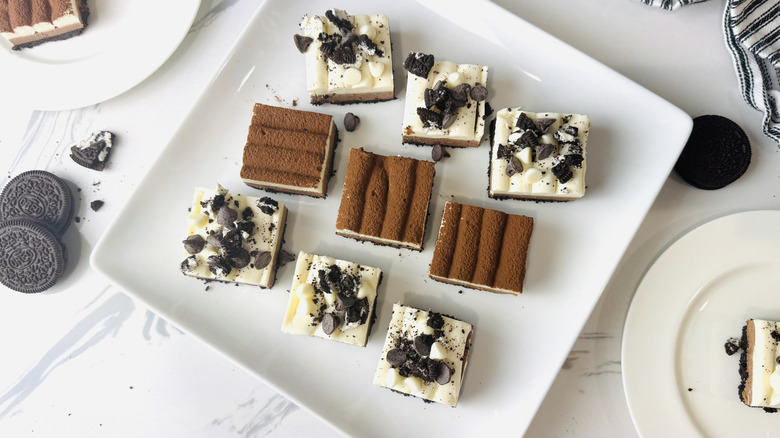
No-bake cheesecake is just as rich and creamy as traditional baked cheesecake, but it differs in its preparation. Instead of relying on eggs and heat to set the texture for a sliceable result, no-bake cheesecake is stabilized largely thanks to a long chilling period. No-bake filling is typically made with a base of cream cheese and sugar, like traditional cheesecake, but specifically with confectioners' sugar in the place of granulated to eliminate any graininess. Instead of adding in eggs, whipped cream helps lighten and set a no-bake cheesecake base, providing a slightly more airy finish. Baked cheesecakes are heavier and more custardy after baking, while no-bake cheesecake tends to have a slightly lighter, less custardy texture.
Another big difference between no-bake cheesecake and traditional baked cheesecake is that the former is often easier to prepare. Lots of baked cheesecake recipes call for both lengthy baking and chilling periods, while no-bake cheesecakes fully rely on chilling (also making them great summertime treats).
Why is it optional to bake the crust for these cheesecake bars?
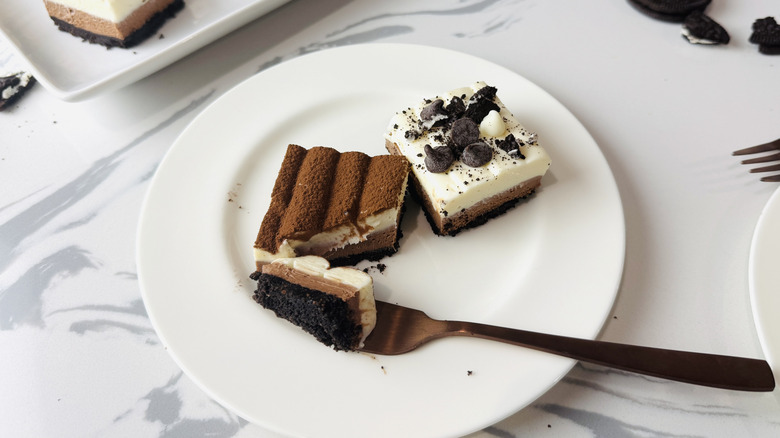
Since we're calling this a no-bake cheesecake, it just wouldn't be right to tell you to turn on your oven when making the crust. A cookie crumb crust, like the Oreo crust in this recipe, is typically made with crushed cookies, butter, and any additional inclusions (like salt or nuts). Once the crust is mixed and pressed into a baking pan, a few minutes in the oven helps set the crust and give it a slightly crisp texture, which can elevate the overall texture of your dessert.
While there is a benefit to baking the crust, it's not strictly necessary in a recipe like this one. Since the cookie crumbs are mixed with butter, they'll firm up nicely in the refrigerator after chilling. While the filling sets up, so will the crumb crust, meaning that it should slice easily by the time the cheesecake bars are ready to serve. I do prefer the baked crust for that slightly crispy edge, but if you really don't feel like turning on the oven at all, you can easily skip that optional step and still end up with delicious cheesecake bars regardless.