How To Easily Debone A Rotisserie Chicken
From Medieval Europe to Peru to fast food chains to a grocery store near you, the humble rotisserie chicken has had quite a circuitous route to becoming a staple grocery item in households across America. Virtually every grocery store today sells a rotisserie chicken of greater or lesser quality, and sometimes even two or three varieties. These spit-fired birds are affordable, accessible, and incredibly convenient.
There is no reason why you can't just immediately remove a rotisserie chicken from its bag after getting it home and start gnawing it straight off the carcass like a caveman. However, many of us like to remove the meat off the bone and set it aside for use in sandwiches, soups, stews, salads, and more. This process isn't hard, but it can be messy if you don't tackle it the right way.
That's where we come in. Your handy dandy experts at Chowhound wanted to take the guesswork and fear out of dismantling a rotisserie chicken so that you, too, can take full advantage of this budget-friendly, high-protein food source. Read on for a step-by-step guide for how to easily debone a rotisserie chicken, how to store the meat once it is removed, and what to do with it.
How to select the best rotisserie chicken
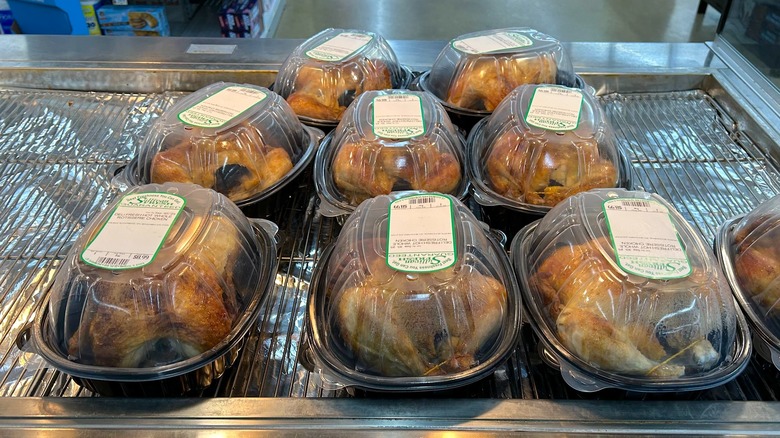
As noted, there is nary a supermarket or warehouse retailer in America that doesn't sell rotisserie chickens. It is a relatively low cost, high profit margin product for them to carry and consumer demand is very high. Finding a high quality rotisserie chicken may be more of a challenge, however. There are some key signs to keep an eye on when selecting a rotisserie chicken. Some red flags include an off smell or discoloring, skin that is either dry or shriveled up, or a bird that is small for its size.
A juicy rotisserie chicken should feel heavy for its size and should be surrounded by ample juices in the packaging, indicating the bird is moist. It is also important that the bird be hot and fresh. Stores, like Costco — which sells over 100 million of these birds annually — rotate their inventory every two hours, ensuring the chicken is always fresh. That said, not every grocery store has as diligent a methodology for rotating inventory in a timely manner. If you are unsure, skip it.
When purchasing a rotisserie chicken that you are planning to eat right away or debone, you will want to bring an insulated bag with you to the store to help keep it hot until you get home. This will prevent it from spoiling and will make the deboning process possible.
Tools you'll need to easily debone a rotisserie chicken
Before we delve into the process of deboning a chicken, we'd be remiss in not mentioning a hack that went viral on TikTok. This hack involves placing a whole, hot rotisserie chicken into a Ziploc bag, sealing it, and shaking the bird about for a minute until the meat literally falls off the bones.
While some people seem to think the hack is a miracle, it is a clunky — if not wholly inefficient — method. It essentially pulverizes the meat and you still have to sort through the pile of scraps in the bag to separate the meat from the skin and bones. This is messy, and there is always a possibility of the bag exploding during the process, which can make a huge mess in the kitchen. For this reason, we prefer a more conventional deboning method.
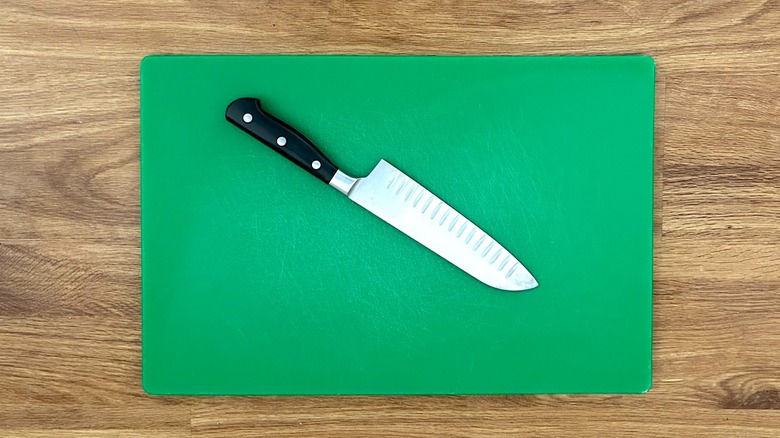
The only tools needed for this process are:
-
A cutting board
-
A sturdy chef's knife
-
Optional: Food safe gloves
Remove the rotisserie chicken from its packaging
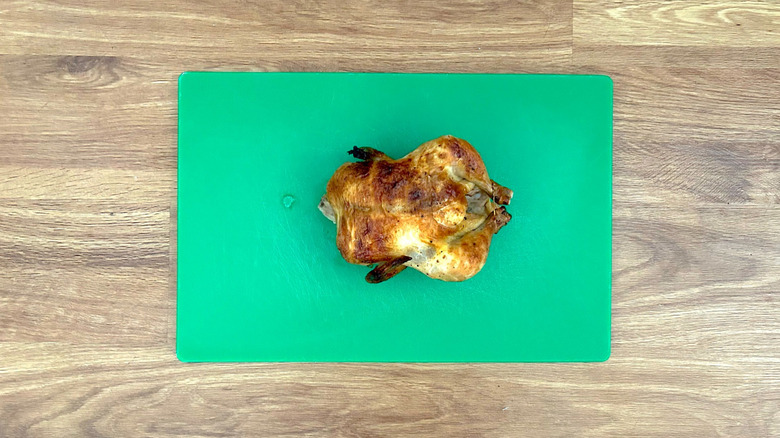
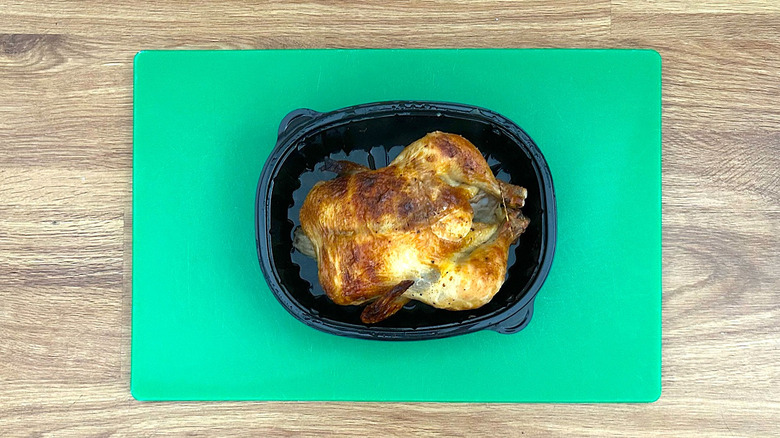
When you bring the rotisserie chicken home, remove it from the packaging while it is still warm and transfer it to a clean cutting board. Make sure the cutting board doesn't slip on the countertop. If you notice it is slipping, a great hack to prevent this is to place a damp paper towel underneath the cutting board.
Remove the legs and thighs of the rotisserie chicken
In advance of deboning the legs and thigh of the rotisserie chicken, you may want to cut off any butcher's twine or silicone cooking band. Not all rotisserie chickens are trussed, but many are, as this technique helps the bird to maintain its shape, retain moisture, and brown evenly as it cooks. That said, if the truss only surrounds the legs of the bird, as opposed to circling around the thigh and leg, you can skip the process — they will easily slide out once detached.
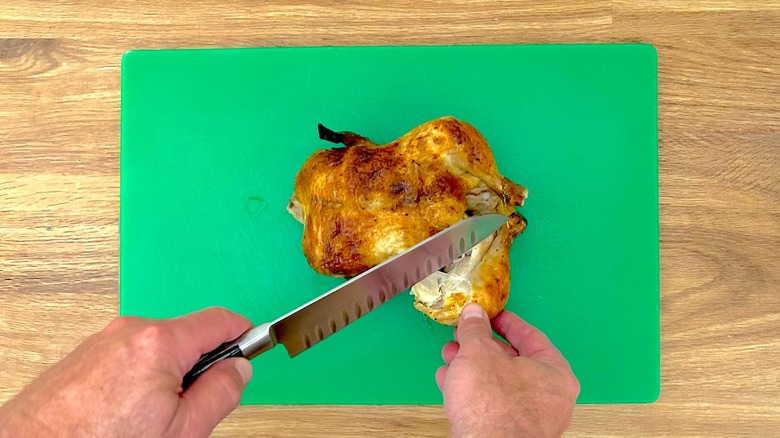
Next, grab the one leg of the chicken and pull it down, away from the carcass of the bird. If the thigh doesn't automatically break away at the joint, you can use a knife to gently pry the thigh away from the chicken carcass.
Pull the bones out of the leg and thigh
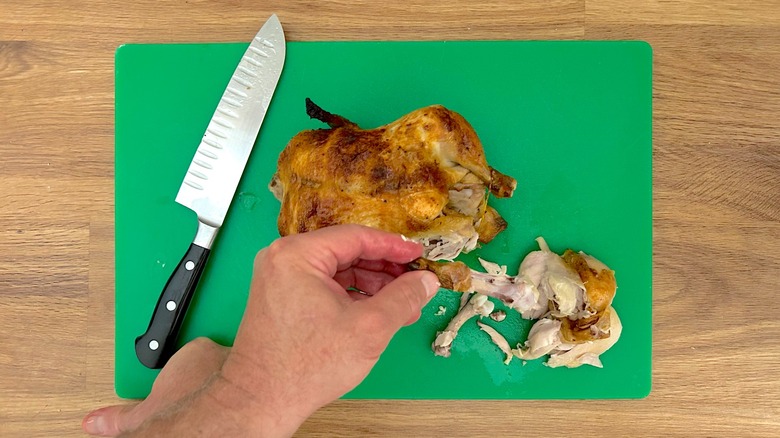
Before separating the meat from the bones of the leg and thigh, you will want to remove any skin to make it easier to grasp onto the bones with your bare hands. Next, snap the leg bone apart from the thigh bone.
If the chicken is hot, you should be able to pull the meat right off the bone fairly easily with just your fingers. If you get any resistance, the knife can be used to score around the bones to help remove the meat, though this is seldom necessary if the bird is fresh and juicy. Repeat this step with the second leg and thigh, and then set the bones and separated meat aside.
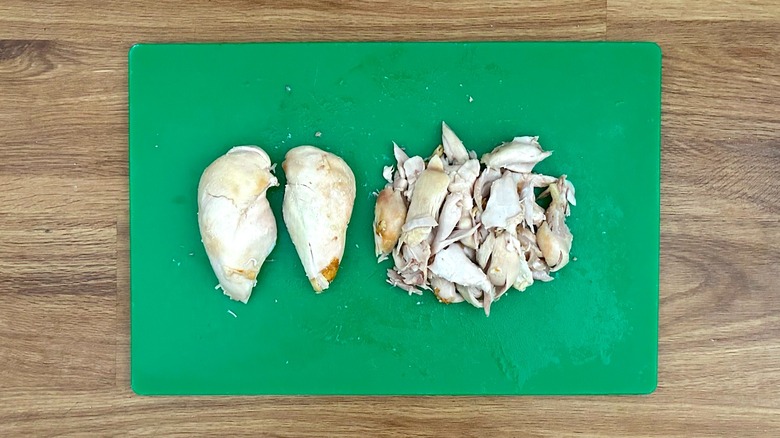
Carve the breast meat away from the bone
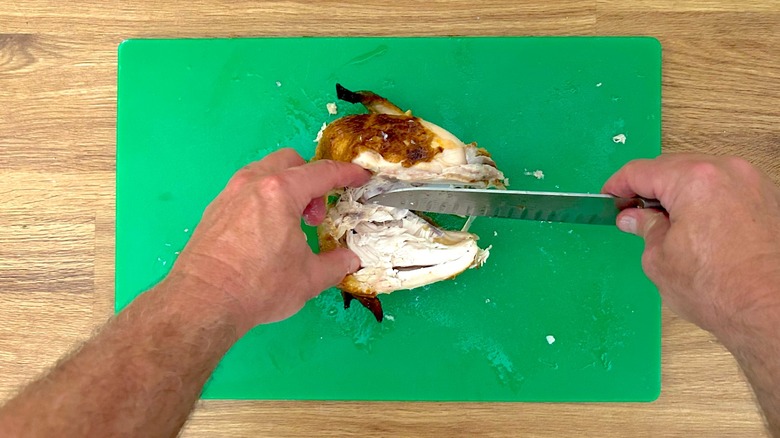
This step is exactly like carving a turkey at Thanksgiving. The goal here is to remove the breast meat in its entirety from the chicken carcass. This can easily be done by cutting along the backbone with the knife and then pulling the whole breast away from the chicken carcass. The hot breast meat should easily pull off the bone. At this point, you can either store the breast as-is in its entirety, or remove the skin and cut it into pieces or chunks. Alternatively, you can also shred it for later use.
Pull the wing off the back of the chicken
Generally speaking, the wings will remain attached to the chicken carcass after you remove the breast meat, particularly with larger chickens. That said, in some cases — as when we were illustrating this process — the wing may remain attached to the breast meat and pull away from the carcass when you carve it off. Either way, the wing joint can be separated with ease from the breast or carcass and set aside to be deboned.
To debone the wing, remove the skin and jostle the bones away from the meat. Again, this should be relatively simple to do if the chicken is hot, but if you find the smaller bones to be harder to pick out, the knife can easily be used to isolate the bones and jiggle them out. Once this is done, set the bones and separated meat aside.
Remove any remaining meat
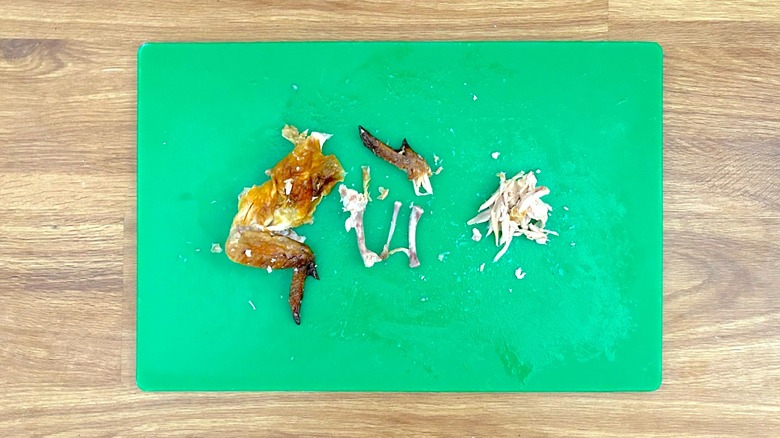
Should any meat remain on the carcass of the bird, carefully pull these pieces off the bird with your hands or cut them away with the knife. If the chicken is hot, you should be able to get the carcass fairly clean without any additional effort. You can also simply take this opportunity to have a nice snack and gnaw any leftover meat off the carcass (which we fully condone).
Remember, don't discard the bones or carcass of a rotisserie chicken — these are invaluable resources. They can easily be turned into a homemade chicken broth for use in soups, stews, and more. If you don't have time to make the stock immediately, they can be placed in an airtight container and frozen for up to six months.
How long a rotisserie chicken lasts and how to store it
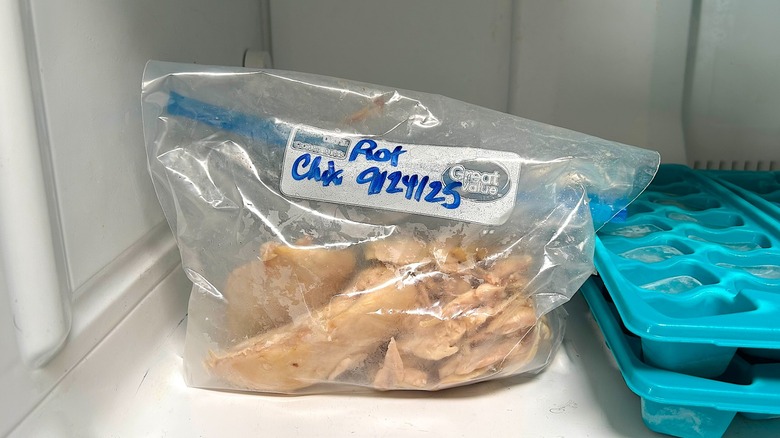
Once a rotisserie chicken has been deboned, the meat should be transferred to a Ziploc bag or airtight container for storage. You may separate the light and dark meat into different containers for different uses, but this is not necessary. Write the date onto the bag or container to make sure the chicken is used in a timely fashion. The deboned meat should be placed in a refrigerator or freezer within two hours of processing it.
A rotisserie chicken can last in the refrigerator for about five days. If you do not plan to use all of the chicken meat, you may want to freeze it for longer storage — up to four months for best quality taste and texture. It is ideal to divide the chicken meat into smaller Ziploc freezer bags or airtight containers to guarantee they're used up efficiently.
To thaw frozen chicken meat, place the bag in the refrigerator overnight before consuming it. For faster thawing, submerge the bag in a bowl of cold water. Replace the water every 30 minutes until the chicken has thawed. Smaller bags will thaw more rapidly than larger ones.
Rotisserie chicken recipes
Now that you have successfully deboned a rotisserie chicken, you have a lot of fresh meat to use in a number of different recipes. While the exact amount varies by bird, the average three pound bird from Costco, for example, yields two pounds of meat.
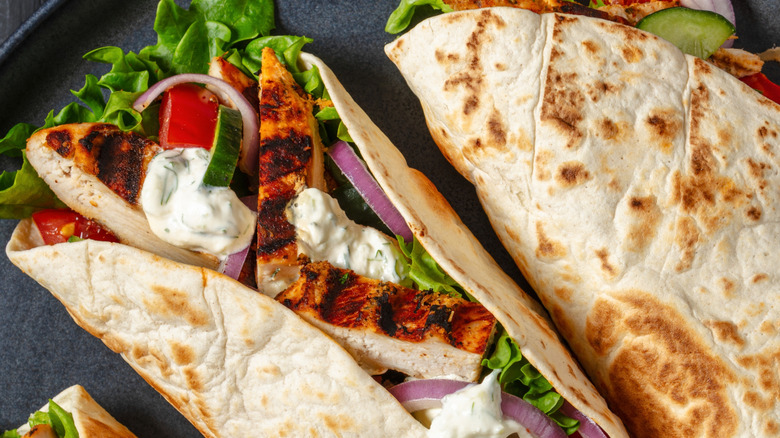
Some of the most genius ways to use leftover rotisserie chicken meat is to turn it into tacos, add it to casserole recipes, make it into chili, or toss it into a salad. Rotisserie chicken can also make for a mean takeout-inspired fried rice.
Don't forget the sandwiches. The variety of different sandwiches you can produce from rotisserie chicken meat are practically endless. Obviously, you can always prepare a simple chicken salad, but don't stop there. Rotisserie chicken meat can be transformed into a club sandwich, slider, or even a twist on a post-Thanksgiving treat donned with cranberry sauce and stuffing.