10 Secret Tips To Bake An Apple Pie That Beats Any Bakery Version
We may receive a commission on purchases made from links.
Fall is my absolute favorite time of year, as I love both the chillier weather and foods that come with it. Every time I make a trip to my local orchard to pick up a peck of apples, my family members and friends always ask about what I'm planning to do with all that fruit. Apple dumplings? Maybe. Apple pancakes? Probably. Apple pie? Definitely.
If you're just dipping your toe into seasonal baking, and the thought of making a homemade pie crust keeps you up at night, rest assured that apple pie is a great recipe to start with. Apples are an incredibly forgiving fruit to bake with, and they aren't as juicy and wet as fruits like cherries and blueberries. Plus, you can get really creative with your add-ins, play with different spices, and give your local bakery pie a run for its money — all after you get an A+ in Apple Pie 101, of course.
I consider myself an expert in the apple pie-baking realm for many reasons. For one, my CV includes baking apple pies for many, many years and having crafted an award-winning recipe (seriously, the folks on the local fair circuit love it). Fruit pies are also a topic I've covered extensively in the classes and seminars I've taught about baking, and I've learned so much from my years of experimenting with this truly timeless recipe. Here are some of my top tips for baking an out-of-this-world apple pie that will make you fall even more in love with the fruit than you thought possible.
1. Pick the right type of apples
Apples all taste the same, right? Subtly sweet, honeyed, and perfect for pie making. However, this sentiment only applies to some of the many apple varieties out there. Not all apples are a good fit for pie (or baking, as a whole) due to their consistencies and flavors. Red Delicious apples (you know, the ones that look too pretty to eat?) are one of them. Their plasticky texture and mushy interior will release water into the pie as they bake, which can make your filling too watery. The same can be said about McIntosh, which is often described as "mealy," and Mutsu, which can give your pie a mushy consistency.
Luckily, there are just as many apples you should try adding to your pie as ones that you shouldn't. The best apple varieties to use in baked goods include Cortlands, Granny Smiths, Golden Delicious, Honeycrisps, and Fujis. I personally prefer a blend of Winesap apples, which are crispy and sweet, and Cortlands, which are large and tart, yet sturdy enough for baking. While your inclination may be to add solely sweet apples to your pie, I would recommend instead looking for a balance of sweetness and tartness so that your pie isn't too cloying. After all, you will be adding sugar or a sweetener to your filling, so you won't have to worry your pie being too tart if you choose apple varieties on the sour end of the spectrum.
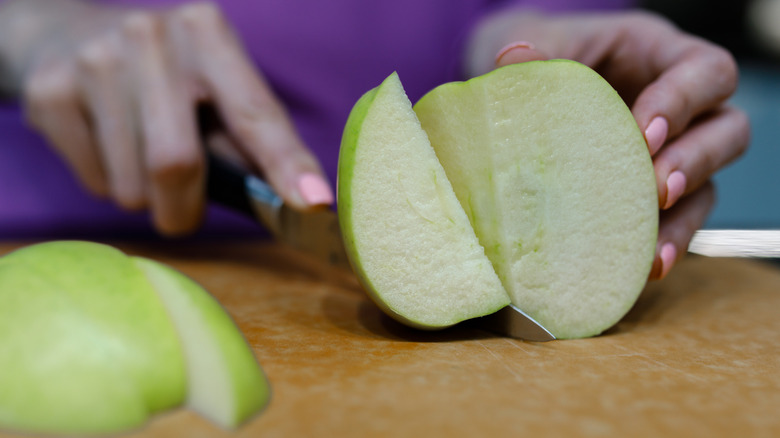
2. Slice your fruit as evenly as possible
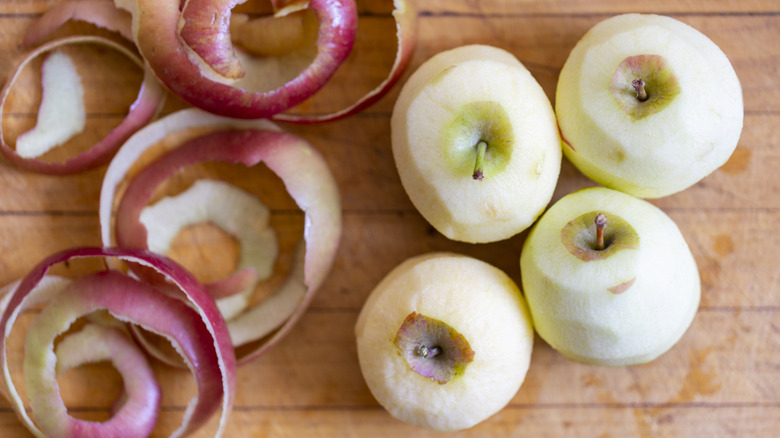
Arguably the most arduous part of baking an apple pie, or any fruit pie, as a whole, is slicing and preparing your fruit. Like many bakers, I find that my first few apples are perfectly peeled, with no specks of skin remaining, and then as I go on, my apples start to look like they've lost a fight with a bear. The same can be said about slicing. In the beginning, the slices are always neat as a pin and similarly sized, and about 5 pounds of apples in, I'm just glad I'm not throwing whole apples into my pie. All that to say: I get it.
No matter how fatigued you get, it pays off to be meticulous with your slicing. While it shouldn't matter if there is a speck or two of skin left over on your slices (though you should always peel your apples for pie — I don't care what some crunchy online food blog says about their health benefits), getting the perfect slice will ensure that your fruit cooks at the same rate. Otherwise, you could be left with large, hard chunks of apple swimming in a fruity, mushy soup.
The "right size" apple is up to interpretation. The standard is ¼ to ½-inch, and it's generally recommended to cut them as slices rather than chunks so you get clearly defined layers in your pie and minimize sinking. You can use a sharp paring knife for this; those, albeit handy, apple slice dividers rarely have small enough holes for a pie.
3. Play with different fats in your crust
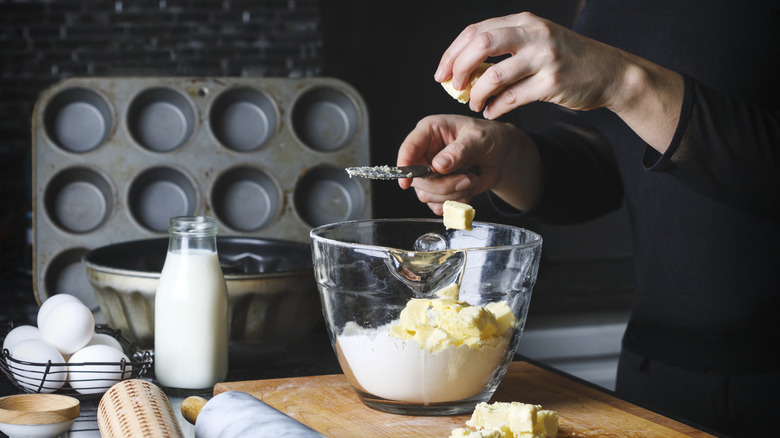
If there was one topic on this list that would warrant hate mail in my inbox, it's this one. I grew up baking all-butter crusts, until I realized my apple pie started to taste better when I substituted some of the butter for vegetable shortening. On one hand, the butter gives the crust an excellent and traditional flavor, but it melts very easily. Butter is a common addition to a pie crust because it's distributed into the dough in small pieces. When it hits the heat of the oven, its water content transforms into steam, which gives the pie its signature layered effect. Shortening is better for working with at higher temperatures because it doesn't melt as much, thus requiring less frequent chilling. I like adding it to my pie crust because it adds stability without making the crust's flavor too buttery. When combined together, you get a crust that has the best of both worlds: stable, buttery-tasting, and complementary to the apple flavor. So don't discount the value of these different fats, and even consider pairing them up in your recipe.
Another fat worth experimenting with, provided that you are not baking for vegan or kosher guests, is pork lard. Rendered leaf lard, sourced from the area around the kidneys of the pig, is incredibly easy to work with and has a texture similar to shortening. It yields a pie that's very flaky and tall. However, lard lacks buttery flavor, so bakers will often pair it with butter in their crusts.
4. Look beyond plain white flour for your crust
Your fat isn't the only thing worth experimenting with when it comes to your pie crust. It's important to remember that the best flour for your pie crust comes down to protein, which is why bread flour is not recommended, nor is pastry flour (which I have found yields a crust that falls apart). As long as the protein checks out and hovers around the 9% to 12% mark, like that of all-purpose flour, you have some opportunity to experiment with it.
One of the places I recommend beginners experiment with flours is by substituting some of the all-purpose flour for whole wheat flour. Whole wheat flour tends to have a more robust and woodsy profile that can add dimension and rustic flavor to a range of fruit pies, including apple. Buckwheat is another heavy-hitter when it comes to flavor, though some may dislike that it's mealy and doesn't have quite the same texture and color as regular white flour. I always recommend cutting a buckwheat crust with some all-purpose flour to balance out its intense flavor.
If you're baking a gluten-free pie, I would recommend using a gluten-free flour blend for your recipe rather than trying to get creative and craft your own with gluten-free flours. The properties of some of these flour alternatives make them not conducive to pie crust. King Arthur's measure-for-measure gluten-free flour is a staple in my kitchen and is one I would highly recommend.
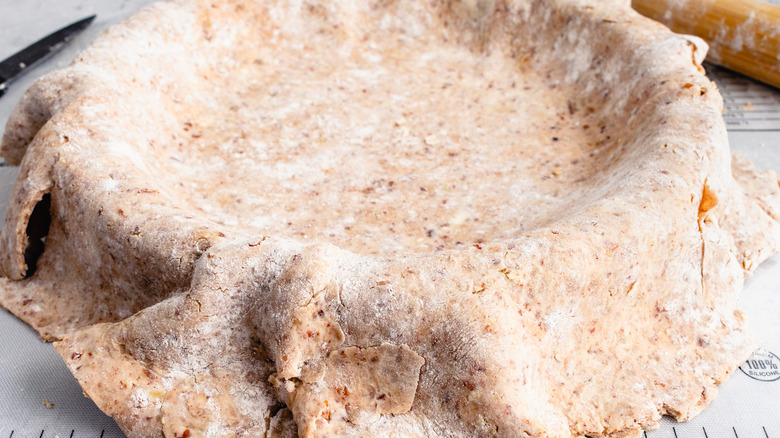
5. Chill your pie dough as much as possible
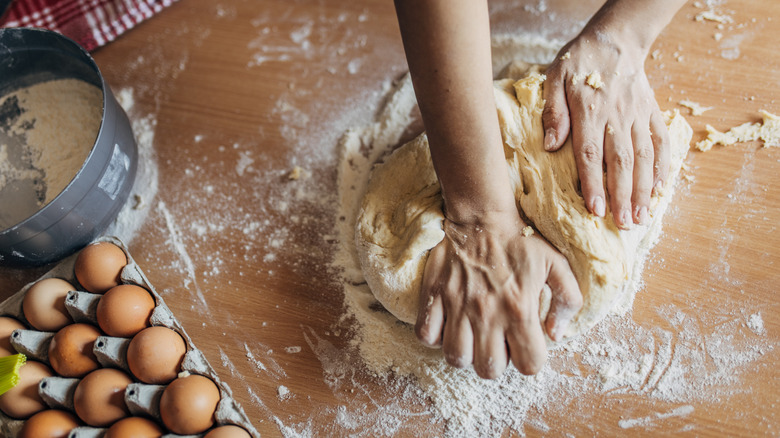
You could have gone through all this effort to perfect your pie dough — adding funky flours and playing with different kinds of fats — and you could risk throwing all of it away by not doing this one simple step: chilling your dough. Not only can this mistake keep your from the flakiest pie crust, but it can also render your crust rubbery and tire-like. You'll want to keep your fat as cold as possible while working your crust. Cold butter releases steam as it bakes, which causes the signature puff in the crust. Without it, your crust will come out hard and dense. Not only is melting caused by letting your dough sit outside the fridge for too long, but also by overworking your dough. The longer your hands touch, manipulate, and expose the dough to temperature changes, the greater the risk of the butter melting.
When I make pie dough, I chill it twice: once I bring it together into a ball, and again after I've shaped it into the tin. This gives the fat a ton of opportunity to solidify before I add the filling and bake it. You'll also want to make sure you use cold butter when you are bringing your crust together, rather than letting the fat sit on the counter for too long. I like to use a food processor or pastry blender to mix the fat with the flour, as it prevents excess heat from my hands from warming the dough.
6. Don't neglect your sweetener
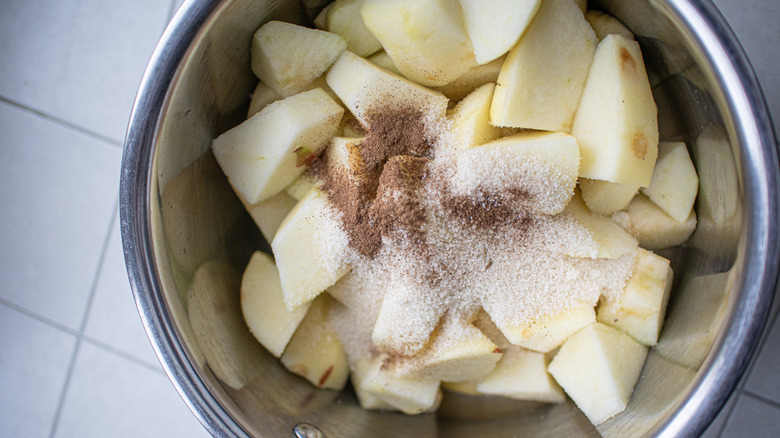
You might assume that because apples are a sweet fruit, they are enough to adequately sweeten your pie. Unfortunately, this is not the case. Granulated sugar is often added to apple pie filling for two reasons: it curbs any residual tartness from your apple varieties and it helps the filling set. As the apples cook, they release moisture. The sugar granules attract that moisture, thus helping your pie filling thicken. Sugar doesn't replace a thickener (more on that later), but it still plays a pivotal role in your apple pie and should not be excluded from your recipe.
Besides granulated sugar, you can also utilize a liquid sweetener in your recipe instead. Honey and maple syrup offer more compelling flavors than granulated sugar alone, but because they're liquids, you have to be careful about how much you add to your recipe to avoid making it too wet. You may need to increase your thickener content by 10% to 25% to accommodate its viscosity. Although the exact value varies based on the type of sweetener, it's generally recommended to only use ¾ cup of liquid sweetener for every cup of granulated white sugar. I'd suggest using a recipe specifically made with a liquid sweetener, rather than trying to DIY it, since the sweeteners may be more or less sweet than regular sugar and you don't want to shift your recipe off balance.
7. Be heavy-handed with your spices
There are three elements to a good apple pie: a good crust, good apples, and good spice. Many recipes will call for general "apple pie spice," which includes the basics like cinnamon, nutmeg, ginger, and/or cardamom. However, these spices are only the beginning of what you can add to your pie to give it a warm and compelling flavor. Cinnamon is an absolute essential and the spice that you absolutely have to add to your pie; it is typically called for in larger concentrations than the rest of the spices, and I find that most pre-mixed spice blends don't add enough of it. I like adding a hefty scoop of cinnamon to my recipe, then supplement its flavor with apple pie spice or individual servings of allspice, nutmeg, and cloves.
Once you become familiar with these flavors, you can start experimenting with more unique blends. Chai spice, for example, is a warming mix of cardamom, cinnamon, ginger, cloves, and allspice that will easily upgrade your apple pie. The cardamom flavor is more present in chai spice than in apple pie spice, and it adds a menthol-y, almost piney flavor to your pie. I also like adding Chinese five-spice powder to the filling, though its flavor is a little more bold than beginners may be used to. Besides spices, you may also want to try adding herbs, like rosemary and thyme, to your pie crust to give it a savory, yet still complementary spin. In short, don't be afraid of the nuances that spices and herbs can offer your dessert.
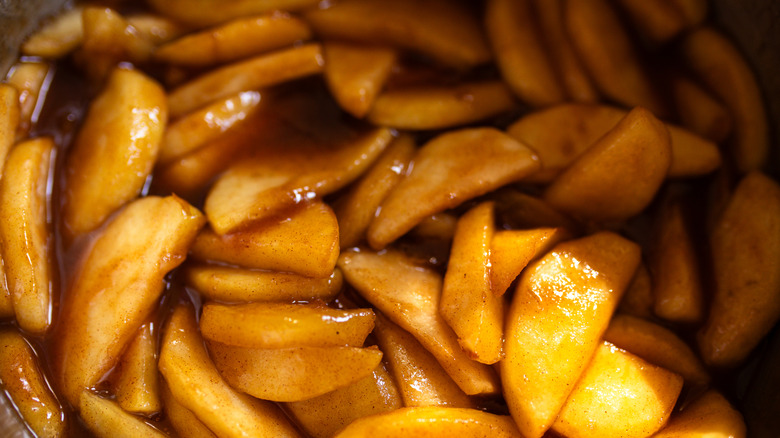
8. Use a thickener in your filling
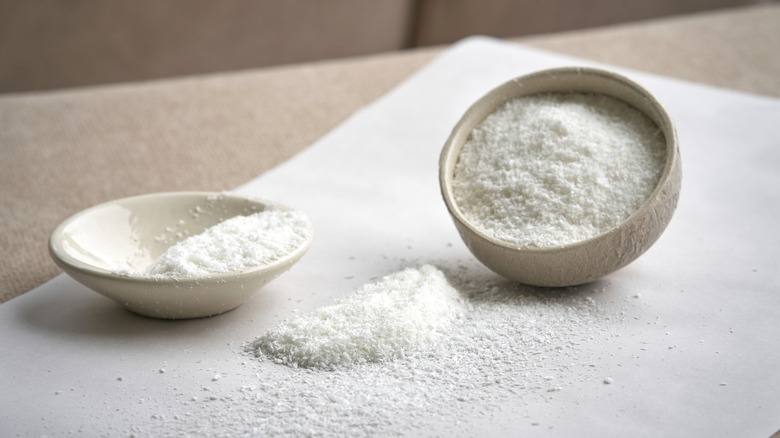
Thickeners are a must when it comes to fruit pies. While apple pie isn't nearly as runny as blueberry or cherry pie, if you skimp on your thickeners, you may still face an absolute pie disaster. The fruit releases its water as it cooks, and the last thing you want is to end up with a soggy-bottomed crust because your filling didn't set enough. Not all fruit pies require the same amount of thickeners either; apple is high in natural pectin, a type of fiber that binds the filling together, so you'll need to use less thickener than you would for something like a strawberry-rhubarb pie or a peach pie, which have less pectin than apples.
The type of thickener you should use depends on many factors. The more concentrated the starch, the less thickener you'll need. For example, you'll need to use more flour than you would cornstarch. Flour can also make your pie taste, well, floury. Cornstarch can impart a slimy texture if used in excess, though its stability and ease of use still makes it my top choice for any fruit pie. You can also use tapioca instead of cornstarch.
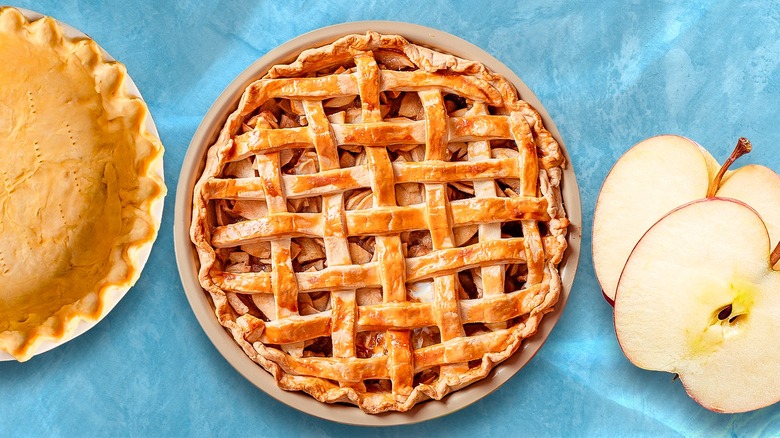
9. Read up on crimping and latticing beforehand
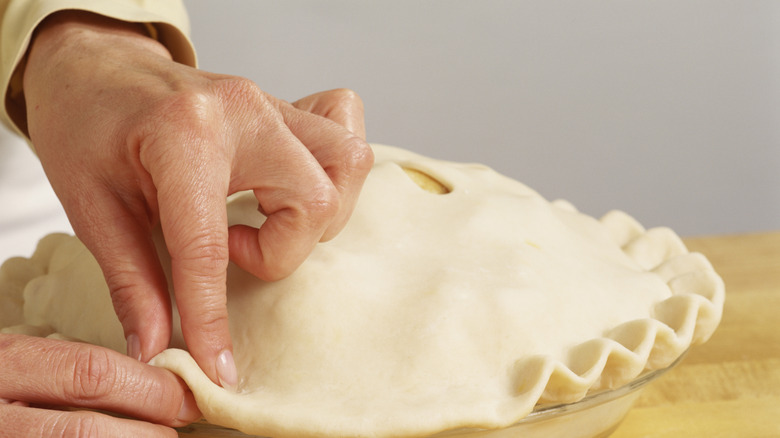
Crimping and pleating your pie crust performs more than just a functional role. Not only does it give your pie a bakery-worthy finish, but it also prevents juices and moisture from seeping out of the crust — which is vital for a double-crusted apple pie. Crimping the bottom crust of a single layer or lattice-topped pie also creates a few bites that's slightly more crust-heavy than filling-heavy, which is a must-have for some pie enthusiasts.
The last thing you want is for your crimp to look like a seven-year-old did it with blunt scissors. One of the easiest crimping techniques I've found for bottom crusts is to splay your hand out and gently press your four fingers into the crust. You can also use your knuckles to carefully seal the edges of the crust, or press into it with an upside-down spoon or fork. As you get more advanced, you can start playing with more unique crimping techniques (there are endless ones out there!).
Latticing is another skill that is helpful to practice before you need to do it on a pie. My biggest piece of advice for it is to always make sure your dough strips are the same size, and don't seal the edges prematurely. That way, if you need to go back and adjust the spacing, you won't have to pry the edge from the bottom of the crust and risk breaking it.
10. Don't slice your pie immediately after baking
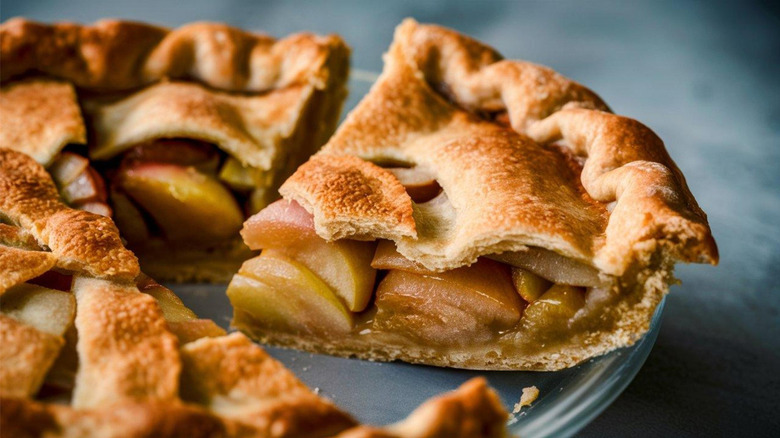
You've worked very, very hard on your apple pie; it only makes sense that you want to eat it the second it comes out of the oven. However, I recommend holding off on this, as your pie needs to cool down after it has left the oven, especially if you use thickeners. The thickeners need adequate time to gel with the residual liquid, which will prevent your pie filling from coming out too watery. The exact amount of time your pie needs to rest will depend on the type of thickener you use; generally, three to four hours is recommended.
Most thickeners have to reach 140 F before they activate, so be sure the center of the pie is bubbling before you pull it from the oven. If you have a double-crusted pie, be sure to cut steam holes in the top before sliding it in the oven so that you can observe this visual cue. To expedite the cooling process, I like to put my pie on a raised surface, like a wire cooling rack, so that air can circulate under and around the tin. Luckily, this waiting period will give you enough time to decide what toppings you want to serve with your dessert; may I suggest vanilla ice cream or cheddar cheese?