

Homemade Crescent Rolls Recipe
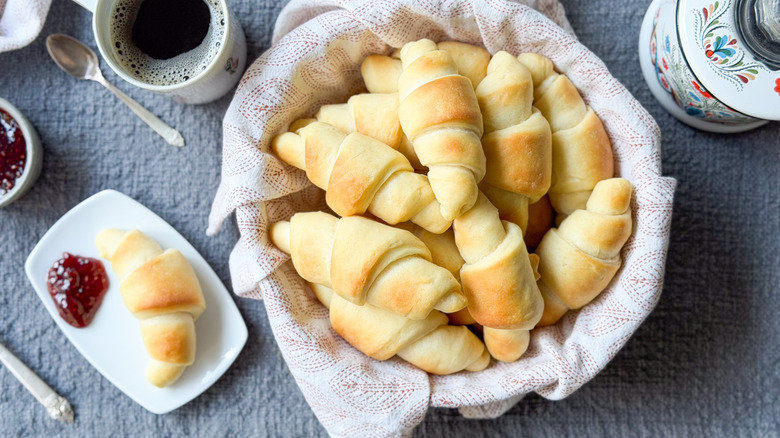
Many of us have fond baking memories from childhood that revolved around a can of classic Pillsbury Crescent Rolls. There was something deliciously special about how the crescent roll dough elevated pigs in a blanket, fashioned a beef Wellington-esque style of meatloaf, or made everyone's favorite holiday baked brie a breeze. Yet, despite these redeeming qualities, I was always slightly terrified of the unpredictable pop when opening the crescent can, not to mention the long list of ingredients on the backside. This homemade crescent rolls recipe will show you that making freshly-baked crescents from scratch is easier than you think. Tender and a touch flaky, these rolls are packed with buttery flavor and subtle sweetness. They might just be your new favorite for holiday meals or making any day feel a bit more tasty.
This homemade crescent roll dough is supple and versatile. Not only can you use it for making crescents, but it is easy to shape into braided knots or cloverleaf rolls. What makes the crescents stand out are those characteristic layers, which are caused by lamination with fat (butter) incorporated within the dough. Once you have the hang of rolling out and rolling up the crescents, you can put the dough to good use for all of your favorite crescent roll recipes.
Gather the homemade crescent rolls ingredients
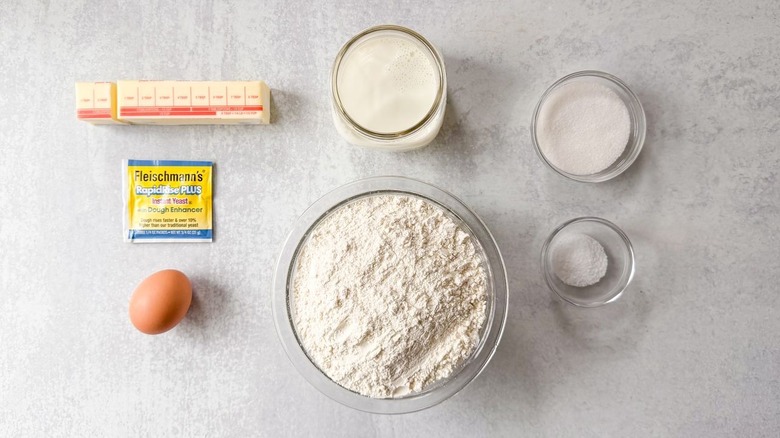
The ingredient list for this homemade crescent rolls recipe is short and sweet, but the outcome tastes so much better than those crescents in a can. To start, you will need whole milk, granulated sugar, unsalted butter, and sea salt. Once these components are combined, you will add active dry yeast. To complete the dough, you will need a large egg and all-purpose flour — both for mixing and for dusting your kneading surface. Additional melted unsalted butter is used throughout the process to create layers of fat within your dough for a tender and slightly flaky outcome.
Step 1: Scald the milk
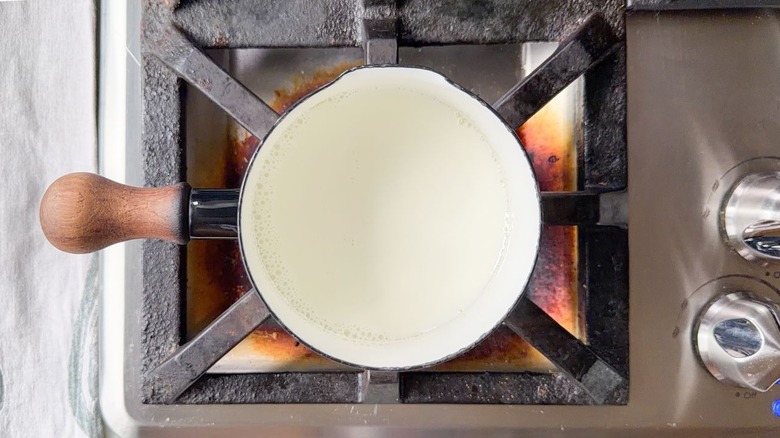
In a small saucepan over medium-low heat, warm the milk just until small bubbles appear around the edges.
Step 2: Pour the warm milk over the butter, sugar, and salt in a stand mixer bowl
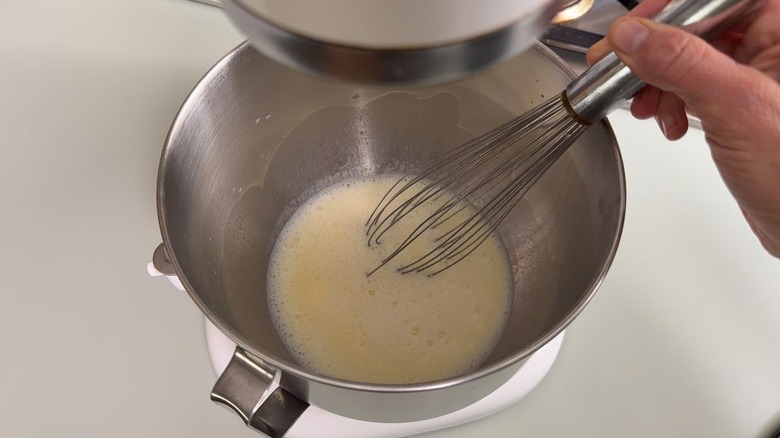
Add the sugar, butter, and salt to a stand mixer bowl, then pour in the warm milk and stir until the butter is melted.
Step 3: Sprinkle on the yeast
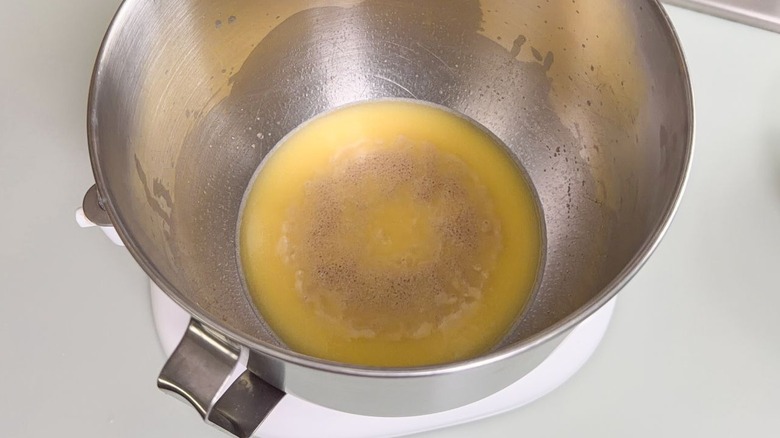
Sprinkle on the yeast, stir, and let it stand to dissolve and become foamy (about 10 minutes).
Step 4: Add the egg and part of the flour
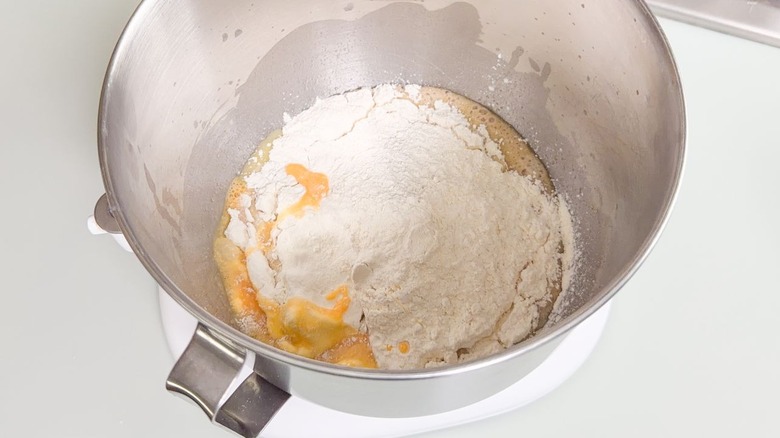
Add the egg and 2 cups of flour.
Step 5: Mix the dough
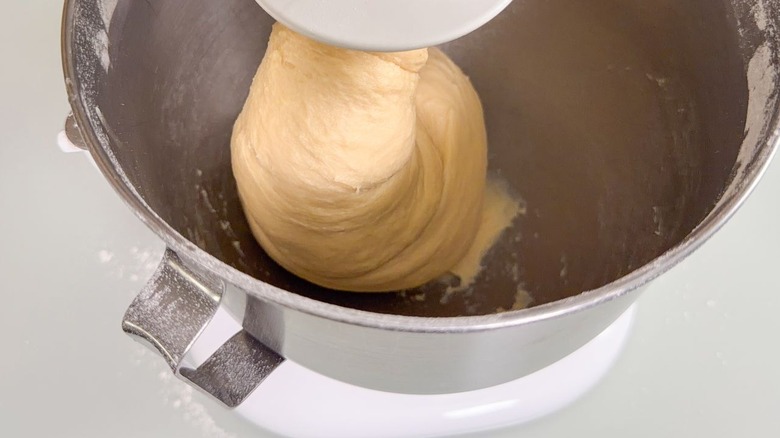
Use the dough hook to begin mixing the dough, gradually adding the remaining flour until incorporated.
Step 6: Knead the dough
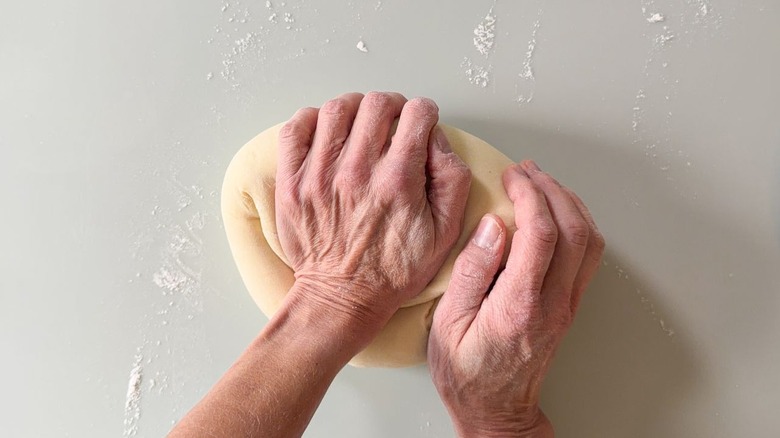
Turn the dough out onto a lightly floured surface and knead for 5 minutes until smooth and elastic.
Step 7: Place the dough in an oiled bowl
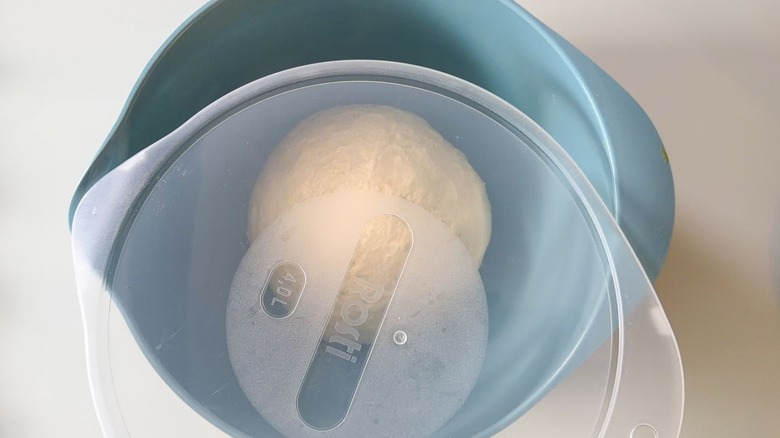
Place the dough in a large, oiled bowl and cover.
Step 8: Let the dough rise until doubled
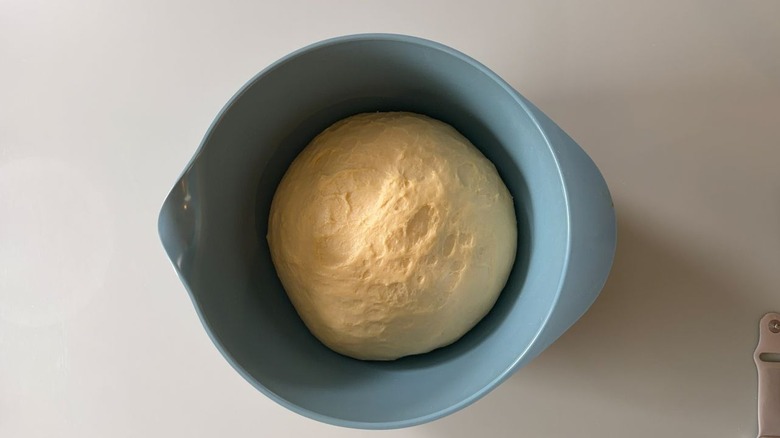
Allow the dough to rise until doubled (about 1.5 hours).
Step 9: Prepare 2 baking sheets
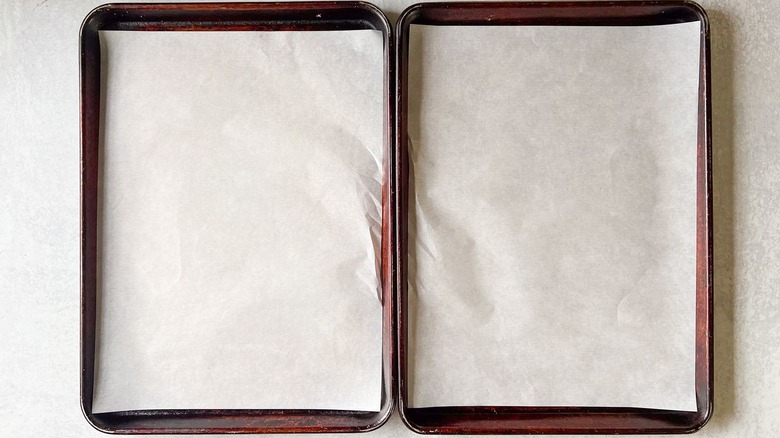
Line 2 baking sheets with parchment paper.
Step 10: Punch down and divide the dough
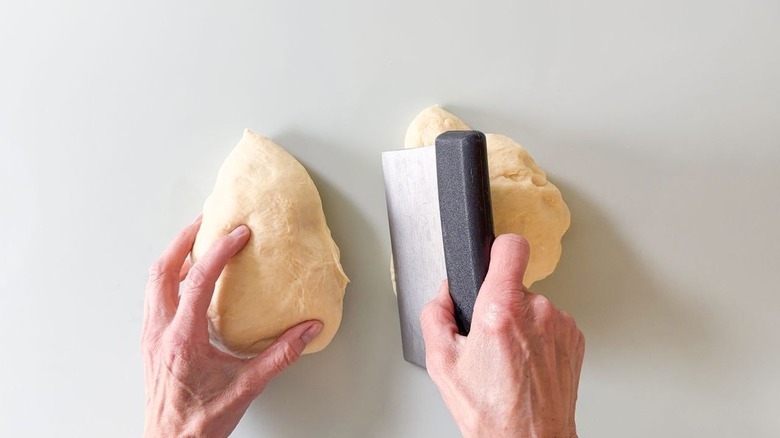
Punch the dough down and divide it in half.
Step 11: Shape the dough into 2 balls
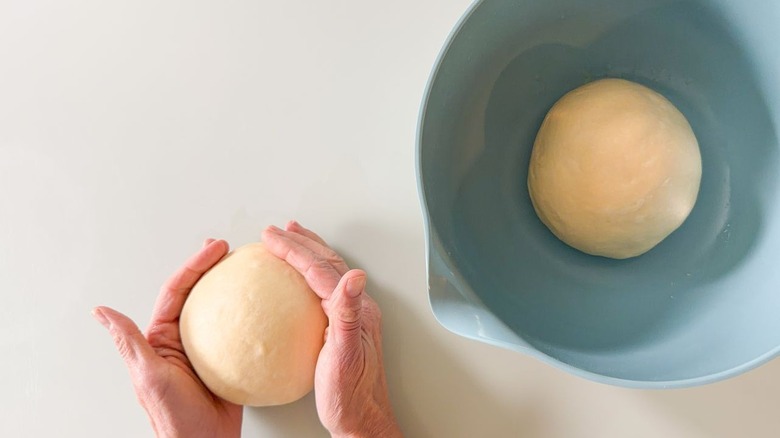
Shape the dough into 2 balls. Return one ball to the oiled bowl and cover.
Step 12: Roll out 1 ball into a circle
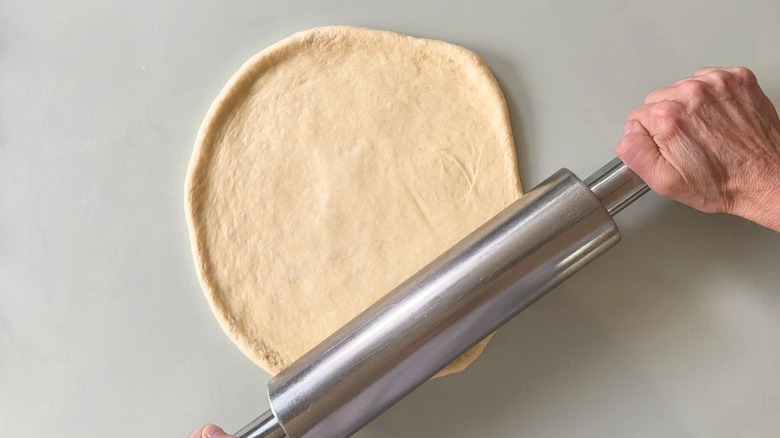
Roll the other ball into a circle about 12 inches in diameter.
Step 13: Brush the dough with butter
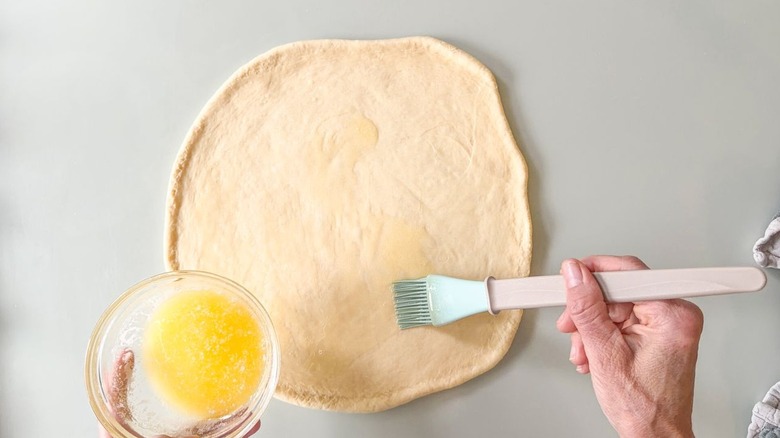
Brush on a thin layer of melted butter.
Step 14: Cut the dough into wedges
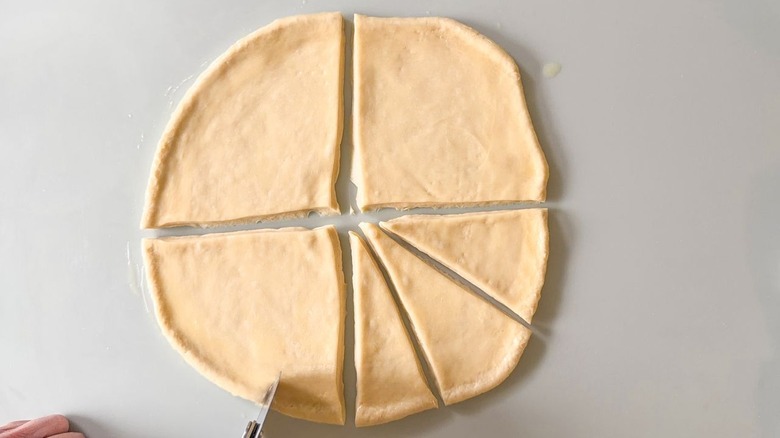
Cut the circle into quarters, then cut each quarter into 3 wedges.
Step 15: Roll the dough into crescents
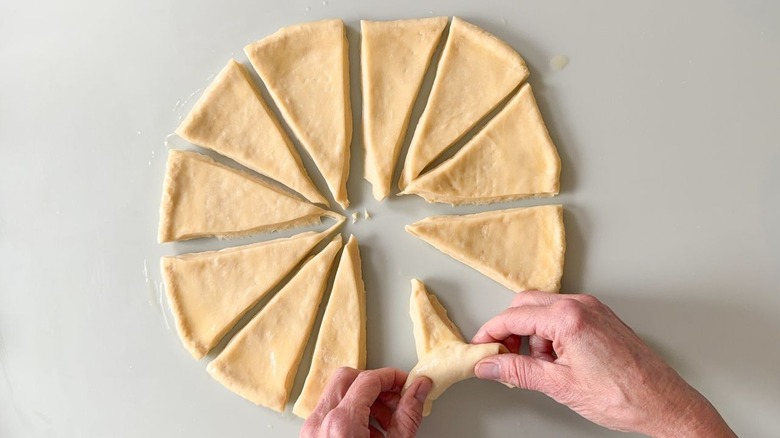
Beginning at the wide end, roll up each wedge, then curve the ends toward one another to form a crescent.
Step 16: Arrange the crescents on a prepared baking sheet
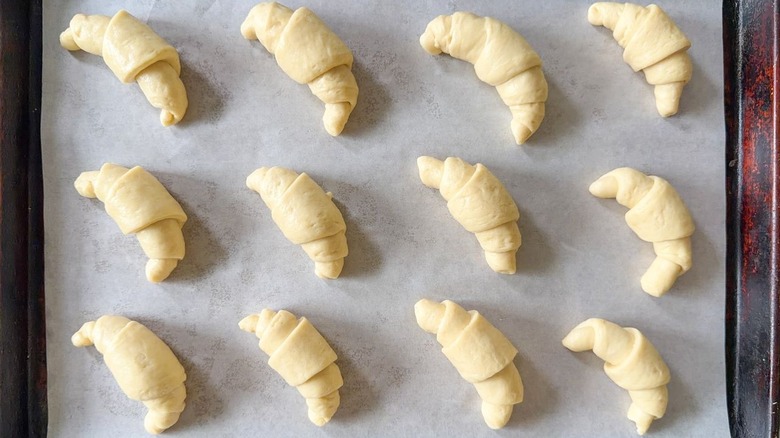
Beginning at the wide end, roll up each wedge, then curve the ends toward one another to form a crescent.
Step 17: Brush the crescents with butter

Repeat the process with the remaining dough, then brush all of the rolls with some of the remaining melted butter.
Step 18: Preheat the oven
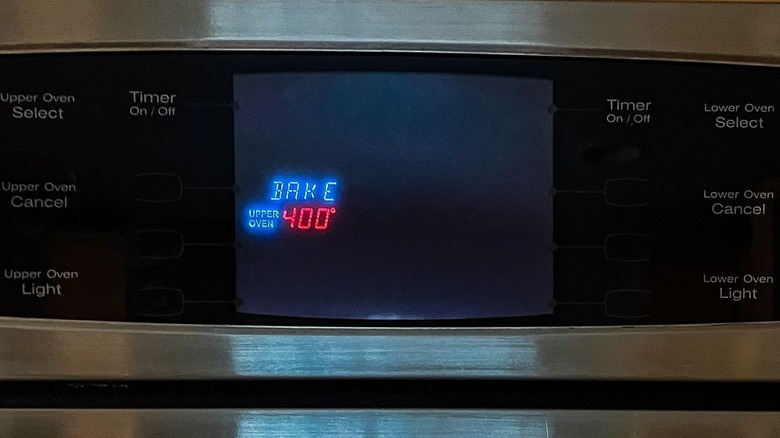
Preheat the oven to 400 F while the rolls proof for 20 minutes.
Step 19: Bake the crescent rolls and brush with the remaining butter
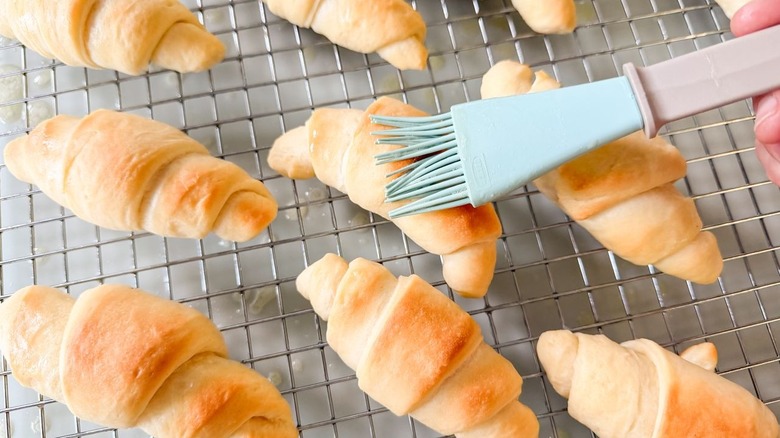
Bake the crescent rolls one pan at a time for 10-12 minutes or until golden brown, then move them to a cooling rack and brush them with the remaining melted butter while still hot.
Step 20: Serve the crescent rolls
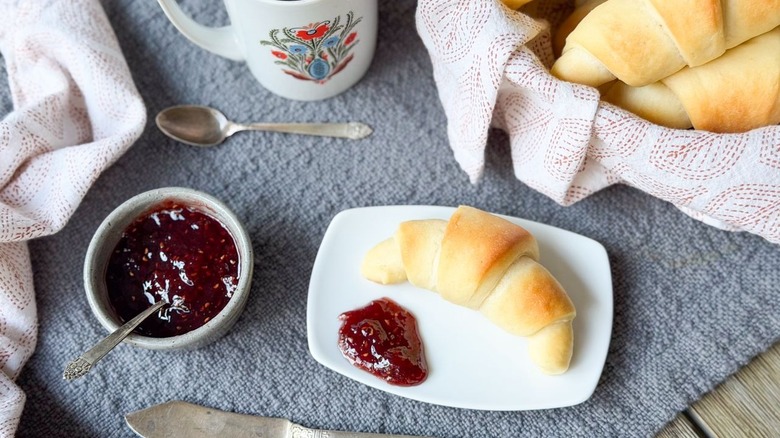
Serve the crescent rolls.
What other holiday sides can I serve with crescent rolls?
Homemade Crescent Rolls Recipe
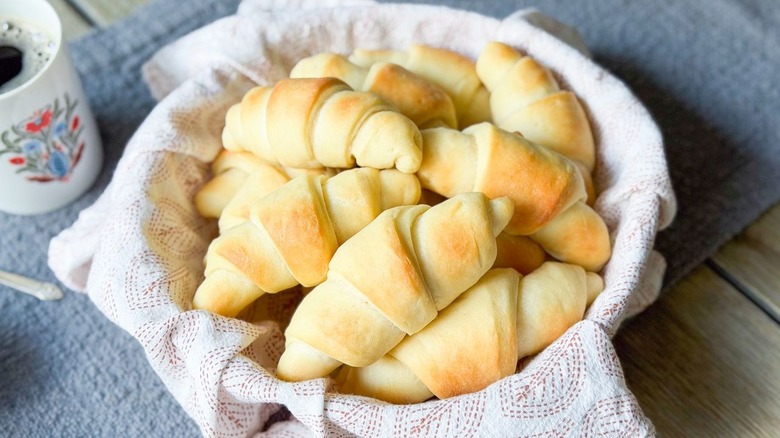
These holiday-worthy homemade crescent rolls are buttery, tender, a little sweet, a little flaky, and much easier to make than you might think.
Ingredients
- 1 ¼ cups whole milk
- ⅓ cup sugar
- 4 tablespoons unsalted butter, softened
- 2 teaspoons sea salt
- 1 package active dry yeast
- 1 egg, room temperature and slightly beaten
- 4 cups all-purpose flour, plus extra for kneading
- 6 tablespoons unsalted butter, melted.
Directions
- In a small saucepan over medium-low heat, warm the milk just until small bubbles appear around the edges.
- Add the sugar, butter, and salt to a stand mixer bowl, then pour in the warm milk and stir until the butter is melted.
- Sprinkle on the yeast, stir, and let it stand to dissolve and become foamy (about 10 minutes).
- Add the egg and 2 cups of flour.
- Use the dough hook to begin mixing the dough, gradually adding the remaining flour until incorporated.
- Turn the dough out onto a lightly floured surface and knead for 5 minutes until smooth and elastic.
- Place the dough in a large, oiled bowl and cover.
- Allow the dough to rise until doubled (about 1.5 hours).
- Line 2 baking sheets with parchment paper.
- Punch the dough down and divide it in half.
- Shape the dough into 2 balls. Return one ball to the oiled bowl and cover.
- Roll the other ball into a circle about 12 inches in diameter.
- Brush on a thin layer of melted butter.
- Cut the circle into quarters, then cut each quarter into 3 wedges.
- Beginning at the wide end, roll up each wedge, then curve the ends toward one another to form a crescent.
- Evenly space the crescents with the points tucked underneath on one of the prepared baking sheets, then cover with a damp kitchen towel.
- Repeat the process with the remaining dough, then brush all of the rolls with some of the remaining melted butter.
- Preheat the oven to 400 F while the rolls proof for 20 minutes.
- Bake the crescent rolls one pan at a time for 10-12 minutes or until golden brown, then move them to a cooling rack and brush them with the remaining melted butter while still hot.
- Serve the crescent rolls.
Nutrition
| Calories per Serving | 144 |
| Total Fat | 5.7 g |
| Saturated Fat | 3.3 g |
| Trans Fat | 0.0 g |
| Cholesterol | 20.8 mg |
| Total Carbohydrates | 19.9 g |
| Dietary Fiber | 1.0 g |
| Total Sugars | 3.5 g |
| Sodium | 106.0 mg |
| Protein | 3.4 g |

Can I freeze these crescent rolls before or after baking?

The good news about this homemade crescent rolls recipe is that you can freeze your rolls both before or after baking, which makes brunch or holiday dinner prep a breeze. To have freshly baked crescent rolls at any time, simply prepare the dough to the point of shaping the rolls, then freeze them in a single layer on a parchment-lined baking sheet that is loosely covered with plastic wrap. Once the rolls are frozen, you can transfer them to ziplock bags or an airtight container to free up space in your freezer. The night before baking the rolls, return the appropriate amount to a prepared baking sheet and let them thaw covered overnight in the refrigerator. Before baking, allow the rolls to proof at room temperature until slightly puffed. Continue on with the recipe steps from there.
Having a ziplock bag or container full of pre-baked rolls in your freezer is also wonderful. Simply remove the amount of rolls that you want to use, wrap them in a layer of foil, and gently reheat them in a 350 F oven. This is the perfect way to have "freshly baked" homemade crescent rolls whenever the craving strikes.
What are some tips for rolling out and shaping the crescent rolls?
Although this homemade crescent roll dough is easy to handle and versatile to work with, knowing how to get the most out of your dough will make the whole process run smoothly. First, give your dough adequate opportunities to both proof and rest. This will help to relax the gluten structure in the dough just enough to allow for rolling and shaping. If you find that your dough is "shrinking" when you try to roll it out, give it a 10-minute rest break (keeping it covered with a damp towel or back in its proofing bowl). This should make rolling and stretching the dough more achievable.
When shaping your crescents, keep the dough tight and push towards the outer edges while rolling it up. This will make it easier to shape the curve of the crescent. If the dough seems too thick, use your rolling pin to thin out the individual wedges first. Most of all, don't skimp on the butter. A rich buttery flavor is essential, and the butter contributes to the tender, flaky texture.