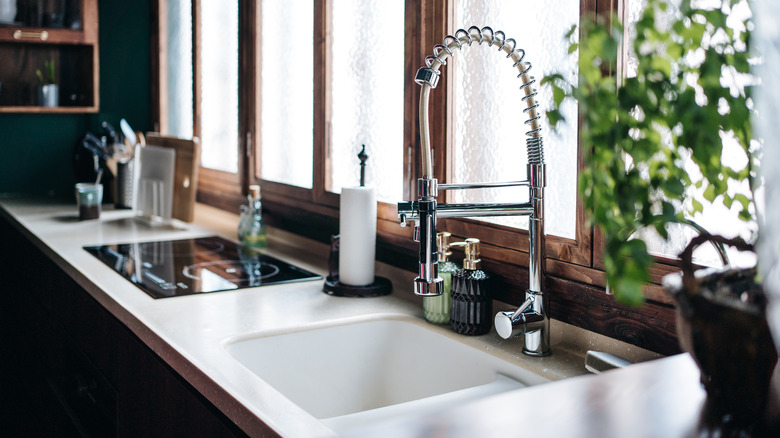
Plumbing Experts Reveal 12 Things To Keep In Mind When Replacing Your Kitchen Sink Drain

From unclogging your drain with natural remedies to monitoring what you put down your sink, there are plenty of things that you need to keep in mind when working in the kitchen. If replacing your kitchen sink drain and plumbing becomes part of your home maintenance, the list gets even longer. Fortunately, you can get great results with a DIY solution (or call in an expert for tougher issues that require some specialized tools and knowledge) that will have your kitchen drain back up and running in no time.
When replacing your kitchen sink drain, you should follow a few tricks of the trade to get the best results, including diagnosing the problem, choosing the right materials, and sealing everything correctly. Knowing what to look for and keep in mind will prevent mistakes that require extra work and higher costs.
It's important to know what steps to take if you're DIYing as well as when to call in a professional. I talked to Dustin Smith, Smith's Plumbing Services in Arlington, Tennessee, and Kelly Russum, a plumber with more than 46 years of experience, to get the inside scoop. They shared what they look for as pros and what the average homeowner can keep in mind when replacing their kitchen sink drain.
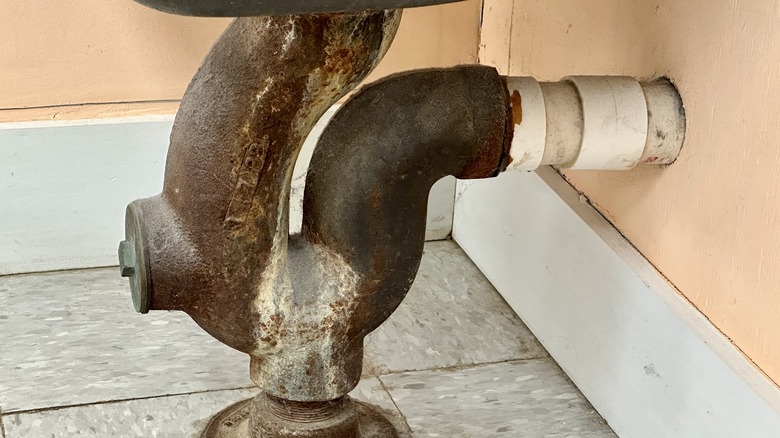
1. Your sink may be sagging
Older sinks can start to sag, which means the drain plumbing won't always line up. Watch for this subtle but impactful problem, which will automatically cause even the correct drain installation to leak and fail. Kelly Russum recommends checking for alignment problems before you get parts to replace the drain. If you wait until later in the process, you may be facing more problems to fix.
"If your old sink has sagged slightly over time (which most do), your new drain might not line up like it used to," says Russum. "Before assuming your new parts are wrong, check if the sink itself has dropped a few millimeters, especially with undermounts or cast iron models."
Make sure to take very precise measurements since the sagging is often very minute. But even the smallest misalignment can cause leaks if you don't take steps to ensure that everything lines up correctly. Ensuring the proper drain slope is also key, even when you're readjusting or realigning your plumbing. Shifting counters that become uneven over time may also be to blame for leaking pipes. If you're working with an older kitchen, check for these issues as well before you buy replacement parts.
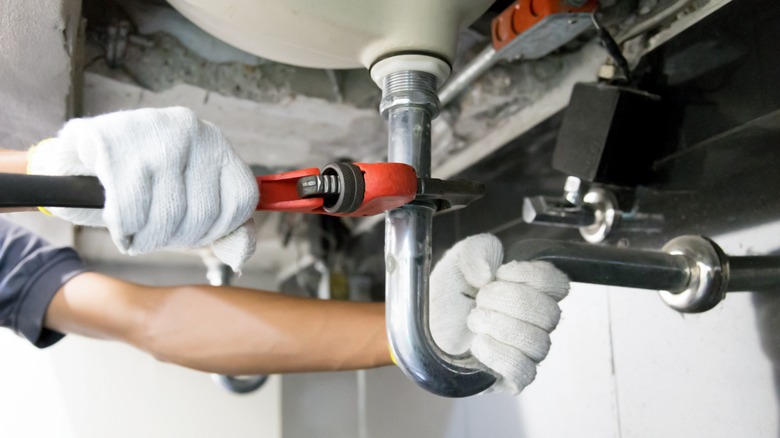
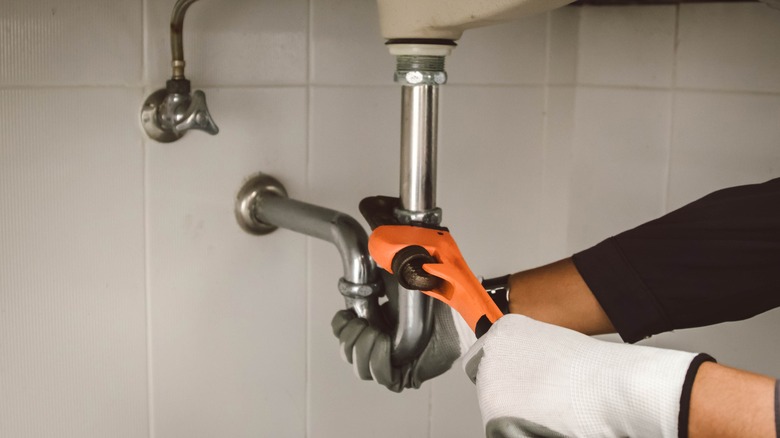
2. Splurge on a compression nut with grip wings
You may be tempted to reuse parts that are still in good working condition, but replacing your kitchen sink drain is the perfect time to upgrade to better quality parts that will last longer. Compression fittings keep your pipe connections watertight and the nut is one of the crucial elements of this section of plumbing. It'll cost an extra few dollars, but go with the higher end compression nut for the easiest work during install and for future maintenance.
"Most people reuse the cheap plastic nut on the trap arm. Spend the extra $1-$2 for a version with built-in wings or grip tabs," says Kelly Russum. "It makes future disassembly easier and avoids over-tightening by hand." These are typically found in the same section of the hardware store as other nuts and fittings.
You'll normally tighten nuts using a wrench, but those with wings or grip tabs can be tightened by hand. This allows better control, especially when used under the kitchen sink. There typically isn't a lot of space in this area, so anything that makes installation and adjustments easier is a worthwhile hack.
3. Pay attention to your metals
If you're doing a full kitchen renovation, you've probably considered the pros and cons of different kitchen sink materials, but you have to consider what goes under the sink as well. You may think that the most important thing when buying new parts is to make sure that the sizes all match. While this is important to keep things from leaking, you should also make sure that the materials are also the same.
"Don't just look on sizes, match materials to what's already in your system," says Kelly Russum. "Mixing metals can lead to galvanic corrosion, which ruins fittings over time."
There are a few different materials used in plumbing and the key is to pick the best for your space and use, then stick to that. PVC is a common material that is economical and durable. But you may also see cast iron, copper, and galvanized steel used for plumbing and drains. Each has different benefits, such as a cheaper cost or a longer expected lifetime, but mixing materials can cause them to fail faster than they should. The last thing that you want is to have to redo your work soon.
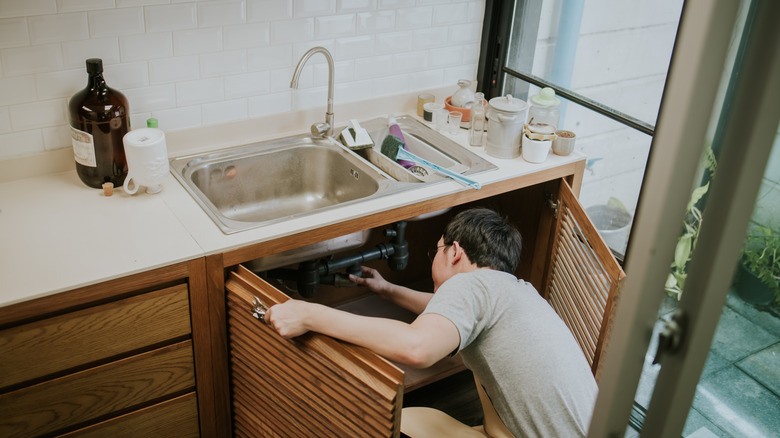
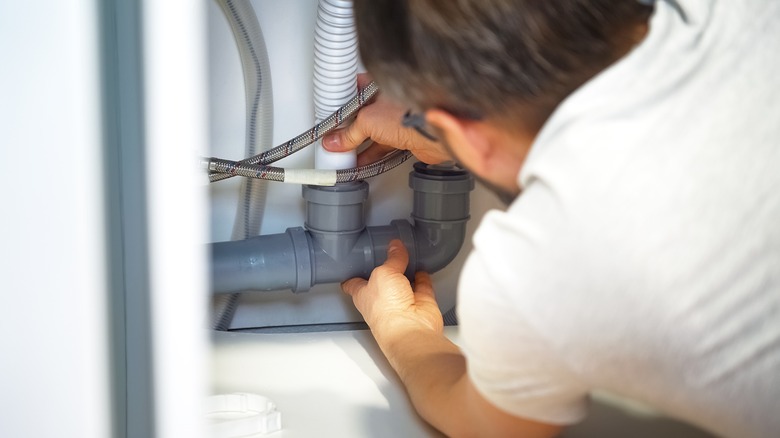
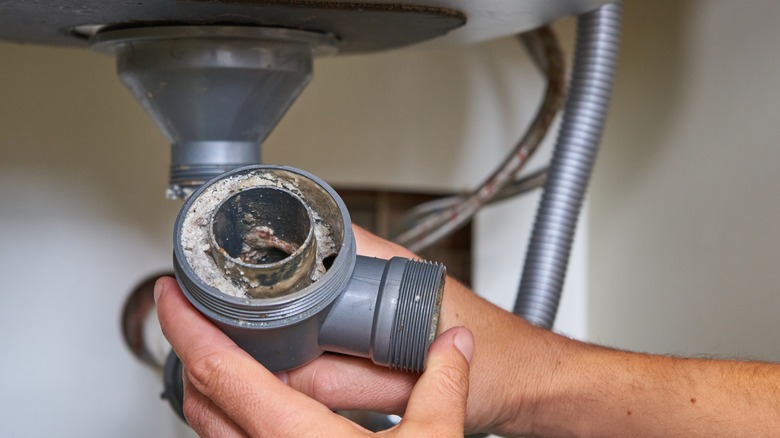
4. Dry fit everything
Before you seal anything, dry fit the parts so that you know it all works together. Doing this before you apply any sealant will keep you from having to redo your work later if there are issues.
Without taking the time to do this extra step, Kelly Russum says that "you might end up with misaligned traps or compressed gaskets that leak later." That becomes another fix down the road rather than a check beforehand. Russum always does this final check before sealing anything when replacing drains.
Some materials can be difficult to separate once they are connected, even without a compound to seal them, so do your research about your specific setup and requirements. PVC is notoriously difficult to separate after dry-fitting, so you may want to keep the connections loose from the start. Instead of putting them together snugly, keep the fittings loose. Once you're sure that the alignment is correct and you have enough space, then add your sealant and put everything together.
5. Don't use plumber's putty on the rubber gaskets or plastic threads

Creating a watertight seal is key for your plumbing and pipes, so you may think that plumber's putty is the answer to every situation. But this flexible, pliable compound can actually cause problems on some materials.
Plumber's putty should be limited to the drain flange. Never put plumber's putty on the rubber gaskets or plastic threads of your pipe or other connections. Kelly Russum says that even though it's meant to prevent leaks, misusing plumber's putty can actually cause leaks when it's not used properly.
"Consider silicone instead of plumber's putty, if you ever plan to remove or replace the strainer," Russum says. "It's easier to clean off in the future and won't crack with age."
Russum also recommends staying away from tape in some cases, since it doesn't always create the seal that you want. "Thread seal tape (Teflon) doesn't belong on every connection, especially not on slip-joint washers or compression fittings," Russum says. "It often causes more harm than good."
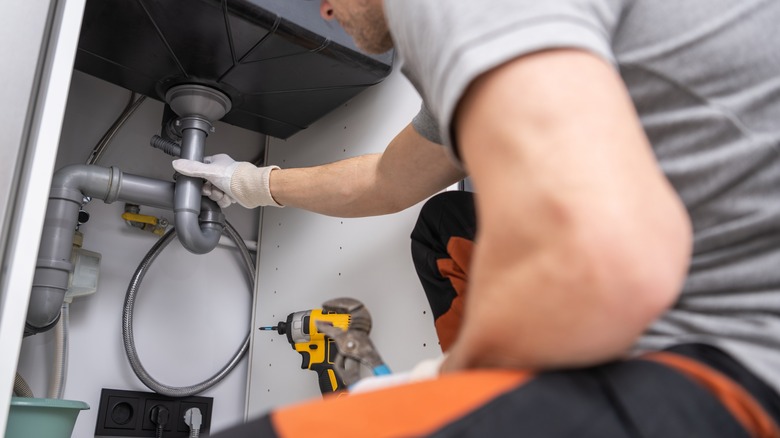
6. Avoid over-tightening
Dustin Smith and Kelly Russum say that over-tightening is the most common mistake people make when replacing a kitchen sink drain themselves. You'll need to tighten your pipe connections and fittings in order to create a seal and prevent leaks, but it's all to common to take things just a little bit too far with your handy wrench. In these cases, too much tightening can lead to cracks and broken parts.
"They either over-tighten plastic nuts until they crack, or under-tighten them, leading to slow, persistent leaks that often go unnoticed until the cabinets warp," says Smith. Over-tightening tends to be a bigger problem because once the pieces crack, you'll have to replace them. In the case of under-tightening, the fix is a bit easier and more immediate. You can make small adjustments as needed if you see that the nuts need to be tightened.
"Too much torque can crack plastic fittings or distort rubber gaskets, leading to leaks days or weeks later," adds Russum. These issues might not be obvious right away, so monitor for leaks following a drain repair or replacement.
7. Opt for a p-trap
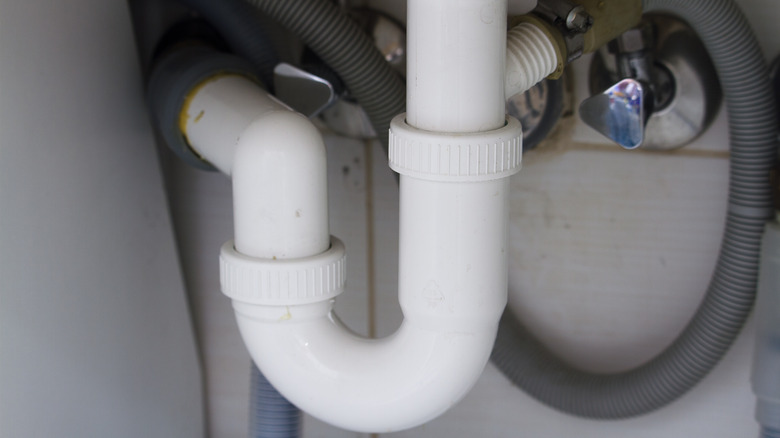
You should always be sure to maintain the right kind of ventilation when working on plumbing, especially when it comes to drains that take waste water to the sewer. P-traps are the preferred setup for drains because they prevent any backups. In many areas, s-traps are illegal because they can pose a safety hazard.
"S-traps are illegal in many areas because they can siphon water from the trap, letting sewer gas in," says Kelly Russum. Russum always recommends using a p-trap instead for a kitchen drain. These have the correct ventilation, including an AAV (air admittance valve). This keeps gas from the sewer from entering the space due to the pressure difference.
You should also be careful not to damage the p-trap or other parts as you work on the drain. Dustin Smith says that he commonly sees people accidentally damage what is already there when working in a tight space like under a kitchen sink. If your p-trap gets clogged, it may also be causing smelly issues with your kitchen sink. For this reason, the p-trap is often where plumbers begin when diagnosing kitchen sink drain issues. Even if your drain is working properly and you are just replacing parts or upgrading the setup, taking a good look at the p-trap is fantastic general maintenance.
8. Add a gasket
Forgetting to use gaskets to seal everything can cause slow leaks that create big problems over time. As you work on your kitchen sink drain, make sure to include gaskets at each connection. Forgetting even one gasket can cause problems with the other parts and damage the area under your sink. You may not even notice it until the cabinets begin to warp, but by then the damage is done. Using gaskets in between connections will prevent water from escaping and leaking out of the plumbing.
Gaskets are important because they create a watertight seal between other connections. These pieces are typically made of rubber so that they can be flexible and adjust for the flow and pipes. Don't use plumber's putty or other sealants since the rubber gaskets should be enough on their own to create the needed seal.
If you see small leaks, check the gaskets to see if they need to be replaced. When you replace any other plumbing, it's good practice to go with new gaskets as well.
9. Call a pro for complex sinks
There's a time to DIY and a time to call in an expert. You may be able to replace a simple drain, but if you're also dealing with a garbage disposal or double sink, it may be more trouble than it's worth, especially if you don't have the right tools. Letting a professional take care of it can be less costly in the long run.
Even though you'll have to pay upfront, getting it done correctly the first time will save you both time and money. If you already have two sinks in your kitchen or want to upgrade to make it more usable, the last thing that you want to do is forget to lineup the right plumbing, as well.
"The cost of professional help is usually far less than fixing extensive water damage from a botched job, so if you're not fully confident or lack the right tools, always opt for an expert," says Dustin Smith.
Any changes to your setup might also need to help of an expert. "If you're switching from a single to double-bowl setup or changing garbage disposals, that's more than just a 'drain swap' and may require layout changes and plumber help," says Kelly Russum.
10. Look for corrosion
Some signs of wear are normal, but major corrosion and rust can be an indicator of a bigger problem. Make sure that everything is sealed well and consider getting a pro to give the entire system a good look. Don't forget to check out the faucet, as well. Replacing an old, corroded faucet can give your kitchen sink a major facelift without a big investment of time or money.
Dustin Smith says that a lot of corrosion is a sign that there are bigger problems that may require an expert to give the entire plumbing system a once over. Corrosion most often occurs on metal pipes and fittings, but it can look a few different ways. If the water comes out looking discolored, it may be a sign that the pipes have corrosion inside that is leaching into the water. Visible discoloration on the outside of the pipes is a tell-tale sign that there is corrosion on the outside and usually on the inside, as well.
If this is the case, you'll likely need to replace the entire section of pipe and do a thorough check of other parts of the plumbing, as well. Even if you replace corroded parts, the same problem might persist. A plumber can get a better look with extra tools and trace the issues back to the source.
11. Don't deal with sludge
Black sludge is another big indicator that you should call in a plumber because you may have bigger problems than just replacing an old kitchen drain. You can try to deal with the clogged kitchen sink yourself, but if you're messing with the plumbing, you may want to have an expert come take a look to see why it is getting full of sludge in the first place.
"If you see rusted pipes or black sludge in the old drain, there may be deeper issues like improper pipe slope or venting or partial blockages further down the line," says Kelly Russum. Food, soap scum, and general waste can build up over time and cause blockages that need to be addressed. But this is made worse when your pipes are too flat and gravity can't help move the water through. You may need to end up changing the actual alignment and layout under your sink to get the proper slope to avoid future issues.
Other times you may want to rely on a pro include changing the layout of your sink or having to saw any galvanized metal pipes. "Hacksawing galvanized pipe can go south fast if you don't know how to deburr, seal, and match the new connection cleanly," says Russum. Any of these bigger jobs that require specialized tools may be too much for the average homeowner to take on efficiently. In this case, it's helpful to know when to call in the pros.
12. Test with the dishwasher
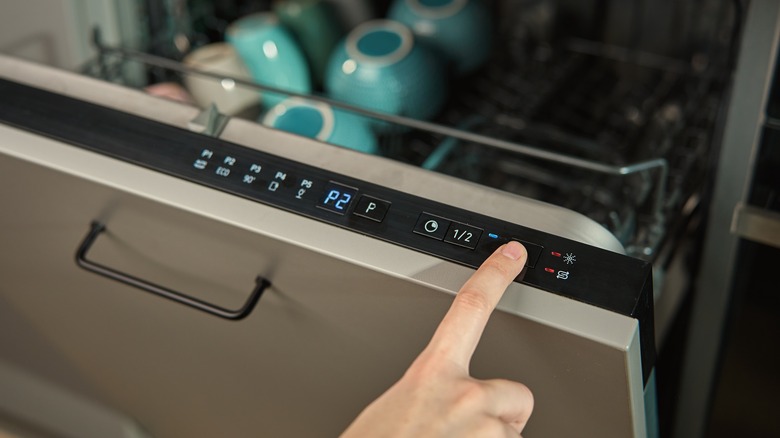
After you've fixed all of the problems or replaced parts of your kitchen sink drain, it's best to test everything to make sure that it's working correctly before calling it done. Kelly Russum has a few simple tests that anyone can do to make sure that there aren't any leaks.
"Before buttoning up, place a dry paper towel under the joints, and run water for at least two to three minutes to catch even the smallest drip you might not spot with your eyes," Russum says. "And another test is running the dishwasher briefly before final tightening. The discharge line connects to the drain, and any backflow will immediately reveal hidden alignment or sealing issues."
The kitchen sink drain is connected to the dishwasher, so give the system a test before you call the job done. Once it's all working properly, you can do the final tightening. If you find additional issues with the dishwasher, you may want to explore replacing that as well while you are working on your kitchen plumbing. A new dishwasher should hook up to your kitchen sink drain, but you may need a pro to get everything set up correctly.