19 Best Tips For Wallpapering Your Kitchen Like A Pro
We may receive a commission on purchases made from links.
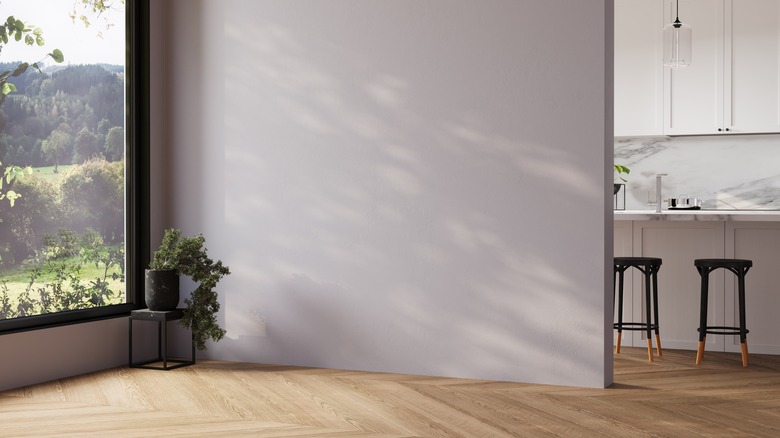
There are plenty of ways to upgrade your kitchen in a hurry. You can install hooks in cabinets for storage or use inexpensive materials to create a beautiful backsplash. If you're feeling creative, you can upcycle old fabric into curtains, take the doors off your cupboards for an open-shelved look, or even turn an empty tin can into countertop storage. One of the best ways to change the entire look and feel of your kitchen, however, is through wallpaper.
"We've seen a resurgence of wallpaper in kitchens, and for good reason," said Heidi Lapka, executive director of Wallcoverings Association. "It adds instant personality, color, and warmth to one of the most-used rooms in the home." She also points out that wallpaper isn't necessarily permanent. "Peel-and-stick options give renters or first-timers the flexibility to change things up with the seasons or as your style evolves."
You can't just throw any pattern on the wall and expect good results, however. You need the right color palette, the right pattern for the scale of the room, and a durable product that will hold up to the splashy, steamy, splattery nature of a kitchen. "When you are selecting a color, try and aim for a palette that complements your cabinetry and backsplash," advised Jo Rich, designer at Raydoor Sliding Walls & Doors. "Soft neutrals and muted pastels can help a space feel fresh without being overwhelming." Of course, that's but the tip of the iceberg. Chowhound talked to the experts to get the scoop, so make like a pro with 19 of the best tips for wallpapering your kitchen.
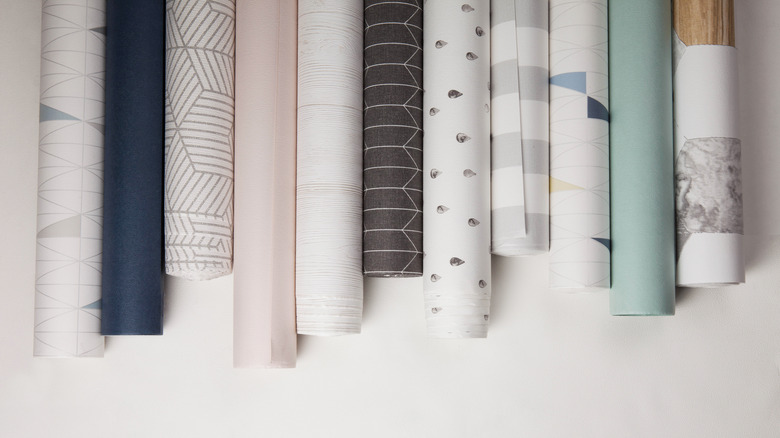
Coordinate patterns and colors
Wallpaper is seriously one of those kitchen trends we can't wait to see come back. Whether it was the Victorian Era or the Roaring '90s kitchen designs, it's had its moment in the spotlight — and it looks like that moment is returning. There are many ways to capitalize on it, but one of the most important things to do is to make sure you coordinate colors and patterns with what's already going on in your kitchen, as well as any adjacent rooms whose decor will be visible.
"Kitchens, they tend to lean bright and happy, like spring vibes, florals, light colors," said Carmine Argano, owner of Creative Design Ceramic Tile & Bath. "It's important that you always match the pattern to the overall theme of the room. You want it to feel like part of the space, not something slapped on last minute." Overall, said Rachel Blindauer, an interior and product designer at a company of her own name, Rachel Blindauer, "I tend to favor patterns that age well, like botanical prints, subtle geometrics, or vintage-inspired motifs."
Keep in mind that the best colors for your kitchen depend on your home's orientation, and this is as true for wallpaper as it is for paint. "Color should respond to the natural light in the space," Blindauer said. "Cooler tones work beautifully in sunny rooms, while warmer, saturated hues cozy up north-facing kitchens."
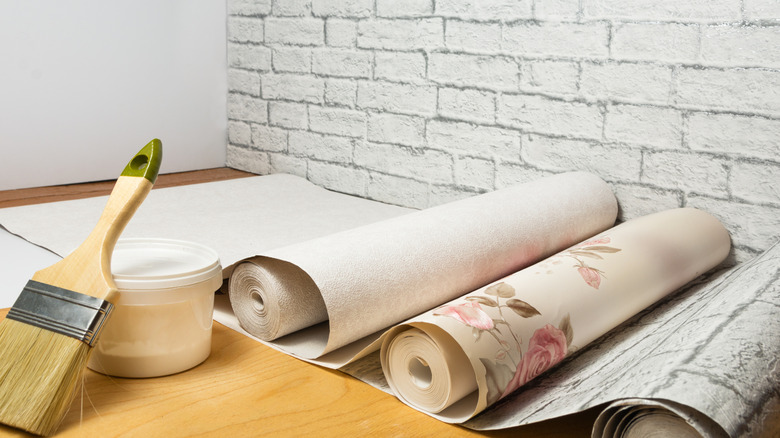
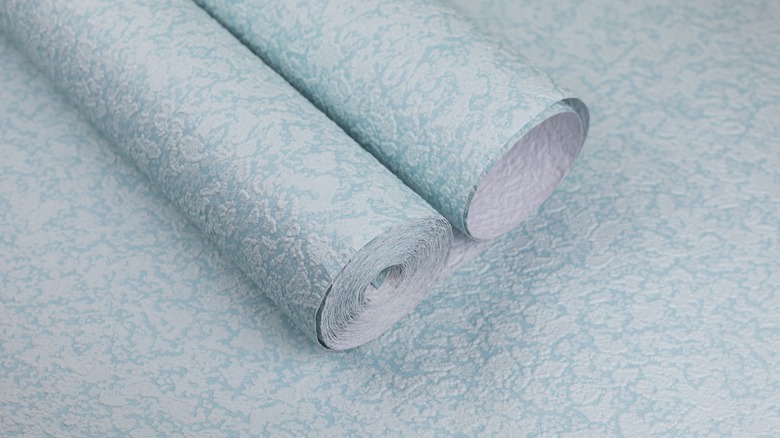
Choose the right type of wallpaper
Pattern and color are important, but they're not everything. One of the first steps for wallpapering your kitchen — assuming you want it to last — is to choose the right material as well. "When selecting wallpaper for a kitchen, durability should be as much a factor as style," said Ayhan Erdogan, interior design specialist and director at XwallX. "Kitchen walls are subjected to more moisture, splashes, and grease, so make sure your favorite mid-century-inspired wallpaper is either washable or made from vinyl and suitable for high-traffic, moisture-prone areas."
Rachel Blindauer agrees with the importance of material. "Wallpaper in a kitchen isn't just aesthetic," she said. "It's armor in disguise." Make sure that even your peel-and-stick options can handle steam, spatters, "and the occasional toddler with jam hands" (which honestly isn't that occasional, as anyone with toddlers will know).
Order an extra roll or two
Another consideration for wallpapering your kitchen is to plan for the future. "Always order an extra roll or two," Ayhan Erdogan said. "Wallpaper dye lots can vary, and you want to have some on hand for touch-ups." In other words, even the same pattern can alter over time, depending on the exact coloration. If it does, you'll notice that fresh strip hanging amidst the old ones, which can ruin the effect and require starting over. Rachel Blindauer agrees: "It's far more elegant to have leftovers than run short halfway through a wall."
Lastly, make sure that you test a sample under your kitchen's lighting to ensure there aren't any weird glares or color changes, Erdogan said. Again, this makes it important to order an extra roll in case the exact material or manufacturing process changes.
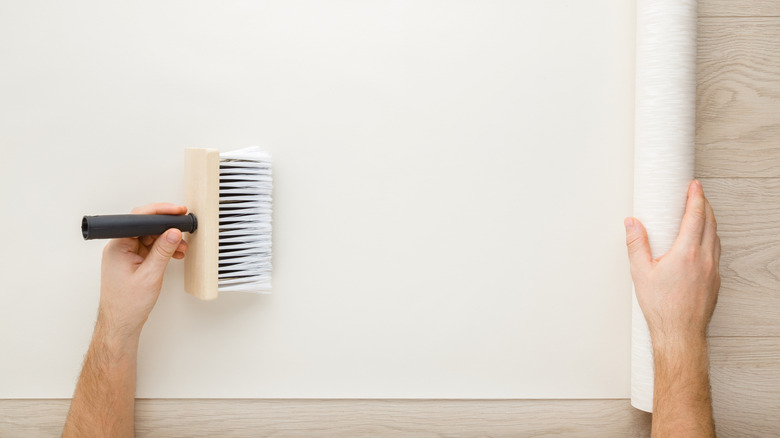
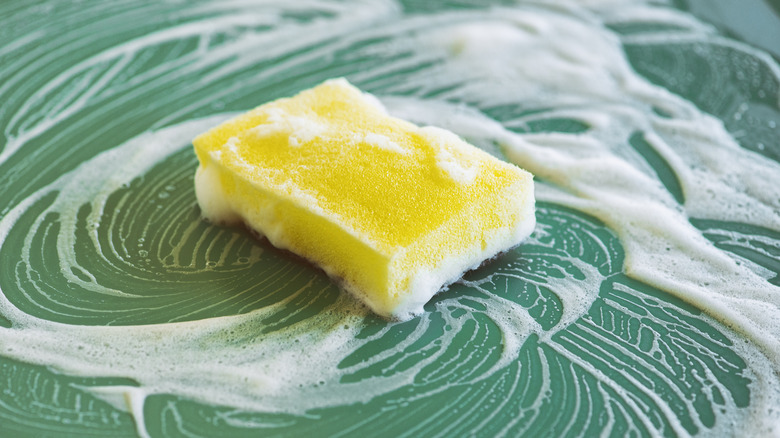
Clean the walls
Don't make the mistake of throwing your wallpaper up without any prep. This can lead to wallpaper that peels, stains, shows texture, or otherwise looks crummy. On grease spots, for instance, the wallpaper glue or peel-and-stick adhesive won't hold well. Thus, even if your walls look pretty good, you should always clean them thoroughly without skipping any areas. "Use a mild soap solution to remove grease or residue. Kitchens tend to hide more than they show," said Arvid Lithander, co-founder and creative director of Wild Palace. A vinegar-based solution also works well, Heidi Lapka added.
Another helpful tip for wallpapering your kitchen is to remove outlet covers, said Rachel Blindauer. That way, you can stick the wallpaper right to the edges of the hole, then cover the seams with the light plate or outlet cover when you're done.
Smooth the area
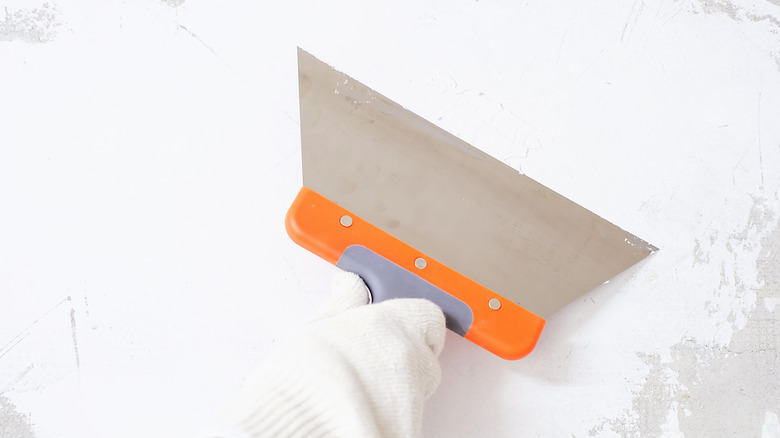
Once your walls are clean, it's time to rehab. "Check the wall for any dents, nail pops, or uneven spots," Carmine Argano said. "You want the surface smooth. Wallpaper shows everything, even the little stuff, so this part matters." To avoid any weird bumps or holes once your wallpaper goes on, first spackle holes and patch rough or uneven spots. Use a scraper to make sure the result is flat. A Sugelary Drywall Patch Repair Kit with Scraper is a good all-in-one solution here.
"Once dry, check for any imperfections," Arvid Lithander said. "Sand down bumps, patch holes, and smooth everything out." Wallpaper is far less forgiving than paint, he said, so you can't rely on it to literally gloss over imperfections. Also, higher sheens like semi-gloss and gloss make it harder for wallpaper to stick, so you'll want to give them a once-over with the sander, Ayhan Erdogan said.
Use a primer if needed

Often, patching and sanding aren't enough. That's where primer comes in. "If your walls are particularly porous or newly repaired, apply a wallpaper primer (also called sizing) to create the perfect adhesion surface and prevent peeling later," Rachel Blindauer instructed. If you fail to do this, Carmine Argano said, you risk the wallpaper glue simply soaking into your wall, and then your paper has nothing to adhere to. "Prime it, let it dry, and now the wall's ready to go," he said.
Even if you manage to get it to stick, Arvid Lithander pointed out, glue drying up weirdly can cause bubbling down the line, which never looks good. Consider options such as this basic Wallpaper Primer and Sealer or Roman's E-Z Hang Peel & Stick Wallpaper Helper + Pre-Pasted Activator.
Remove the base molding
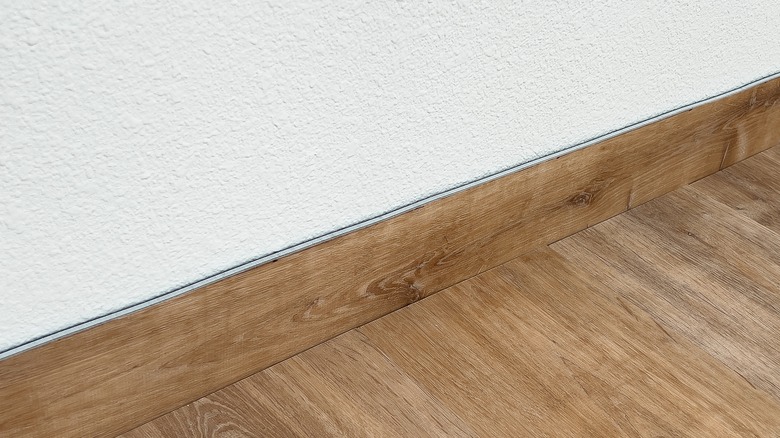
You don't have to remove the base molding, but it's one of the most useful and overlooked tactics. "Most people skip that," Carmine Argano said, "but if you leave the molding on and cut around it, the wallpaper curls at the bottom over time. If you take it off and bring the paper all the way down, then put the molding back over it, it looks clean and holds tight."
To remove baseboards without damaging your wall, first cut through the caulk carefully with a sharp utility knife. Once you've made the score line, insert a putty knife into the crack and gently wiggle it outward until you can fit a small crowbar into the gap and pull. Remember that many baseboards have two layers: the main one and the little transition strip along the bottom of the floor to secure it. Do the bottom one first.
Start in a corner or stick to the center
You can take two basic approaches to this step of wallpapering your kitchen. "For hanging wallpaper, you need to start by snapping a perfectly vertical plumb line in a corner next to the doorframe to guide your first strip," Jo Rich said. "This step is critical so the rest of the process runs smoothly." Ideally, you choose the least conspicuous corner, Rachel Blindauer said, so the seam doesn't become a focal point.
That said, Carmine Argano takes a different approach. "I like to center the wallpaper on the wall so it looks balanced," he said. "You measure the wall, find the center, and draw a straight vertical line using a level." Use that line to guide your first strip.
Measure and cut accurately
Once you know where you want to start, it's time to measure. At this phase, it's very important to double-check your measurements and pay special attention to outlets and corners, where you might want to triple-check. While you can technically begin a new wallpaper strip halfway down the wall, it doesn't look that nice, so it's better to get it right from the start.
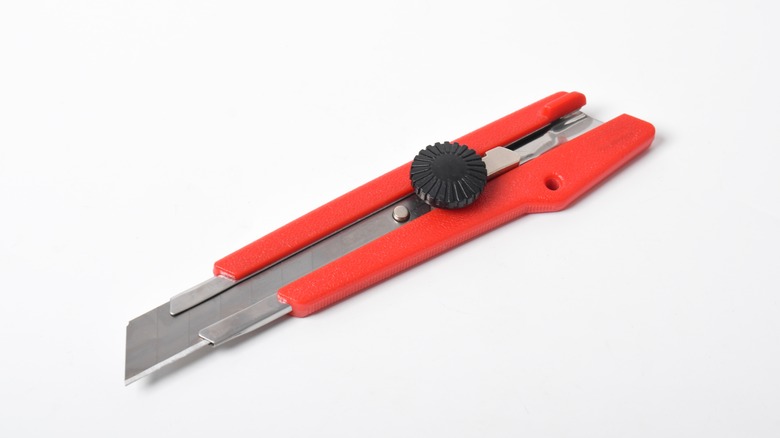
Make sure to cut your wallpaper with a sharp pair of scissors, such as the Amazon Basics Stainless Steel Scissors, or a knife, like the Amazon Basics Folding Utility Knife. Note that a utility knife is not simply a razor blade or box cutter, but a strong tool made for heavy-duty applications. Get the right tools.
Don't forget to leave some overlap
You don't want to get to the bottom of the wall and realize you're half an inch short on wallpaper. Instead, leave some overlap so you can get all the way to the bottom of the wall or around those outlet holes. "Measure and cut each strip carefully, leaving an inch or two of extra length at the top and bottom," Arvid Lithander said.
However, the advice changes a little if you're removing the base molding. In that case, Carmine Argano said, you measure the full height of the wall, from crown molding to floor, then cut it about a half inch shorter. "You don't need it touching the floor since your molding will cover the gap," he said. "This keeps things neat and avoids extra cutting."
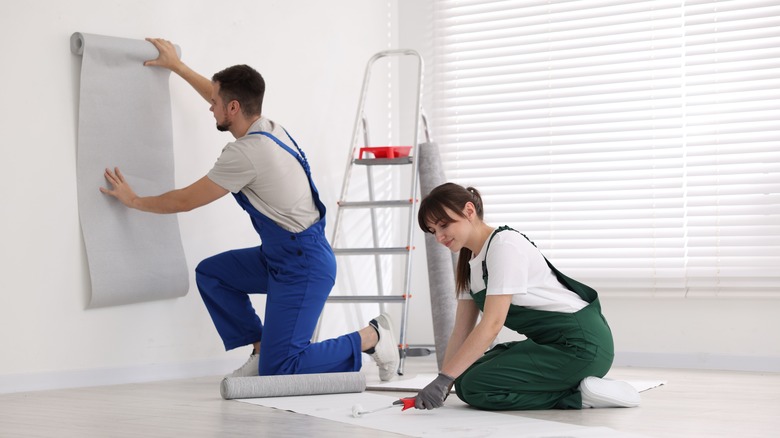
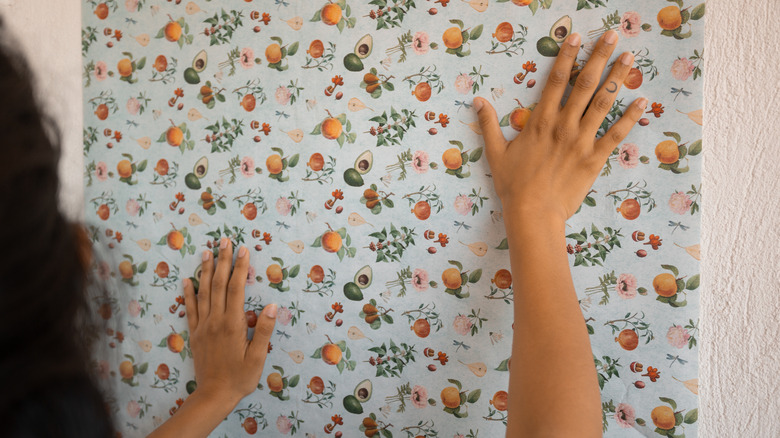
Work from top to bottom
Following advice for wallpapering your kitchen should make your job easier, not harder. In this case, you should let gravity do your work for you by pasting your wallpaper from top to bottom. "Start at the top and leave about a quarter-inch overlap at the ceiling," Carmine Argano said. "Press it in place with your hands first, working your way down to the floor." After that, you will smooth it out with a squeegee or brush to remove all the extra air. Most importantly, Arvid Lithander said, make sure to take your time: "Rushing is wallpaper's worst enemy."
If you feel like it, you can also wallpaper overhead, too. "We always tell people not to forget the fifth wall — the ceiling," Heidi Lapka said.
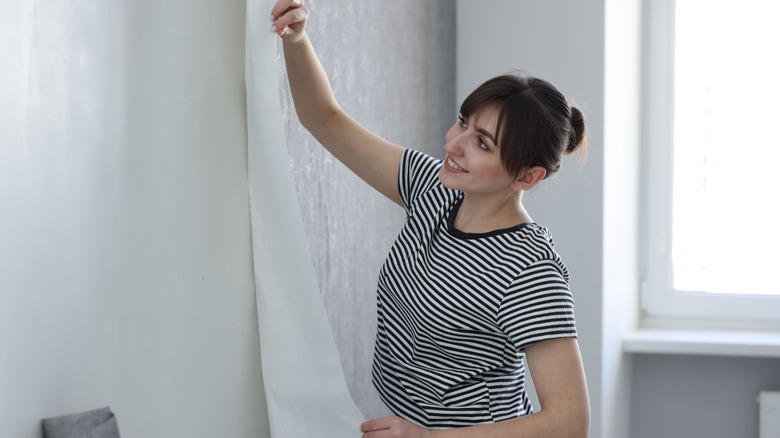
Remove backing as you go (for peel-and-stick wallpaper)
When wallpapering your kitchen with peel-and-stick paper, it's best to remove the backing as you go. If you remove too much at once, you risk it sticking to itself and getting ruined before you manage to place it on the wall. Instead, do only as much as you need to get the next section to stick, working your way along slowly and carefully.
To do this correctly, Ayhan Erdogan said, "Remove the backing slowly, and then press the strip from top to bottom, smoothing out bubbles with a wallpaper brush as you work." Remove only as much at the top as you need to get it to hang, then line it up carefully against the molding before continuing.
Use the recommended glue (for traditional wallpaper)
Glue is not one-size-fits-all, so properly putting up wallpaper in your kitchen should involve researching the glue or reading the manufacturer's instructions for soaking and pasting, Ayhan Erdogan said. The type of wallpaper has specific needs, he added, so don't wing it.
When it's time to paste it in place, Carmine Argano said, "Don't go gluing the whole wall. Just roll on glue in the area you're working on, one strip at a time. Once the glue is on, take your first strip and line it up with that vertical line you marked earlier." If you're using wallpaper that requires soaking to expand to its full size and properly adhere, make sure you soak only for as long as is recommended.
Smooth air bubbles
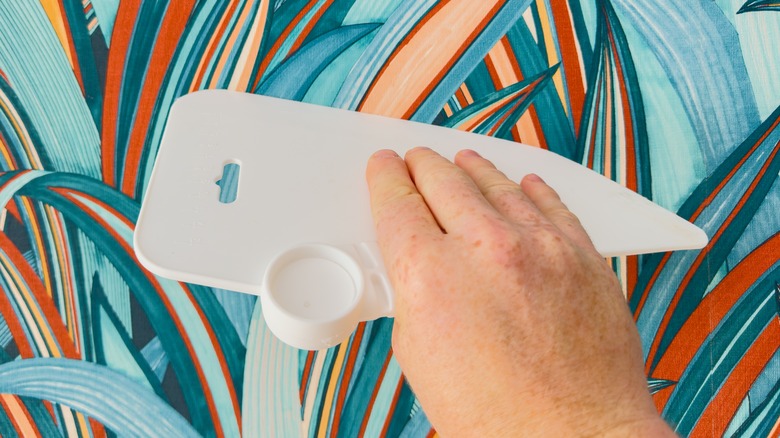
Air bubbles are no one's friend and can ruin the look of even the prettiest pattern. To make sure you avoid them, follow all instructions for priming your wall and properly adhering your paper. "Then take a rubber squeegee and go over the paper to get out the air bubbles and smooth the glue underneath," Carmine Argano said. "Do it a couple times, up and down, side to side. That pressure helps the paper bond tight to the wall and keeps bubbles from forming later."
If you prefer, you can use a soft brush, Jo Rich said. The Art3d Smoothing Tool Kit is meant to help if you're using a peel-and-stick variety of wallpaper, but other traditional tools are just fine, too.
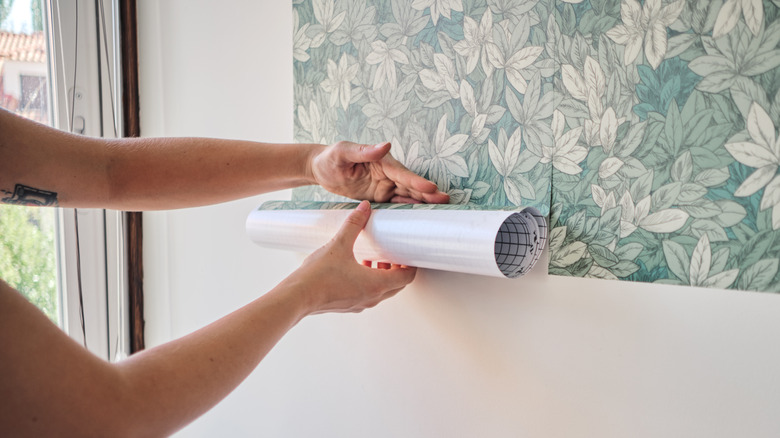
Line up patterns before cutting the next strip
One of the biggest missteps in DIY wallpapering is failing to line up your strips properly. "If your wallpaper has a pattern, line it up with the next piece before you cut it," Carmine Argano said. "Match the design exactly so it flows right across the wall. Cut it, glue the next section of wall, and repeat the process."
One of the best tips for wallpapering your kitchen is to check beforehand how your wallpaper is meant to line up, Ayhan Erdogan said. Some brands want you to overlap the wallpaper edges, so they leave a little extra with guides. Others expect you to butt the strips up against one another. Make sure you follow the instructions exactly.
Trim extra with a sharp knife
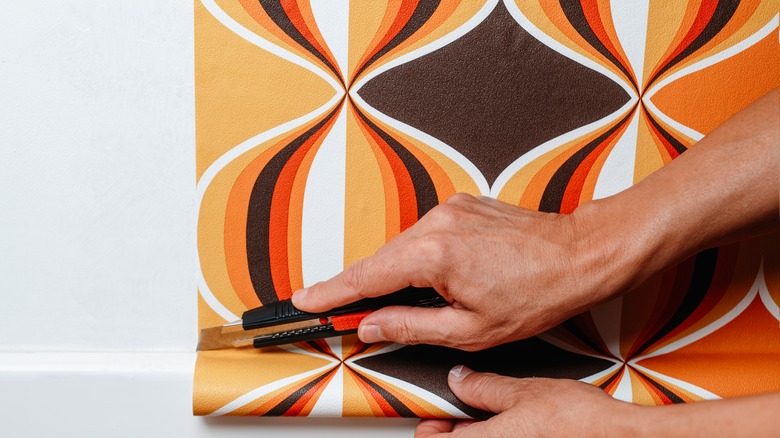
Last but not least, any expert will tell you that wallpapering your kitchen requires having a sharp utility knife on hand so you can make clean lines when you trim the paper. Again, the Amazon Basics Folding Utility Knife is a good bet. Make sure you run your knife right along the ceiling where the wall meets the molding, giving you a nice, clean look. This is especially important if you plan to run caulk along the top to keep it in place.
At the base, you will either trim at the baseboard or tack the baseboard back in place. Either way, a clean line makes your wallpaper easier to work with during the cleanup process and while enjoying it every day.
Clean the area thoroughly
Once you're done, Rachel Blindauer advised, you should wipe the wallpaper with a damp cloth all over. This will help to remove any adhesive smudges that are left behind, which is especially important if you're using glue or an adhesive aid. Although you can wipe it later, it's often harder to get glue off once it's fully dried, so this technique will save you from struggling in the future.
Finally, Carmine Argano said, "Finish by putting your base molding back on. Clean the area, step back, and admire the job. That's how you do it right." Of course, if you haven't taken your base molding off in the first place, you can skip this step, but it looks nicer if you do.
Apply caulk
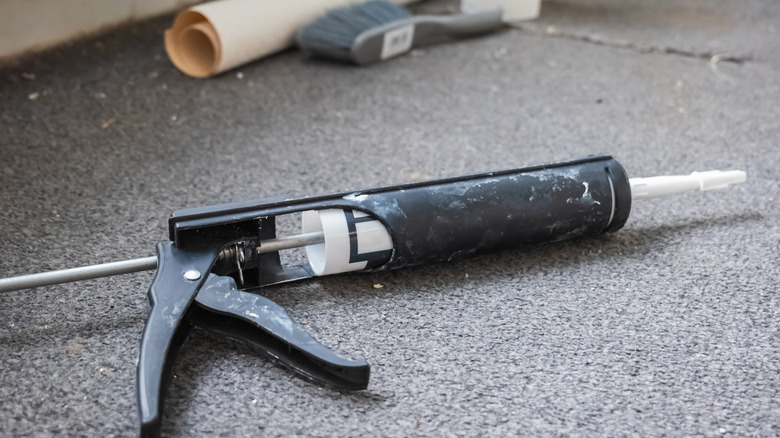
Caulk: the wallpapering tool you didn't know you needed. "I always caulk where the wallpaper meets the ceiling," Carmine Argano said. "A thin bead of white caulk seals the edge so moisture doesn't sneak behind the paper and cause it to curl. Around any cabinets or obstacles, I do the same with the seams. Caulking those tight spots keeps the finish clean and protects the edges."
If you don't know how to caulk, watch a few YouTube videos to understand the science of how the caulk flows from the tube. As someone who has learned from their mistakes, this writer can attest that there is a right and a wrong way to do this. Learning how to do it properly is one of the most helpful things you can do when wallpapering your kitchen.
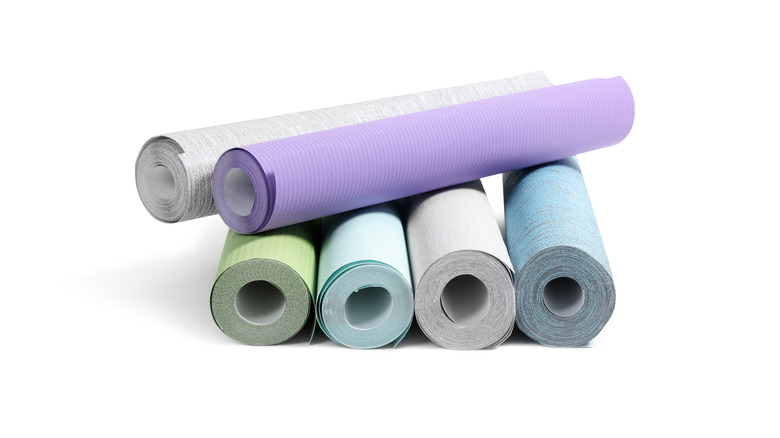
Use your leftovers creatively
Among the absolute best tips for wallpapering your kitchen is to keep those leftovers! There's so much you can do with them. "Wallpaper isn't just for walls," Ayhan Erdogan said. "It can also be used as a design element to focus attention on architectural features." Among his favorite tips are using it to line shelving, glass-fronted cabinets, the back of a coffee station, drawer insides, or your pantry. "These little applications allow you to be daring without going over the top, and you can change them up with the seasons."
You can also consider breaking the mold and papering a focal point in the middle of your room. "A fun way to add some pattern and color is to wallpaper your kitchen island," Arvid Lithander said. "These are small, joyful details that bring charm and personality without overwhelming the room." If you want to go really crazy, Carmine Argano added, use it on door or window trim, but only if it's square and has no grooves or detailing. "It gives it a clean, built-in look," he said.