10 Expert Tips For Brining A Thanksgiving Turkey That'll Wow Your Guests

We may receive a commission on purchases made from links.
The dreaded holiday question: Will the turkey be moist enough? Will its insides steam with succulence or explode like the fateful turkey in "National Lampoon's Christmas Vacation?" If this is a question that has worried you as a first-time turkey-doer, or worse, as someone who has cooked a dry turkey in past (raises hand), then you might want to look into brined turkeys.
Now, it's true that you can buy brined turkeys from stores such as Trader Joe's, but everything is better when you make it yourself, isn't it? You can take your basic roasted turkey recipe to the next level by learning the science — and art — of either wet brining or dry brining. First and foremost, it's important to understand the science behind brining: Essentially, you place the turkey in a brine or apply a salt rub to draw out the moisture from the meat and mix with the salt. Then the turkey meat draws the salt and moisture back into the proteins, flooding the meat with juiciness that will remain even after you bake it.
There are, however, several pitfalls of which to be aware. Water brining can fail, and dry rubs can become too pungent for taste if you do them incorrectly. Luckily, Chowhound got the inside scoop from the experts so you can do it right the first time ... no Griswold family disaster needed. "The world of turkey brining can feel a little intimidating, but once you get the basics, it's pretty straightforward and makes a huge difference," says Robert Smith, a private chef at Culinary Collective Atl. Accordingly, here are 10 tips to help your turkey-brined holiday go smoothly.
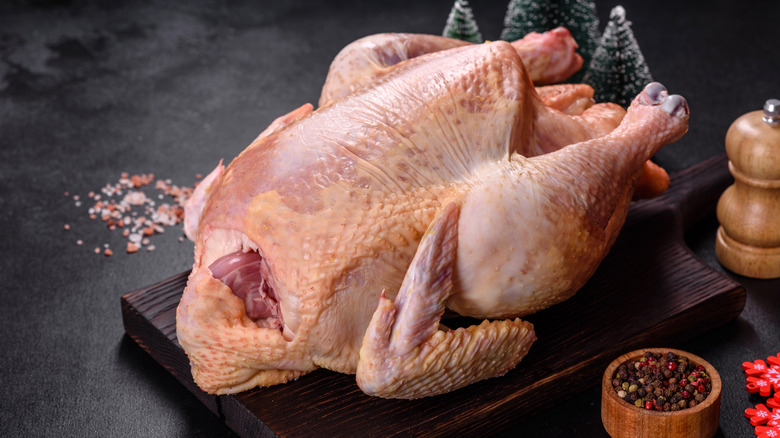
1. Get the right kind of turkey
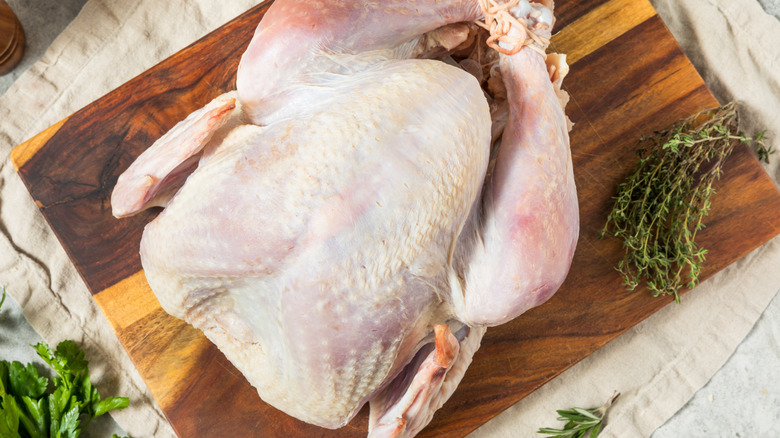
The truth is, it's hard to get a turkey moist. Basting doesn't work that well on such a large piece of meat (though it is effective on smaller cuts, such as pork chops). Brining does make a difference, however, by allowing salt to penetrate meat and softening the muscle fibers, which makes the meat more tender and adds moisture. Indeed, brines are magical enough to allow you to cook a turkey from frozen without it drying out. Additionally, it adds flavor to your bird: Whichever ingredients you use in your brine, from spices to herbs to citrus, they will also be drawn deep into the proteins.
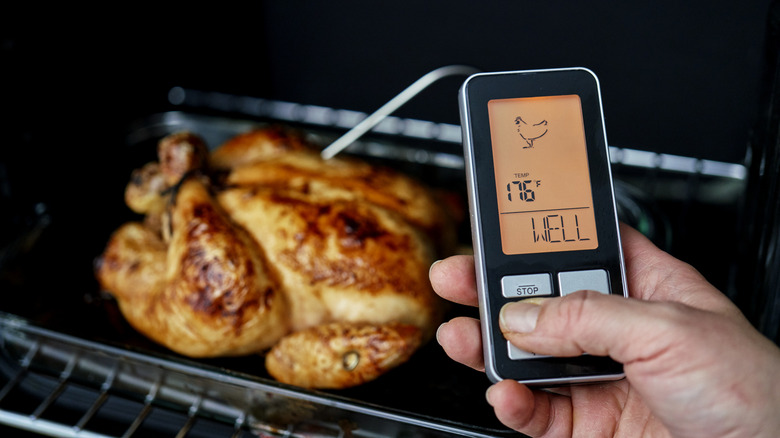
In order for this to work, though, you have to get the right kind of turkey. "Never brine a pre-brined or kosher turkey," Robert Smith says. "They are already treated with salt solutions, and brining them again will result in a severely salty bird." It's also important when you brine your bird to disregard the time chart listed on the package and use the one called for by your recipe. "Brining will make the turkey cook a bit faster than an unbrined one, so rely on an instant-read meat thermometer," Smith says. You're looking to reach 165 degrees Fahrenheit in the thigh before you take the turkey out. Any higher, and you risk overcooking the bird and losing that tender moisture, even if you have brined it.
2. Choose between wet and dry brining
While either kind of brining uses copious amounts of salt to add flavor and improve texture, there are distinct differences between the wet and dry varieties. "A wet brine, which is what most people think of when they imagine 'brining a turkey,' is a salt (and usually additionally flavored) bath into which your turkey is submerged for one to two days," explains Jessie-Sierra Ross, author of Seasons Around the Table: Effortless Entertaining with Floral Tablescapes & Seasonal Recipes. "A dry brine, on the other hand, is a type of salt 'rub' (salt, herbs, and spices) placed on the outside of the turkey to both season it and to draw out extra moisture."
Both techniques do season the meat, Ross says, but the preparation is different. Dry brining is easier, requiring only that you prepare the rub and then massage it into the turkey's skin. Wet brining, on the other hand, requires you to make and cool a solution before applying it, which can increase the time and labor (though not significantly compared to the chore of buying, thawing, and cooking your turkey). Both methods require the turkey to sit with the brine for at least 24 hours, longer if you wish, so planning several days ahead is key.
The results also differ. Dry brines don't soak the skin, so the turkey cooks better. If you care about that perfectly golden, crispy skin, this is a better technique for you. On the other hand, she adds, a wet brine usually results in a juicier final product. If you're one who longs for that moist and tender breast meat, wet brines are likely the way to go.
3. Collect all your tools well ahead of the holiday
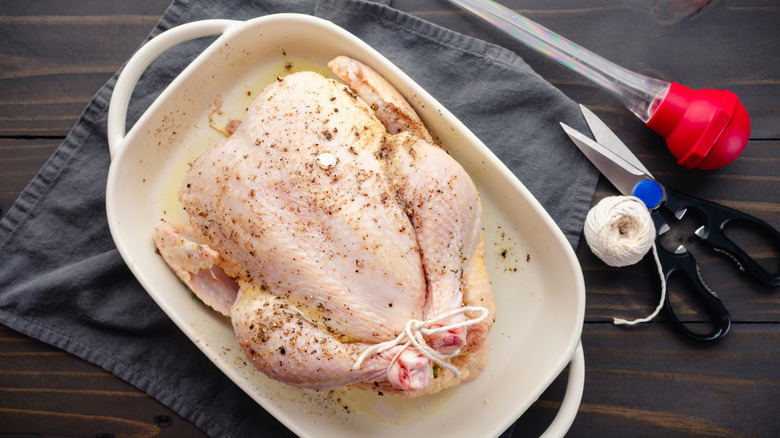
Holidays get busy, and you don't want to find out at the last minute that you haven't got all the tools on hand, especially as some can be difficult to procure last minute. The good news is that you really don't need much specialized equipment to brine your bird. "For wet brining, make sure you have a container large enough to hold the turkey with enough room to keep it submerged in the brine solution," advises Michael Handal, a chef at the Institute of Culinary Education's New York City campus. Overlooking this is a common rookie mistake, he says, so take note of volume requirements. "A whole small turkey submerged in brine solution will need a container in the 3-4 gallon range. The larger the turkey, the more brine needed, and the bigger the container needs to be."
As for containers, those vary. Jessie-Sierra Ross prefers a large stockpot for wet brining, while Robert Smith says a clean cooler or a Large Turkey Brine Bag will also do the trick. If you're dry brining, the turkey doesn't need to be submerged. Rather, it needs airflow all around to allow the salt-penetration process to take place effectively. A wire rack over a large baking sheet or your regular turkey setup (think a Circulon Nonstick Roasting Pan With Rack) will do the trick here. This allows airflow underneath, Ross says.
Last but not least, you'll need a thermometer so you can take accurate temperature readings and avoid overcooking your bird. The Alpha Grillers Digital Instant Read Food Thermometer is beloved online.
4. Give yourself enough prep time

Again, timing matters here. Underbrine your turkey, and you might as well not even bother. This is not a day-of process but rather one that requires several days' planning and foresight. "Like any traditional marinade, the more time the turkey spends brining, the more flavor will be imparted," Jessie-Sierra Ross says. She brines her turkey for a minimum of 24 hours, but 48 hours is even better. "Anything less diminishes the flavor of the turkey," she says.
Note also that preparing the brine takes some time. "You need to boil the salt solution and let it cool fully," she says. While preparing your salt solution and adding flavoring agents doesn't take any more time than preparing a dry rub, it is important you bring the mixture to a full boil so the salt dissolves completely into the water. Then you've got to cool the brine before you put the turkey in, or you risk raising the turkey's temperature to a dangerous level that could encourage bacterial formation. Your goal: to keep it out of the 40- to 140-degree Fahrenheit "danger zone," in which bacteria can multiply rapidly. Once you place the turkey into the cold brine, it's time to get it into the fridge or cooler for the duration of its brining period. For a dry brine, she adds, rub it on, loosely cover the turkey with plastic wrap, and place it in a fridge or cooler.
Overall, says Robert Smith, you should plan about two days for the entire process. Making a shopping list ahead of time with all the brining ingredients will save you heartache, adds Michael Handal, especially if you have to go to multiple stores.
5. Consider spatchcocking the turkey
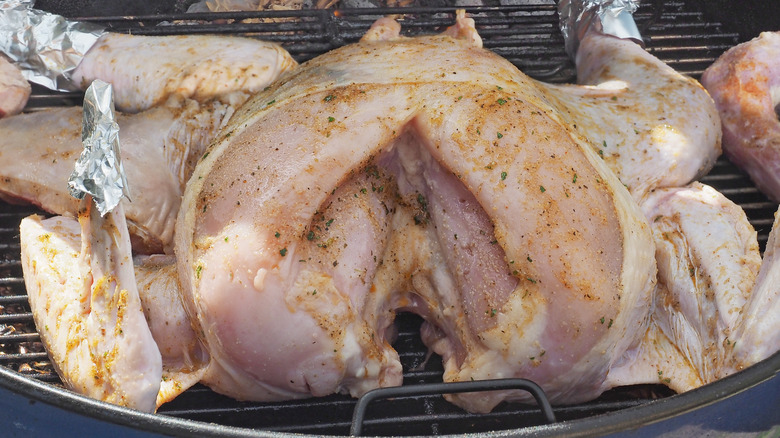
What's spatchcocking, you wonder? Excellent question. "Spatchcock is a technique where you butterfly a chicken or turkey by removing structural bones from the bird, allowing you to press it flat on a baking sheet," Jessie-Sierra Ross says. This allows you to get a more even result, reducing the oven time and cooking the skin to a crisp on all sides (rather than it getting soggy on the bottom). "Is it necessary to spatchcock for a beautifully roasted turkey?" she asks. "No, not really. But it makes for a showstopping presentation!"
Spatchcocking is an especially good technique if you plan to dry brine your turkey, Robert Smith says, because you're already going for crispy skin, and this technique maximizes it. Moreover, it eliminates the common problem of dry breast meat because the cooking time is quicker — though exactly how much quicker depends on the size of the turkey.
The benefits don't end there, though. "If you are using a dry rub, spatchcocking the turkey makes it easier to rub the spice mixture directly onto all exposed surfaces," Michael Handal says. Plus, by removing some of the main structural bones, you can fit a spatchcocked turkey into a significantly smaller container.
If you're going to spatchcock the turkey yourself, make sure you have a sharp tool to do it. Although a knife might seem like the obvious tool, sharp and strong kitchen shears — for instance, Dragon Riot Heavy Duty Poultry Shears — are actually a better bet. These minimize the chance of slipping along a bone and cutting yourself, though the blades do detach and become a knife should you need it.
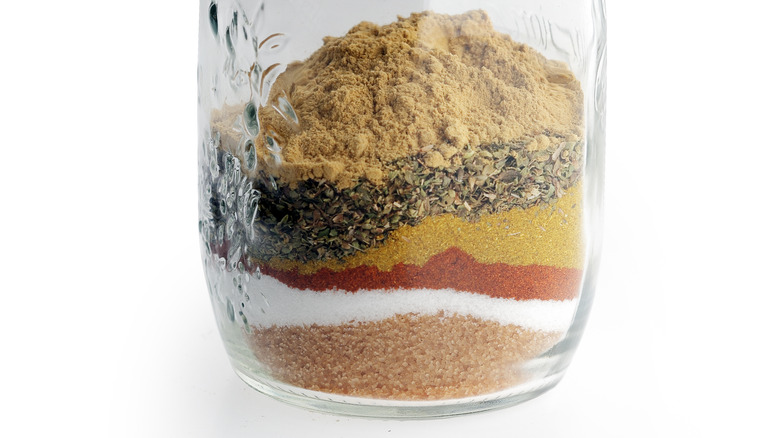
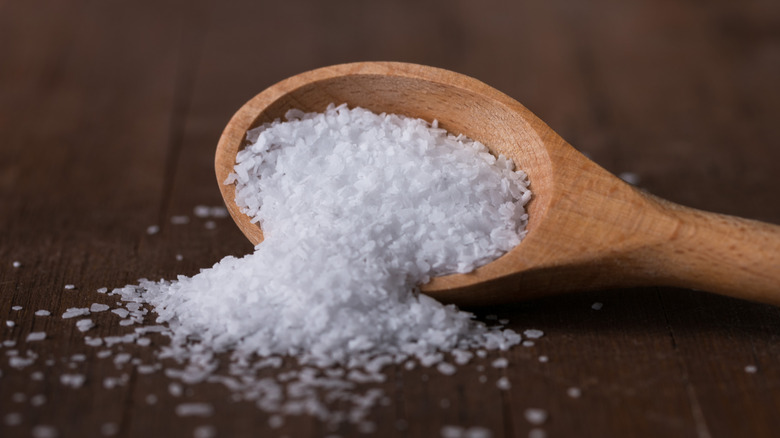
6. Use the right salt type and ratio
In addition to choosing a method, collecting your tools, and preparing the turkey, you need to choose a specific recipe. A plain salt solution is one approach; soy sauce brining is another ... and there are a thousand more recipes from which to choose, including dry brining. Now, you could buy a dry rub if you wanted, such as Tailgate Spices Personal Fowl Poultry Spice Blend, but you'll probably get a better result if you measure out your ingredients yourself. That's where the right ratio comes in, because whichever flavorings you decide to add, you just can't wing those salinity levels.
"For a wet brine, a good starting ratio is about 1 cup of kosher salt per gallon of water, though some recipes use less," Robert Smith says. "For a dry brine, use about 1 tablespoon of kosher salt per 5 pounds of turkey." He likes kosher salt, as its coarse structure leads to excellent dissolving in the water for a wet brine. Plus, it provides better control when adding amounts than does table salt.
There's no need to overthink the product you choose. Morton Coarse Kosher Salt will do just fine. Diamond Crystal Kosher Salt is also great. The only thing to note here is that different salt types have different densities and require you to adjust your recipe accordingly. For instance, use 4½ tablespoons of Morton or 6 tablespoons of Diamond Crystal in a dry brine, Michael Handal says. If all you have is plain table salt, fine, but limit it to 3 tablespoons. It's best to follow a recipe that recommends a specific type of salt in specific amounts.
7. Add additional flavoring agents
Now for those flavoring agents. For a standout roasted turkey, you might want to add more than salt (or a salt substitute, such as soy sauce). "Additional seasonings are one of the most interesting parts of whipping up a brine," Jessie-Sierra Ross says. "With roasted turkey (or chicken), you can easily go with an herbaceous blend of traditional flavors like sage, rosemary, thyme, garlic, and black peppercorn, or slightly more autumnal by using apple cider, lemon, marjoram, brown sugar, and orange peel."
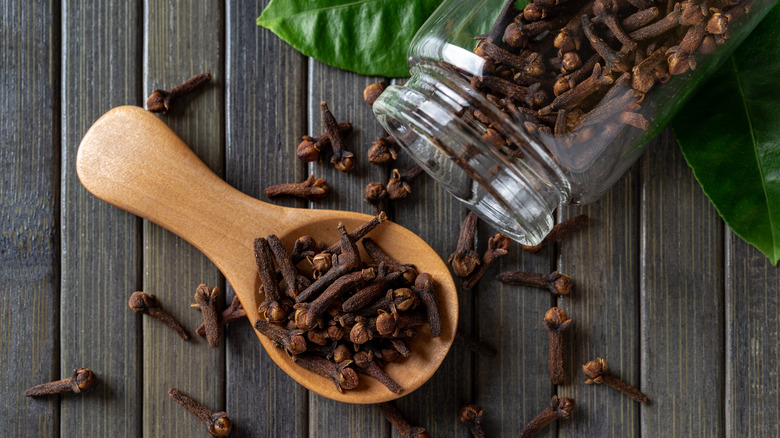
Every chef has their own preference, of course. Robert Smith loves to combine herbs such as rosemary, thyme, and sage with garlic, lemon or orange zest, and a sweetener: brown sugar and molasses will both do nicely. For dry brines, Michael Handal recommends ground herbs and spices such as thyme, rosemary, laurel, and poultry seasoning. He says wet brines call for whole spices: bay leaves, black peppercorns, cloves, cinnamon, allspice, and juniper berries are all winners in his book.
If you don't have the time to source your own individual ingredients, you can also buy brines online. Both the San Francisco Salt Company Organic Garlic Rosemary Turkey Brine Kit and the Turkey Perfect Fire & Flavor Apple Sage Brine are fan favorites. Where possible, though, assembling a brine yourself will lead to fresher flavors and, let's face it, a little more chef-ly pride.
8. Keep the turkey adequately cooled while brining

Just as when you're thawing a turkey, you must keep your bird under refrigeration the entire time to prevent bacterial formation (the same reason you should only add turkey to a fully cooled brine). "You must keep your turkey cold during brining for food safety," Robert Smith says. "The internal temperature of the turkey and the brine must remain below 40 degrees Fahrenheit at all times to prevent rapid bacterial growth." If you can't fit the container in the fridge, he says, don't worry: You can use a large cooler, such as a Coleman Chiller 48-Quart Insulated Portable Cooler. "Fill the empty space with ice or frozen gel packs, making sure to add more ice as it melts to maintain the safe temperature," he warns.
If you want to place the turkey in your fridge but a large stockpot won't fit, then a brining bag is your best friend. Made of plastic, it is malleable and can be stuffed into significantly smaller spaces. "There are turkey brining bags designed to hold virtually any size turkey," Jessie-Sierra Ross says. And just as with a turkey in a pot, you can put a brine-bag turkey in a cooler with ice if need be.
Spatchcocked turkeys should be flat, Michael Handal says, so if you can't fit it into either a fridge or cooler because your rack is too large, you shouldn't spatchcock it until the last moment. "You may only be able to season the turkey before cooking and then into the oven," he says, so make sure to measure your setup beforehand.
9. Dry off your turkey before cooking
Always, always make sure to dry your turkey before cooking. "The most crucial step is to thoroughly rinse a wet-brined turkey under cold running water to remove excess salt from the surface, and then pat the entire bird absolutely dry with paper towels," Robert Smith says. If you don't rinse it, your bird will be too salty. If you don't dry it thoroughly, the skin will be even soggier.
For a dry-brined turkey, you don't need to rinse anything off. However, you should make sure the turkey is dry nonetheless, as even a dry rub will bring moisture to the surface that is undesirable when roasting. Simply pat it dry just as you would a rinsed turkey. Even better, Smith says, place the turkey on a rack and leave it uncovered in the fridge for 8 to 24 hours. "This air-drying step pulls moisture from the skin, which is the secret to getting a truly crispy, golden-brown skin when you roast it," he says.
Note that even though you want the turkey to be completely dry on the outside before cooking, that's not the case on the inside. "The empty cavity of a turkey can impact cooking consistency," Jessie-Sierra Ross says. "I fill it up with fresh herbs, quartered apples, and yellow onions. This helps the turkey cook more consistently as well as subtly flavoring the meat with the steam of those ingredients." That said, you want to keep the turkey out of the juices if you can, so she tucks the wings underneath to prop the turkey up on its "elbows."
10. Follow food safety protocols throughout
Aside from keeping the turkey cool during the brining process, there are other food safety steps you should take for the best and safest result. Sanitize your hands throughout the process, Michael Handal says, since raw poultry can carry salmonella. You should also immediately sanitize any surface that came into contact with the uncooked turkey as soon as you're done — e.g., sinks, coolers, and countertops.
"I believe that high cooking temperatures are your best friend when roasting any kind of bird," Jessie-Sierra Ross says. "Using a high smoke-point oil (I use avocado oil), coat the outside of the turkey, place your turkey in a roasting pan and into an oven set for 400 degrees Fahrenheit on convection mode." Do not simply follow the recipe's listed times per pound of turkey, Handal adds: "While a time guideline in a recipe is helpful for knowing when the turkey is done, nothing should take the place of an accurate temperature reading." The safe internal temperature recommended by the U.S. Department of Agriculture is 165 degrees Fahrenheit, taken from the thickest part of the breast or the innermost part of the thigh. Make sure your thermometer doesn't hit bone. "If you are stuffing the turkey, the center of the stuffing inside the cavity becomes the spot to take this reading," he adds.
You should also make sure to cool the turkey for 30-45 minutes once it's done cooking. That gives it enough time to rest and resorb the juices and helps you avoid burning yourself. Lastly, if you're going to use an oven bag or any other tool unfamiliar to you, make sure you read the instructions thoroughly. Experimentation is fine, but food safety should always come first.