6 Tips For Braising Meat With Soda
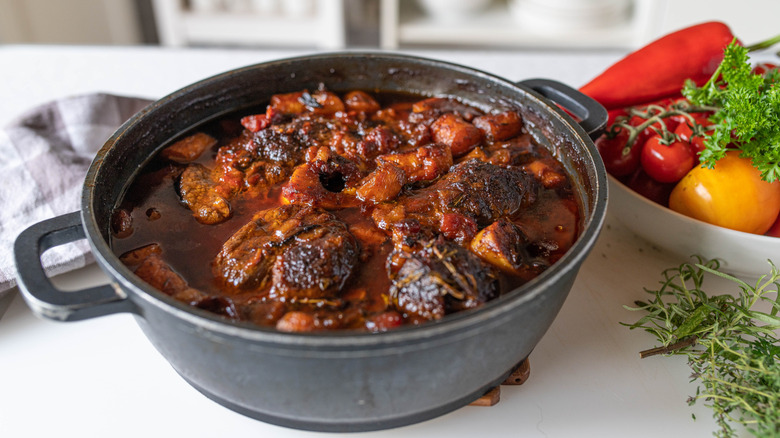
Braising is a surefire way to get the most flavor into the star protein of your meal. It is a low and slow method of cooking that allows your meat of choice to simply sop up all the delicious flavors of whichever liquid you've chosen to cook with. You'll often hear of people using liquids like apple cider vinegar or boozy beverages to braise in, such as beer or red wine, but one underappreciated choice of braising liquid is soda pop.
The best choice for braising is something full of strong flavors, since the flavor of your liquid will be imparted into the meat along with whatever aromatics you add to the liquid bath. This makes your favorite soda an excellent choice for your next braised dish. Soda pop is known for its wide variety of strong flavors, and its high sugar content will help really tenderize your meat and liquefy tough tendons during the cooking process. The type of sugar is crucial to this process, so it's strongly recommended to find naturally sweetened options when using soda to braise.
The basics of braising remain unchanged when using soda in lieu of wine. However, because soda is more acidic and sweet than other braising liquids like broth, tomato juice, or coconut milk, there are some key differences to watch out for in order to bring out the best that this ingredient has to offer.
1. Use a soda flavor that pairs well with your meat
Take some time and be particular with whatever soda you choose for your braise. Be aware of the ingredients that go into the soda you've selected. If it is a soda that is filled with artificial coloring, that color will also get absorbed into your meat. This is why it is recommended to use darker sodas on proteins like beef and venison, for which a darker brown color is preferred and will not seem as strange as, say, a dyed brown piece of salmon. As a general rule of thumb, consider that the liquid you choose will interact with your protein on a wide variety of levels, be they flavoring, tenderizing, or coloring.
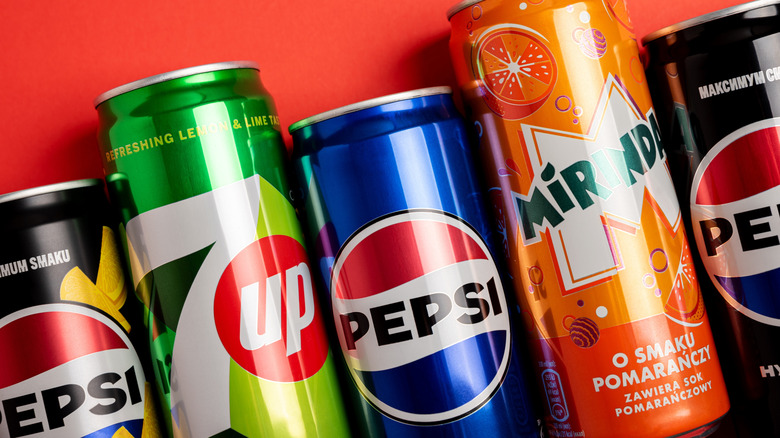
One of the most important reasons to carefully select your soda is that the flavor of the liquid will be soaked up and imparted into your protein. Anytime you find a creative way to use soda in your cooking, you should choose a flavor that works well with whichever protein you're cooking. For beef, you should consider darker sodas like cola, root beer, and Dr. Pepper. If you're making fish, you should look at lighter fruit-flavored sodas like Sprite, 7-Up, or Fresca. Chicken is a versatile protein that can be made with any number of sodas, but choices like ginger ale and orange soda will suit it nicely.
2. Select your cut of meat carefully
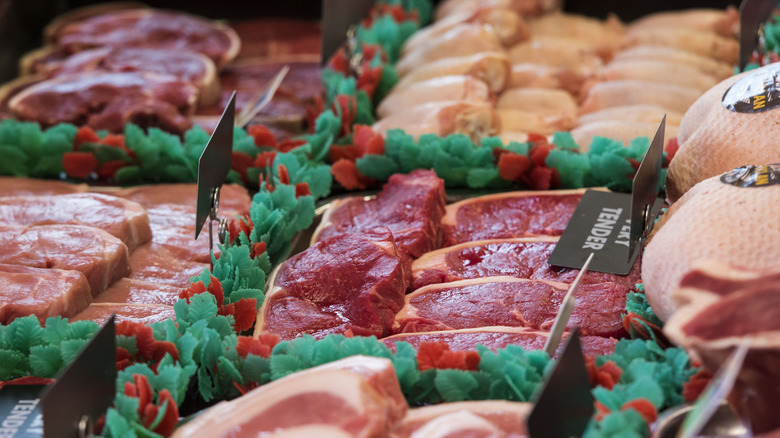
It is absolutely possible to braise more delicate cuts of meat, such as chicken breast and fish filets, but the magic works best with tougher and bonier slabs of meat like ox-tails, beef chuck, and even chicken drumsticks. You don't have to bother buying high-quality beef to get a delicious braise; in fact, the most underrated cuts of beef can be perfect for braising. Choosing these sorts of protein is why braising in soda is such a strong choice. The natural tenderizing action of the acids found in most sodas will help turn even the toughest cuts of meat into a juicy, melt-in-your-mouth meal.
The magic of a good braise is that it loosens up the meat fibers and liquefies the fat, which in turn goes back into the meat and imparts more of its natural flavors within. The cut of meat can generate its own stock in this way, and soda helps speed this process up thanks to its acidity and high sugar content. The acidity promotes faster tenderization of the muscles that could make these cuts of beef tough and chewy, while the high sugar content helps caramelize the outside of the meat and seal the flavors within.
3. Choose the right tools for the job
There are some tools and utensils you should have on hand for any braise that you undertake. You should have tongs and a spatula for interacting with the meat during both the searing process and the braise, as well as a thermometer to check that your meat has been cooked thoroughly. For the final few steps of the dish, it's recommended you have a fine-mesh strainer and a ladle — or fat separator — for making your sauce.
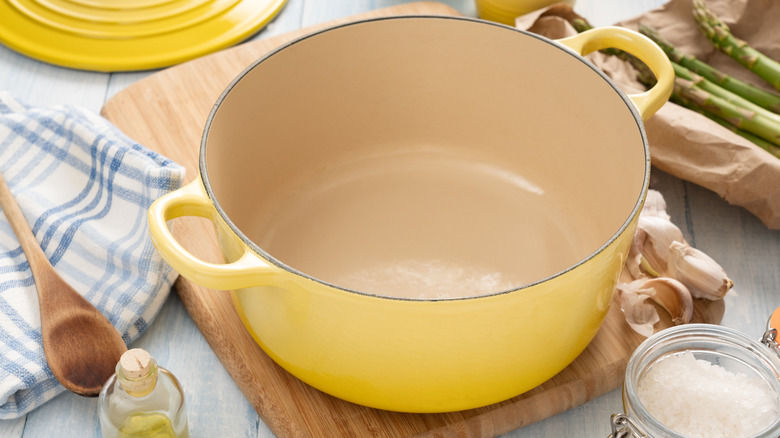
For the actual braising process, it's recommended you have a well-insulated pot or pan with a tightly fitting lid. A Dutch oven is considered the standard for braising, but you can braise anything without one; there are also pots called braisers available that are specifically designed for this particular style of cooking.
The key difference between what cookware one should use for a regular braise versus braising in soda comes down to caramelization. Even if you have chosen a soda with a natural sugar, the heat will lead to caramelization. While this process helps seal in and enrich the flavors of your dish, it can also make things a bit sticky. When braising in soda or other high-sugar fluids, it is recommended that you opt for non-stick cookware to make the process smoother. Not only will you be able to successfully remove your braised protein without losing any to the bottom of the pan, but it will also be significantly easier to deglaze the cookware and make your sauce when the time comes.
4. Use seasonings that complement the flavors of your soda and meat
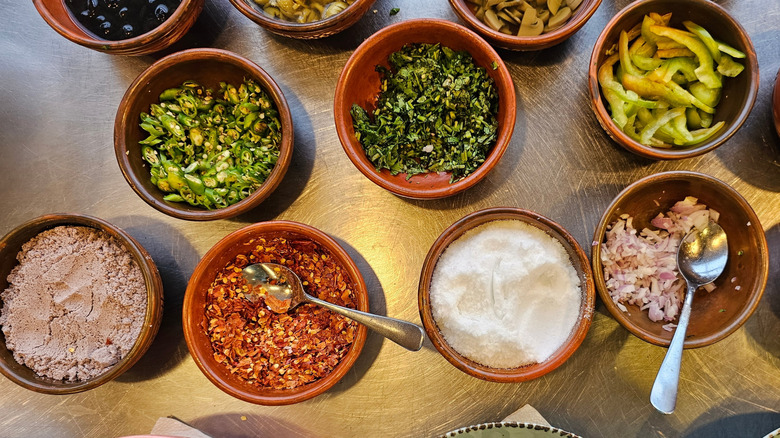
After searing your meat, it is important to add plenty of aromatics before deglazing to flavor your meat and sauce. When braising with soda, you should carefully select herbs and spices that will elevate and complement your dish, which will be very different depending on the kind of soda and protein you've chosen.
When seasoning red meat, the recommendation is to use savory spices in the sear, such as salt, pepper, chili, and garlic powder. Seasoning pork should focus on a sweet and spicy rub; brown sugar and an allspice blend can really elevate the natural juiciness of pork. With chicken, you should focus on a single strong spice and let the soda take care of the rest of the flavoring, while fish should be sparsely seasoned; salt and pepper should suffice, unless you really want a strong flavor. In that case, you could sear the fish with a flavorful citrus and herb crust.
When considering aromatics in the liquid bath, it all comes down to what will impart the best flavor to the sauce and meat, as well as hold the flavor of the soda best. Potatoes are always a good choice as they are relatively neutral and will hold the flavor of your dish beautifully. For additional aromatics, look at the soda you're using. Colas and other dark sodas will benefit from deep and rich flavors, thus providing a savory use for ground coffee. Fruit sodas like Fresca, Sprite, and ginger ales will work best with similar ingredients to their base flavors, such as lemon, lime, orange, and ginger. Adding some herbs to the bath to complement the sweetness of the soda will help elevate the whole dish to a new level.
5. Adapt to your ingredients

You've seared your meat and deglazed your pan. You're all but ready to put your meat into the braising bath and get the hours-long cook underway, and you've come to the last big decision when it comes to braising: How much soda should you add? A general rule of thumb for braising is to fill your pot or pan to submerge the meat halfway. While this should still work for braising with soda, you should skimp on the liquid if you want to make the most out of this braising method.
When cooking with a strong and flavorful liquid like soda, you'll want to have more of the fluid boil off before you finish cooking. Using less liquid will not affect the flavor or tender texture of your protein negatively. In fact, less soda will concentrate the flavor all the more and encourage that all-important caramelization process, while also imparting a stronger color to your protein. While some recipes suggest you fully submerge your protein for additional flavor, more liquid at this stage will dilute the flavor of your aromatics in your bath and make it harder to reduce the liquid down to a sumptuous sauce later.
6. Save the leftover soda and make a sauce
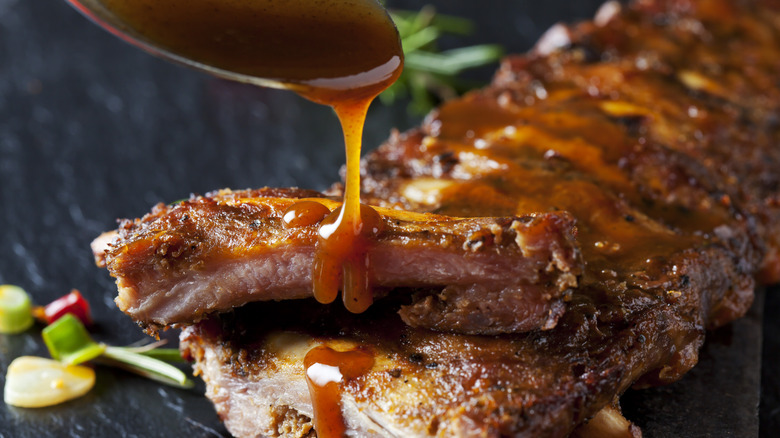
The final tip for braising in soda comes after the braise is already done: making the perfect sauce to pair with your meal. It's a delicious addition to any braised dish and it's a fairly straightforward process. First, pour your liquid through your wire mesh strainer to prevent any missed chunks of aromatics from messing with your sauce's texture. The next and most important step to making your sauce is removing the grease from your soda, which can be done either by a fat separator or by allowing your liquid to settle and skimming the fat off the top with a ladle.
Now that you have a degreased liquid, pour it into a pot or pan and get it to simmer. An easy way to spoil your incoming sauce is overheating: You want the liquid to be on as gentle a simmer as possible with constant stirring. If you apply too much heat you're in danger of burning the sugars and ending up with a bitter caramel, rather than a savory seasoned sauce.
While the sauce begins to reduce, you can take the opportunity to add in any additional flavors you might like for the sauce. You could add more of the herbs and spices or even add an extra layer of flavor, but try to avoid anything that could disrupt the texture of the sauce, such as citrus or vinegar. You should also forgo adding more soda at this stage, since it carries a lot of acidity and extra sugar that could easily disrupt the sauce. If you find you have too much leftover soda, you could always find a creative way to use it for dessert.