7 Tips For Drying And Storing Fresh Herbs

Whether you bought too much fresh rosemary that you'll never use in time or accidentally over-planted an aggressive herb like mint that you want to be sure you use up before it falls victim to the first frost, drying extra herbs is a great way to store and preserve them for later use in all kinds of culinary creations. There are a few methods to help you complete this process with the most success and best flavor depending on what type of equipment you have. Whether you're an herb gardening veteran or you just started with easy herbs to grow indoors and had great success by eliminating a few rookie indoor gardening mistakes, these tips and tricks will help ensure that none of those delightful aromatics go to waste. And don't worry, you don't need any fancy equipment or a pitch black root cellar to dry your herbs to perfection. You don't even need an oven.
Herb drying is an excellent method to reduce both kitchen and garden waste, but there are other options for preserving fresh herbs, as well. There are even herbs that you can use the stem, seeds, and flowers in addition to the leaves we're most familiar with. Preserving all parts of the plant provides more opportunities to explore flavor and nuance with your recipes later down the line, not to mention it reduces waste and helps you get the most bang for your buck, or bang for your gardening efforts. Let's get into some of the best tips and tricks to make your herb drying experience successful and bountiful.
1. Make sure your herbs are fully dry
This may seem obvious, but excess moisture is going to be our enemy during this process. Especially if you're hanging your herbs, there's a fine line between hanging them up to dry and hanging them up to rot.
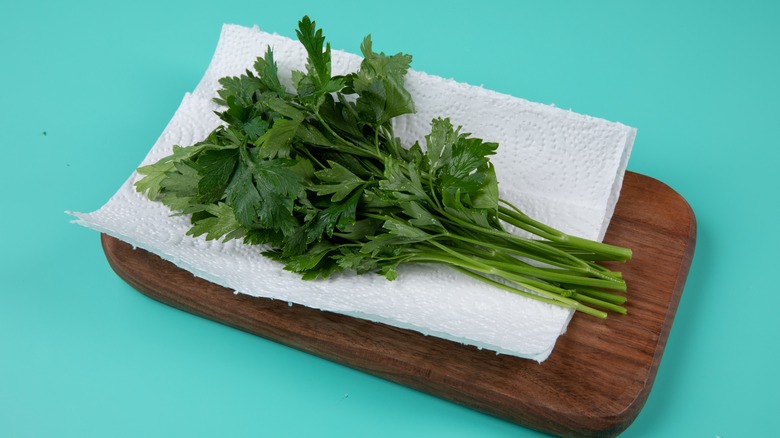
After you've washed your herbs with whatever method you prefer (if you've grown them in your garden and you know they're pesticide and herbicide free, a quick rinse to remove any excess dirt or garden debris will do the trick), now it's time to dry them off. Paper towels, a flour sack towel, or another lightweight type of towel will be perfect to dry your herbs without crushing the sometimes delicate leaves or tearing them from the stem.
If you plan to use an oven, dehydrator, or microwave, it's less of a problem if you have some loose leaves here and there; you can just place them on the baking sheet, tray, or plate to dry next to the fully intact sprigs. If you're planning on hanging your herbs, you're going to want to be extra careful at this step in the process to keep as many leaves attached to the stem as possible. It's much easier to hang herbs by the stem than it is to hang them leaf by leaf. When patting dry, you want to pay special attention to the attachment point between the leaf and the stem, using your towel to gently dab up any moisture from this sneaky collection spot.
2. Know your method
Whether you're planning to hang your herbs to air dry (maybe with Alton Brown's genius box fan technique), pop them into the oven, use a dehydrator, or speed things up by using the microwave, there are a few things to keep in mind for each method to ensure the most success. Each of these methods can be totally successful, but you'll have to treat each one as a separate process to get the best results.
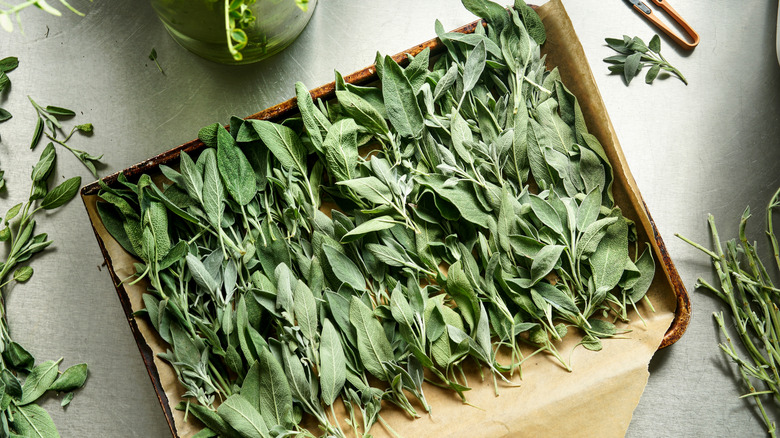
Bundle your herbs in small groups of about eight to ten stems and hang them upside down in a cool, dark place. A room that's too warm will increase chances of rot as they're drying, and light will rob your herbs of their flavor. Another air dry method you can use is called screening. You don't need a fancy herb screen, either. Something like an old (clean) window screen will work perfectly. For this method, you'll lay all your herbs out in a flat sheet and leave them to dry just like that. This is faster than air drying since all of the herbs are exposed to the open air.
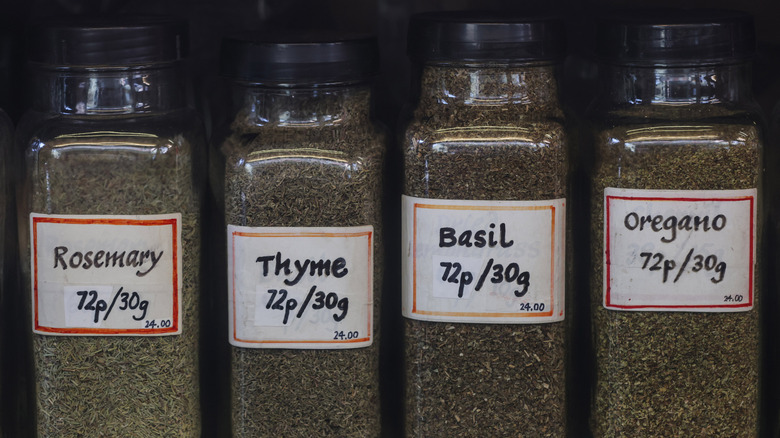
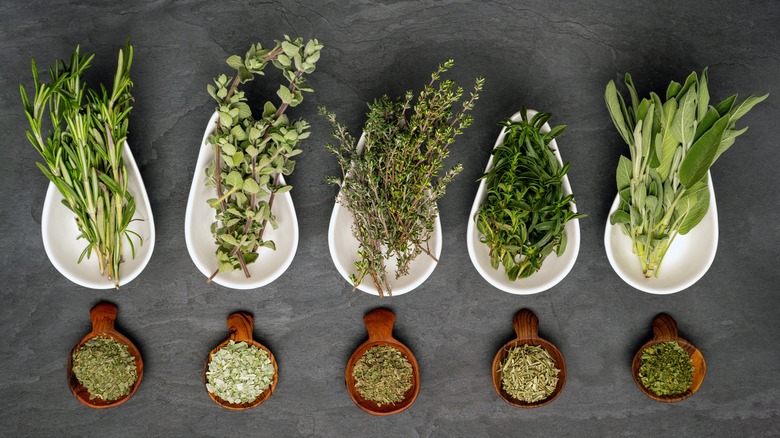
For the oven, dehydrator, and microwave, we recommend grouping herbs together by type or consistency. Herbs with high water content like basil and oregano will take quite a bit longer to dry out than hardy herbs like thyme, rosemary, and sage. Save yourself some hassle by separating herbs by type so you can insert and remove whole trays at once.
3. Check on progress often

After you've spent all spring, summer, and fall tending to your garden — or spent your hard earned money on the pricier fresh herbs as opposed to dried or convenient premade pastes, the last thing you want is to come into the kitchen to find our precious herbs burnt to a smoky crisp. Even with the oven on the lowest temperature or the dehydrator on a trusty setting, things happen. Many ovens fluctuate in temperature throughout the baking process even if you have the thermostat set at the lowest setting. These changes can be unpredictable, and especially with this method, you want to be sure you're keeping tabs on how the process is progressing.
Dehydrators are a bit more predictable, microwave drying requires utilizing short intervals so you'll be keeping an eye on the progress by default, and air drying is a slow and steady process that doesn't necessarily require daily check ins (unless you're excited and want to take a daily peek, which is perfectly reasonable). With oven-drying, you'll want to check in on the progress at least every 30 minutes to be sure nothing is burning. If things get too hot, you can always increase the size of the crack in the oven door (which is recommended, even at the lowest oven temperature to preserve flavor and decrease burn risk) or even turn the oven off for a bit to let it cool down before turning it back on. Remember, lower temperatures equal better flavor.
4. Store your dried herbs properly
When it comes to herb storage, we want to be sure our herbs last as long as possible with the best flavor, aroma, and color. To do this, the best method is to store freshly dried herbs in airtight containers in a cool, dry, preferably dark place. Just like with drying, these conditions will ensure the tastiest, longest lasting results. As a general rule, the closer the herb is in appearance to its original form, the better the flavor will be preserved. Grinding or crushing dried herbs — especially the seeds — will release some of that locked-in flavor and aroma instantly. Over time, the potency will continue to decrease as more of these oils dissipate into whatever container you chose. Whole leaves will hold the most flavor, crushed will be right in the middle, and ground or powdered herbs will have the shortest quality shelf life.
If you plan to use your herbs quickly, recycling old plastic spice jars is a great way to reduce waste and save money — and they've probably already got the perfect lid! Any clear jars, whether recycled plastic ones or fancy new matching sets should be stored in a cupboard or drawer to prevent light from degrading the herbs. Yes, even if they're totally cute and aesthetic, you'll thank me later if you put them up and away. Unless you've got the adorable Lennox Spice Village; in that case, you should absolutely leave them out on display. And don't forget to label them.
5. Consider the microwave
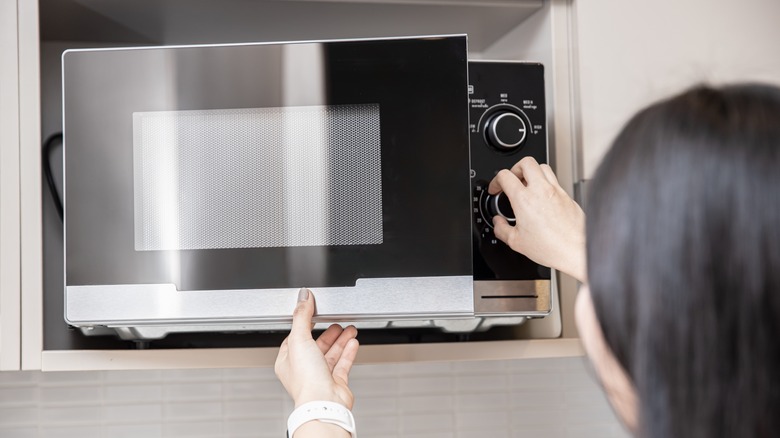
If you're on a time crunch or just want to streamline the process, consider drying your herbs in the microwave. Choosing to use the microwave instead of other methods of drying is a great way to preserve color in your herbs and get the job done quickly, too. Simply lay your herbs out in a single layer on a paper towel and cover with another paper towel layer. Exact timing methods vary based on the strength of your microwave and the types of herbs you're drying, but generally, microwaving on 30 second intervals is a safe bet. Be sure to check in between sessions to monitor the progress and make any adjustments to your layer.
Herbs dried in a microwave tend to turn out more brittle rather than tough like they would be from the oven, so they are excellent candidates for grinding up with a mortar and pestle into fine powders as opposed to larger crumbles. The crunched up herbs will hold their flavor longer, but there's always a use for powdered herbs, too.
6. Don't be afraid to get creative
Now, if you don't have all the fancy supplies or a basement or attic to hang things in, don't worry, you're not out of luck. There are countless adjustments you can make to these processes to dry your herbs at home. We promise, you don't need to buy a bunch of stuff. In college, we even hung small batches of herbs on sewing thread in the pantry and secured them with binder clips. No matter what space you're working with, drying your own herbs at home is possible for you, too.
No dark area, or worried about dust? You can cover your hanging herbs in paper bags to protect them from dust and manufacture your very own dark space for drying. When it comes to hanging, you can secure the herbs in any way you please (as long as the area gets decent airflow). Some people prefer rubber bands, others prefer twine, or you can even use clips to secure your bundles to the hanging line. If you've got a big surplus from your garden, you can even try several methods to see which one works best for you and which provides your favorite flavor and texture. And once you've dried all your herbs, you can really get creative when fall rolls around by substituting fresh herbs that might not be growing in your garden for your very own dried alternatives.
7. Use the container that works for you
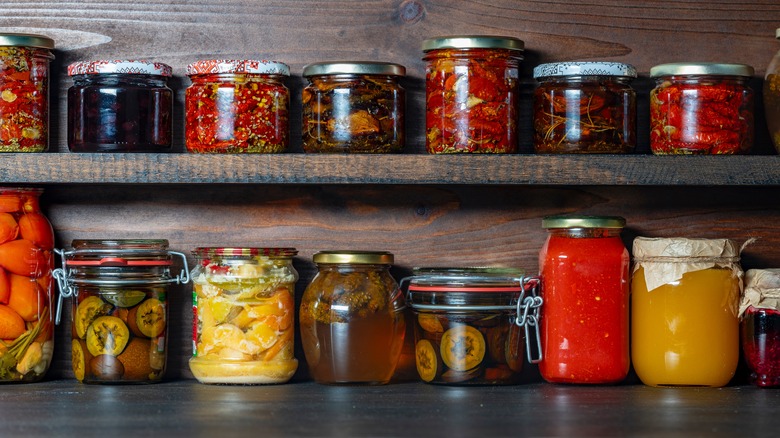
You don't need to buy a new fancy set of matching glass spice jars to preserve your new spices and herbs, we promise. Though it might be tempting to go out and buy a bunch of stuff to make your new project totally perfect and aesthetic, you don't need it. We're already maximizing flavor and quality while reducing kitchen and garden waste, so let's stick with that. Depending on the quantity and variety of herbs you have, and how much time you have to prepare for the drying, there are all kinds of up-cycling options to consider. Start saving those old spice jars! You can tear off the label and make new ones of your own. Plus, if you were already buying organic spices, they usually come in glass jars with sturdy metal lids with a rubber seal to keep things airtight.
If you've got large quantities of a certain herb or want to store them by the stem, larger containers like old pasta sauce jars, mason jars, or other types of glass containers will do the trick. Personally, we save all of our glass jars, and our favorite ones for dried herbs are the pesto and minced garlic containers.