9 Mistakes Everyone Makes When Cooking A Roux
We may receive a commission on purchases made from links.
There are many fundamental skills that all home cooks should learn, as they serve as building blocks for more challenging recipes. They include basic chopping and knife skills (and how to sharpen your knives), preparing a perfect pie crust, and making a roux. A roux — a combination of fat and flour cooked into a thick paste — is the foundation of great gravy, creamy mac and cheese, and straight-from-NOLA gumbo. And, with only two ingredients — fat and flour — you would think that building it would be a pretty easy skill to master. The reality is that roux can be cause for headaches and frustration, especially if you've never been walked through the process of making one.
That's where we (and our panel of experts) come in. We asked Joanne Gallagher, recipe designer from Inspired Taste, and chef Guillaume Thivet from New York City's Grand Brasserie what are some of the most common mistakes that people make with roux and how to avoid making them. Once you hone your roux-making skills, you'll be well on your way to perfectly creamy, lump-free sauces in no time.
1. Mistake: Not having the right utensils on hand
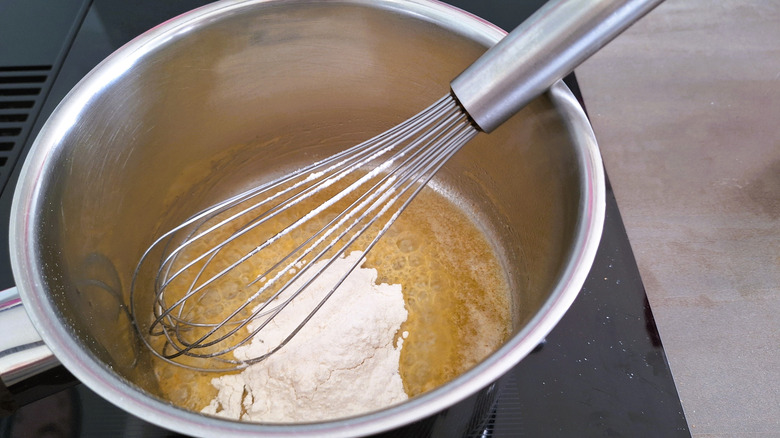
When making a roux, you're going to need to pull out several different utensils — namely a silicone spatula and a whisk to help your roux reach the perfect texture. "A spatula is great at scraping the corners and bottom of the pan, which is where burning can start," says recipe developer Joanne Gallagher. The whisk has its own utility, as Gallagher explains that it's used to smooth the roux as it cooks. "If I had to choose, I'd start with the spatula to maintain control, then switch to a whisk when I'm building the sauce," she says.
Chef Guillaume Thivet, too, keeps both a whisk and a spatula on hand, though he starts his roux with a flat spatula. We would also recommend using a silicone-coated flat whisk, like this model from Joseph Joseph. The silicone coating prevents it from scratching your pan, while the flat shape allows you to easily break up the flour and get into all of the nooks and crannies in your pan.
If you don't have a silicone spatula, there's another tool you can turn to: your trusty wooden spoon. Not only can it get into all the corners of your pan, but since it's made from wood, it won't scratch the bottom of your pan, making it an invaluable tool for all types of sauces.
2. Mistake: Using the wrong type of pan
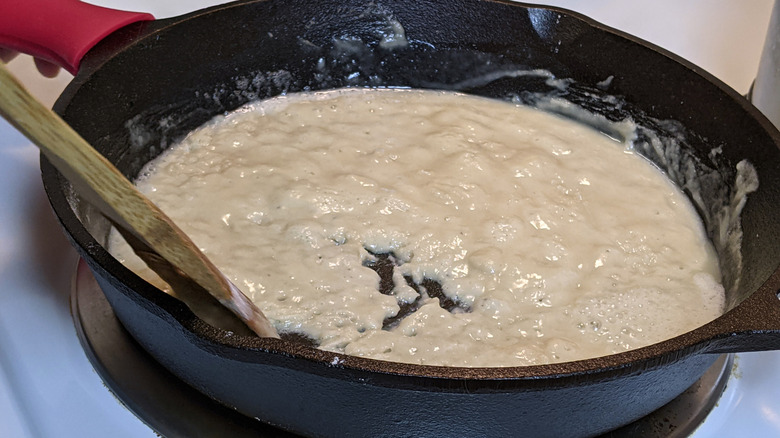
Besides using the right utensils, you should also ensure that you have the right pan for the job. "I always use a heavy-bottomed saucepan or skillet because it spreads heat evenly, and that helps the roux brown at the same pace instead of forming hot spots," Joanne Gallagher says. She adds that cast-iron skillets are an option and may be preferable for a dark roux because they hold heat evenly.
While there are pans that are great for making roux in, there are others that should be avoided. "Thin pans easily scorch the flour before you realize it, so I skip those," Gallagher says. Guillaume Thivet agrees. "Don't use thin stainless pans. [With] nonstick pans you can't judge fond or color properly," he says. Darker pans make it difficult to tell when the roux has reached the right color, so be sure to consider this when deciding which pan to use.
Another important consideration to make is in regard to the dimensions of the pan. You might assume that, because you're not making a ton of roux, that a small, 1-quart saucepan will suffice. However, taller pans limit the surface area exposed to the heat and thus should be avoided. "A wide pan gives the roux a larger surface area, which helps moisture cook off and encourages an even browning, Gallagher says. "A tall, narrow pan makes it harder to stir comfortably while scraping the bottom." She notes that she prefers a pan with sloping sides, which makes it easier to navigate with a spoon. "We don't want flour hiding in the corners, but a smooth, steady movement," she says.
3. Mistake: Only using butter
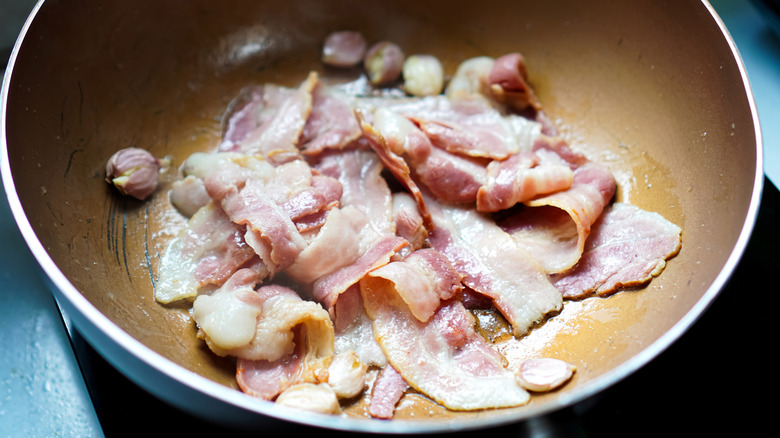
Fat is flavor, and while you may have gotten used to using just butter for your roux, skipping over all the other types of fat you can use for this recipe may be a big mistake, per Joanne Gallagher. "Oil, animal fats like chicken fat, lard, or bacon grease work beautifully for a roux, and you can absolutely use vegan butter, too," she says. However, using these arbitrarily would also be a mistake, as you want to make sure that the color of your roux fat matches the flavors in your dish. "Each fat adds its own subtle flavor, though, so choose one you feel complements your dish," Gallagher says. Chicken fat in a chicken gravy, for example, would be a sublime choice, while lard would complement the flavors of andouille sausage in gumbo well.
Besides flavors, also be sure to take smoke point into account. Butter has a low smoke point compared to a fat like oil, and if you're cooking a dark roux for a long time for something like gumbo, you're more at risk of the milk proteins in butter burning and releasing an acrid flavor and aroma.
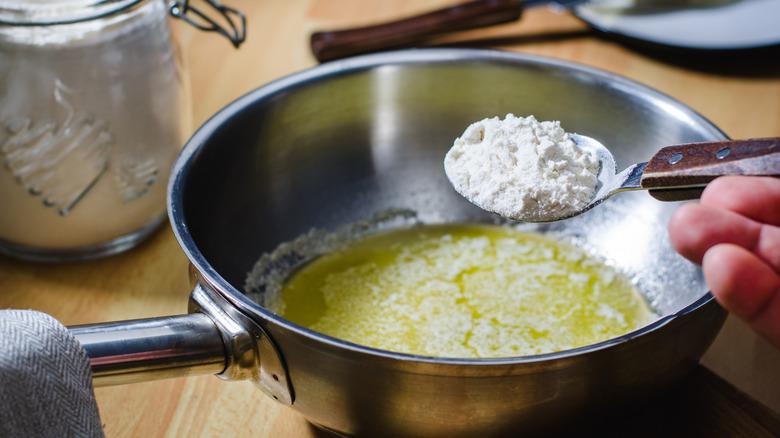
To prepare a roux with one of these alternative fats, Gallagher explains that the fat needs to be heated, mixed with equal parts flour, and cooked until it reaches your desired shade. Note: You should never start with a piping hot fat in your roux, so if you're cooking with bacon grease or rendered animal fat, be sure to give it time to cool down before turning it into a roux.
4. Mistake: Not using a cold fat

One of the trickiest parts of working with a roux is getting the timing down right. You don't want the fat to cook and burn before it has a chance to mix with the starches in the flour, which is why starting with a cold fat — rather than one that has already reached the point of smoking — is ideal.
"Starting with a cool fat gives you more control over your roux. As it melts gently, the flour has time to hydrate and cook evenly without browning too fast," Joanne Gallagher says. If you're making a classic flour and butter roux, this means always starting with cold butter, straight from the fridge. If you're using a fat alternative, like rendered animal fat, you may want to give it some time to cool down before you whip up a roux with it. "If the fat is already smoking out, the flour can scorch before it blends," Gallagher says.
Your butter also shouldn't be the only ingredient that's cold. "Adding cool or room-temperature liquid to a hot roux prevents lumps," Gallagher says, noting that the temperature difference is what prevents the starch from clumping up. She suggests actively whisking as you add your liquid (like chicken stock or beef broth) into the roux to help it smooth out; this tip can come in handy for homemade gravy especially.
5. Mistake: Using the incorrect ratio of fat to flour
We all know the age-old expression: Cooking is both an art and a science. And, it turns out, it's about math too. As such, using the correct ratio of fat and flour in your roux recipe is critical for reaching the perfect texture.
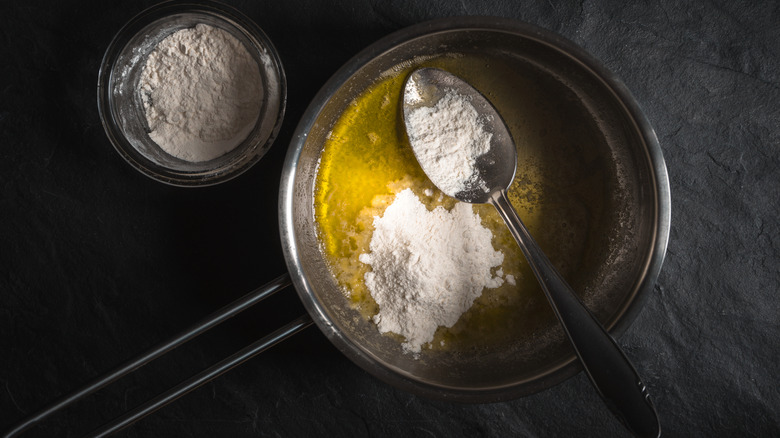
Both of our experts recommended using equal parts fat and flour in the roux. "I always go [1-to-1] by weight or volume. That's the sweet spot because it coats every bit of flour with the fat, which keeps it from clumping and helps it blend smoothly with liquid later," Joanne Gallagher says. She goes on to explain that adding too much of either component can alter the consistency; too much flour makes the roux pasty, while too much fat makes it greasy.
She also offered a simple visual indicator to help you tell when you've reached the perfect consistency: "When it looks like wet sand and spreads evenly in the pan, you're exactly where you want to be."
6. Mistake: Heating the roux too much

When we asked Joanne Gallagher for the most common mistake home cooks made with roux, her answer was simple: "The biggest mistake is turning the heat up too high and walking away. A roux needs steady heat and constant stirring so the flour cooks evenly and doesn't scorch the bottom of the saucepan." It's a recipe that's simply not made to be rushed.
If anything, making roux is an exercise in restraint. "Timing and patience are absolutely essential with a roux," Gallagher says. She goes on to explain that rushing often happens when folks are browning their roux, which can lead to scorching. The color needs to be deepened incrementally as you stir and adjust the heat. Oh, and you can't stop stirring, either. "I stir constantly and scrape the bottom and sides so nothing sticks too long in a single spot," Gallagher says.
If you are noticing that your roux is getting a little too toasty too fast, you can always lower the heat or pull the pan off the heat to give it a moment to catch up. In hindsight, it's better to pull your roux off the heat than have to go back and repeat the whole process because you were too engrossed in another kitchen task to stir it or foolishly tried to expedite the process by turning up the heat.
7. Mistake: Trying the microwave method
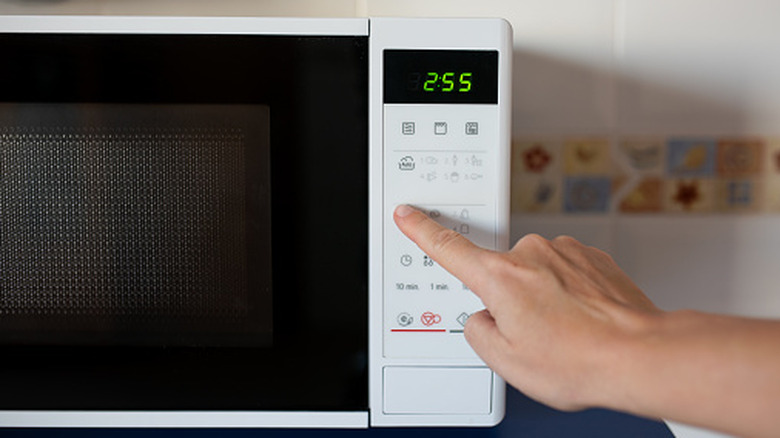
We are always looking for quicker alternatives to conventional cooking methods. But in the same way that you can't properly caramelize onions in 10 minutes, you also can't microwave a roux and expect the same results as you'd get on the stovetop. The shortcut method, which has been shared widely online, calls for mixing the flour together with the oil, and microwaving it for at least four minutes — potentially more, depending on the color you're after. "I don't find making roux in a microwave as reliable. You miss out on the sense cues that tell you how it's progressing by its scent and appearance," Joanne Gallagher says.
Using a microwave to prepare your roux may also negatively affect its texture. "Microwave roux doesn't develop properly. It thickens [and] does not taste like a roux," Guillaume Thivet says. Adapting the recipe to cook on a stovetop rather than a microwave won't set you back too far on time, either. "It's only a few extra minutes, but the control is worth it," Gallagher says.
8. Mistake: Not paying attention to sensory indicators

Roux will essentially tell you when it's done cooking — you just have to pay attention and know what clues to look for to avoid taking it past the point of no return. Joanne Gallagher says that stirring the roux at the beginning is important to prevent the flour specks from sticking to the bottom of the pan and burning — evidenced by black flecks and potentially an acrid aroma. If you don't stir enough, you'll end up with a roux with a bitter flavor.
You should also pay attention to the color of the roux as it cooks. Gallagher shares that her clue to turn the heat down is when she starts to notice the roux darkening, as this can happen quickly the longer it cooks. "Lift the pan off the heat for a few seconds while you stir if you notice it darkening too quickly," she says. "It should have a deep, nutty scent, not burnt."
9. Mistake: Using the wrong type of roux for your recipe
There are three major types of roux: white, blonde, and dark (some say there is a brown and a dark-brown roux, but for all intents and purposes, "brown" will suffice here). The thing that sets them apart is the cooking times; the longer you cook roux on the stove, the darker its color and the more flavorful it will be. While home chefs are always after flavor, using a dark roux for a recipe that requires a lighter one is a big mistake. "They're not interchangeable without adjusting flavor and thickness, so choose based on the final texture and taste you're after," Joanne Gallagher says.
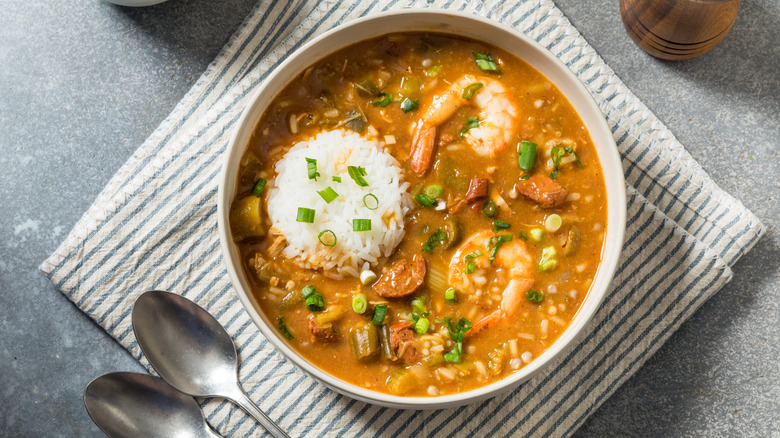
She goes on to offer some examples of when to use each type of roux: white roux for mac and cheese (as it has what she calls the "strongest thickening power"), blonde roux for soups and gravies, and dark roux for gumbo. If you're making a dark roux for a gumbo, plan to be at the stovetop for between a half hour and 45 minutes, whereas you can get away with about 10 minutes for a white roux.