How To Cut Chicken Wings Into Flats And Drums
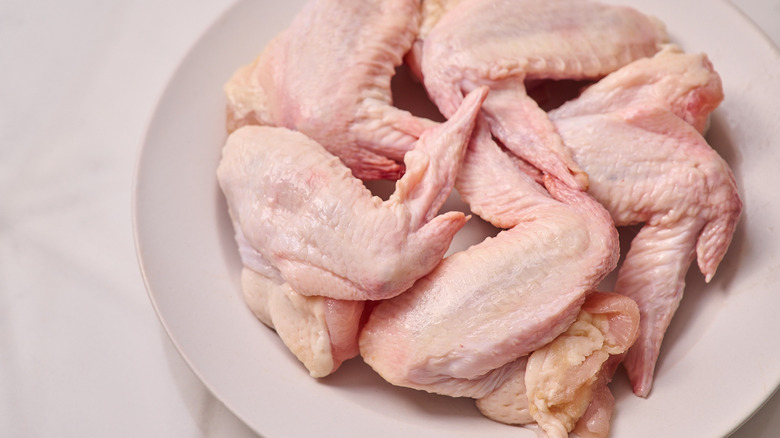
Rarely do we sit at Buffalo Wild Wings and ponder the origins of our basket of wings. Split into an even portion of meaty drumettes and crispy flats, the saucy, flavorful, tender handheld pieces of chicken come to us in a format so delicious it's hard to imagine them any other way. Yet, those small, snackable portions are just parts of a full chicken wing — a larger piece often reserved for only the most hipster menus.
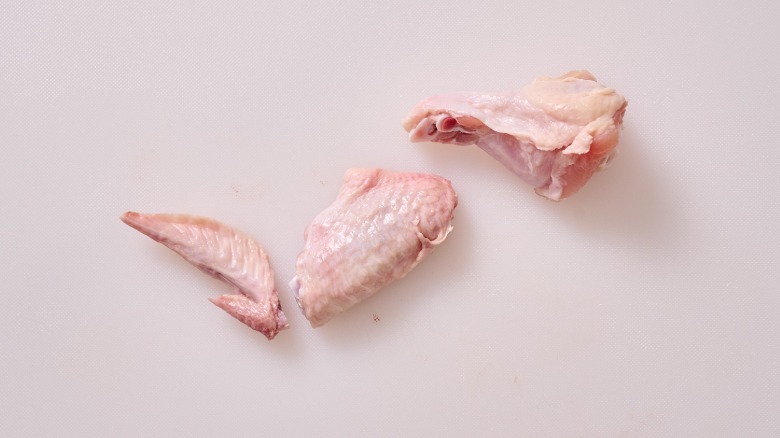
The full wing, which consists of the drumette, the flat, and the wing tip, can be bought and broken down at home, often saving money in exchange for a few simple cuts. It's easy enough that any knife-wielding home cook can do it, and quick enough that it's still worth the effort. Just like de-boning a chicken thigh or spatchcocking a chicken, knowing how to separate chicken wings into flats and drums can level up your cooking skills and make grocery shopping a breeze. No drums or flats in stock? No problem — just pick up a pack of wings and do it yourself.
What tools you'll need for cutting chicken wings
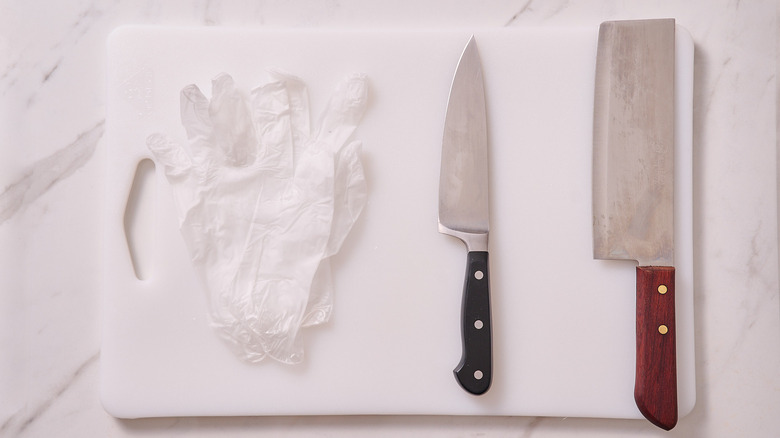
You don't need any fancy tools to separate chicken wings; you just need a cutting board, a sharp knife, and, optionally, some gloves to prevent cross-contamination. There are a few knives that work well for cutting chicken wings, and you likely already have one in your collection. The most versatile is the chef's knife, which is typically 6 to 10 inches in length and slightly curved on the end. A carving knife, which is similar in size and shape, will also work well. Another option is a cleaver, which is a large, flat knife meant typically for cutting through bone but can, for experienced cooks, also swiftly slice through wing joints. Lastly, a boning knife, which can be used for butchering other parts of the chicken, can be useful in making precise cuts that leave the bones fully intact. The type of knife matters less than its sharpness — the joints will separate easily with even a small, well-sharpened pairing knife.
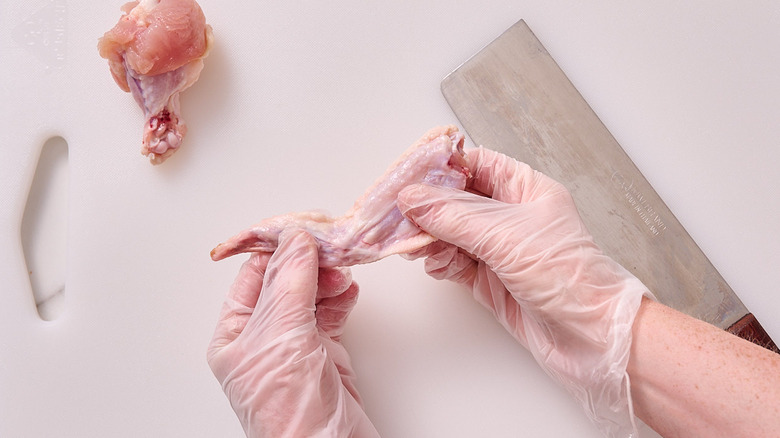
Locate the joints
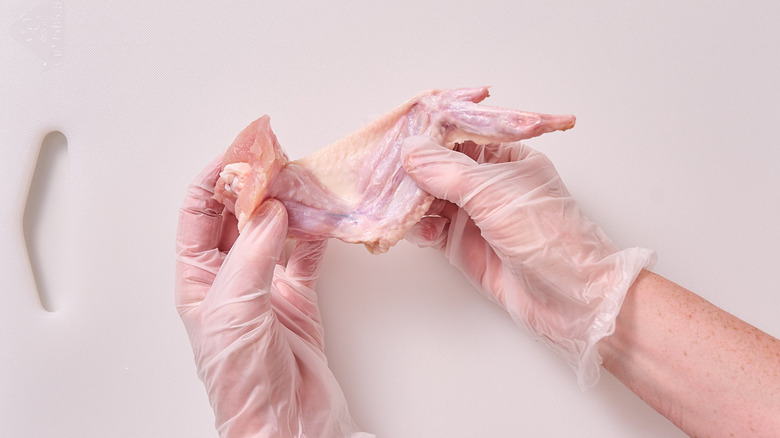
Holding the chicken in a V-shape, locate the joint between the wingette and the drumette.
Stretch the joints and separate
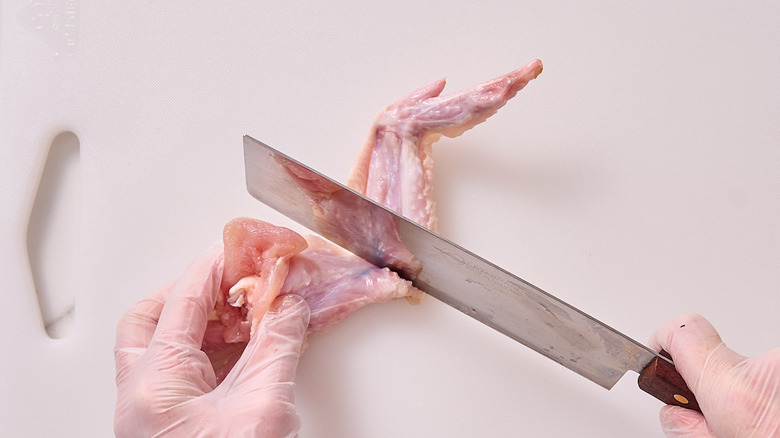
Stretch the wing to expose the joint, then firmly press the knife into the chicken and through the joint to separate the wingette and drumette.
Separate the wingette and wing tip
Hold the remaining wingette and attached wing tip in a V-shape, locating the joint.
Slice off the wing tip
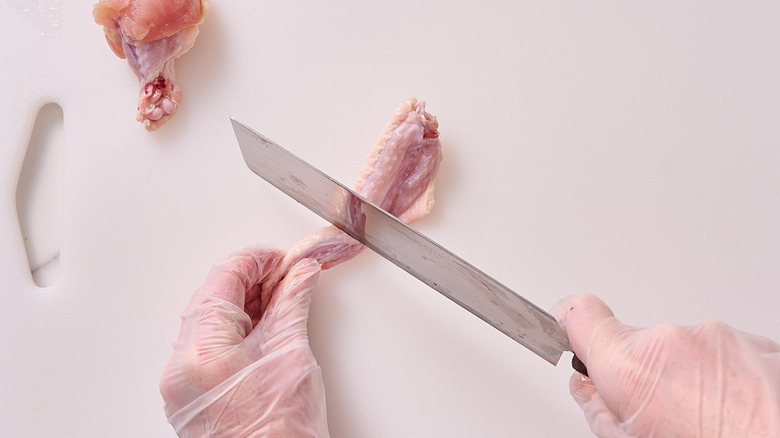
Slice through the joint, separating the wingette and wing tip.
 Michelle McGlinn/Chowhound
How to store chicken wings
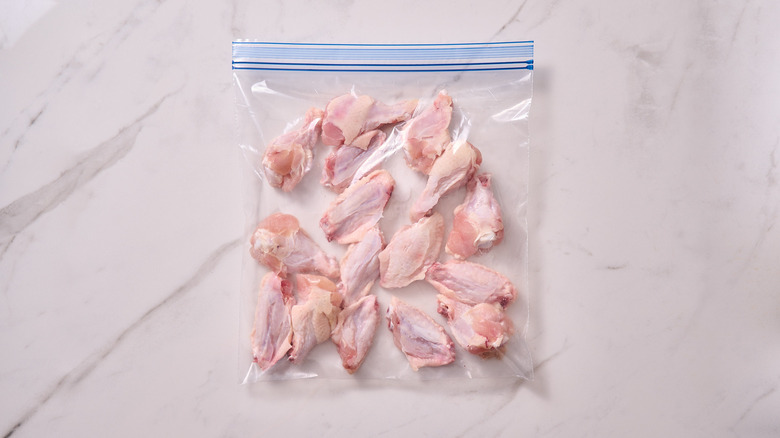
With the drums and flats separated, you can continue to your recipe or store the wings for later use. To store, place in a sealable bag, lie the bag flat, press all of the air out of the bag, and firmly seal. For fresher wings, use a vacuum sealer and seal the wings in plastic. From there, you can store the wings in the refrigerator for 3 to 4 days, or in the freezer for up to 6 months.
Chicken wing recipes
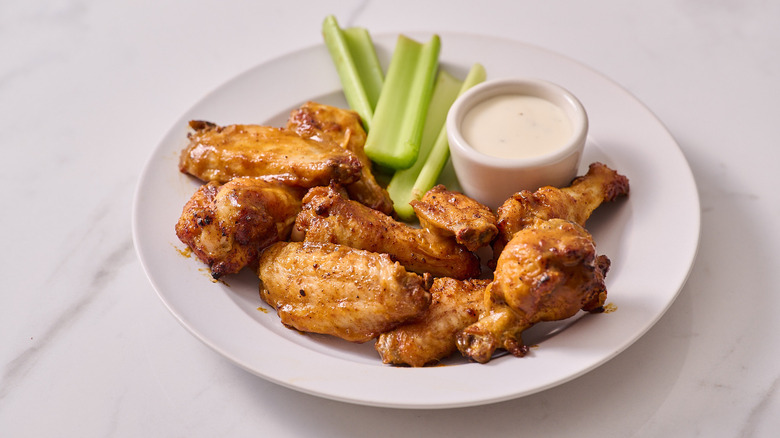
There are endless ways to use chicken wings. First, you can smoke, bake, fry, broil, or air fry the wings using a dry rub of spices for an initial layer of flavor and tenderness. Then, if desired, you can sauce the pieces, transforming them into classic, spicy Buffalo wings, soy-dipped Korean wings, or even tangy balsamic-glazed fried wings. As for the wing tips, don't discard those. Packed with collagen, the small pieces are valuable for thickening chicken stock or even snacking on after a few minutes in the air fryer.