How To DIY Your Own Raised Garden Bed
Plants are generally forgiving creatures, but you can spend a lifetime trying to convince them to do what you want. To give them the best shot at sprouting delicious produce or gorgeous flowers, a little knowledge and planning go a very long way. Whether you have a house with a yard, or an apartment with a little bit of shared outdoor space, or even just a small patio, making the most of it with plants and veggies you grow yourself can be one of the most rewarding journeys you undertake as a human being.
Landscapers and gardeners make entire careers out of creating beautiful natural spaces, and even the most advanced amateur gardener has dozens of tricky choices to make about what to plant, where, what time of year, with how much sunlight and water. But beginners can also build thriving raised beds with a few basics. Kevin Mackey, founder and CEO of the Cincinnati-based Urban Farming Initiative, which builds gardens and farms in underutilized spaces and connects local stakeholders to create circular food systems, has provided us with expert input on this subject. With his help, we're here to tell you the definitive "how" of one of the gardener's most effective tools and (not-so)-secret weapons: the DIY raised garden bed.
Why should I build a raised bed?
A beginner faced with countless gardening options might ask themselves: Why should I bother with a raised bed? A few reasons stand out: for one, they allow you to grow food or plants that need a richer environment than your native environment can offer. The soil that's already in your outdoor space? It's likely not ready for you to throw in some carrot seeds and call it a day. Depending on where you live, it could be full of clay or sand, rocks or roots, or even hide dangerous contaminants that would make your precious veggies dangerous to eat. A time and cost-effective workaround is to build a structure for soil above ground.
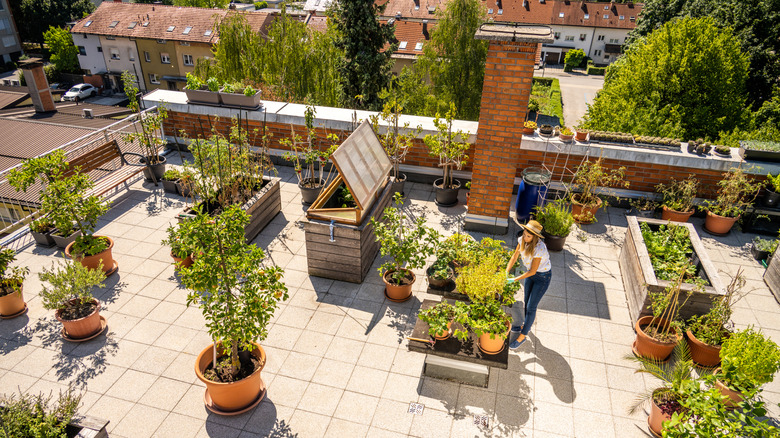
"[Raised beds] warm up faster in spring, drain better after heavy rains, and let growers bypass compacted or contaminated city soil," said Mackey. "That flexibility makes them ideal for leafy greens, shallow‐rooted herbs, and even root crops — think carrots, radishes, and beets — that prefer loose earth," he added.
Raised beds allow you to cultivate the optimal soil for your plants, and to replace it fairly easily. They also allow for adequate drainage: seedlings can access enough water and spread their roots downward. Their height off the ground can ward off hungry critters looking for a snack, and prevent you from having to bend and squat as much. Raised beds sit at an eye level better suited to spotting pests — not to mention, there's plenty of aesthetic appeal.
What type of DIY raised bed is right?
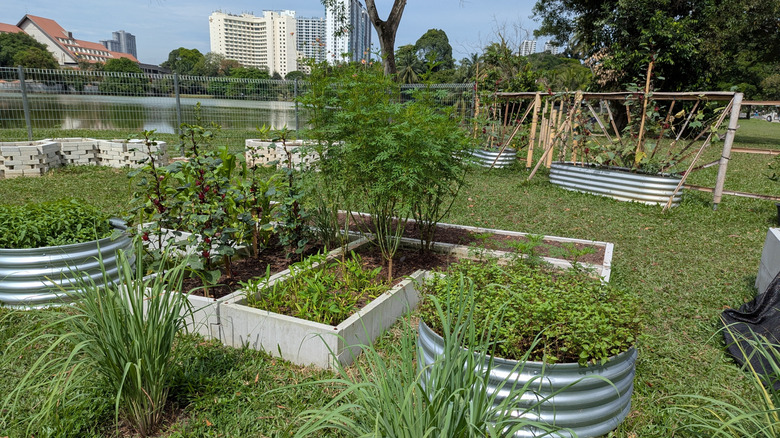
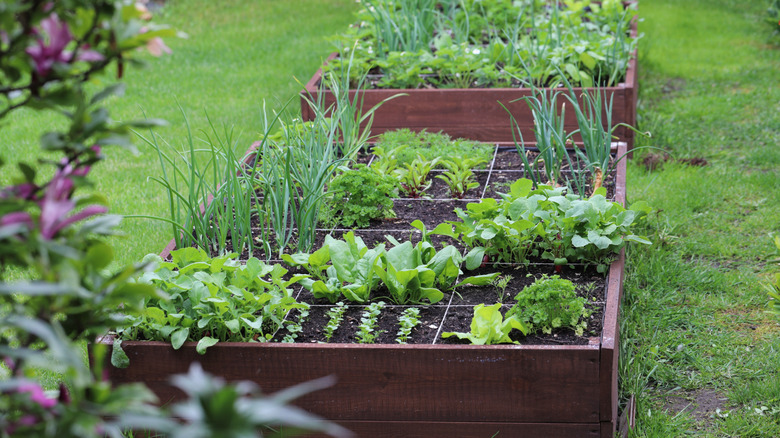
According to Mackey, a raised bed can come in many forms. "While most gardeners default to wood planks or metal panels for raised beds, nearly any vessel that holds soil and drains well can create the controlled environment veggies crave," he said. At the Urban Farming Initiative gardens, Mackey said, "you'll spot a patchwork of growing containers: classic cedar rectangles, shiny aluminum troughs, plastic milk crates lined with burlap, and even a tidy tower of old tires bursting with sweet potatoes."
Of course, you'll want to consider your budget: it may be tempting to up-cycle wooden pallets or scrap wood — and much of it is usable — but older pallets may have been treated with chemicals like Chromated Copper Arsenate or methyl bromide, a highly toxic pesticide. Newer wood may be pressure-treated (chemical-treated) with low-toxicity Micronized Copper Azole, or heat-treated to kill any pests — two treatments that pose relatively low risks, but it's best to avoid older up-cycled wood if you're unsure of its origins. If in doubt, according to the University of Maryland Extension, paint or stain the wood, or use a heavy plastic to line between the wood and soil.
Wood, cement block, and other raised bed materials
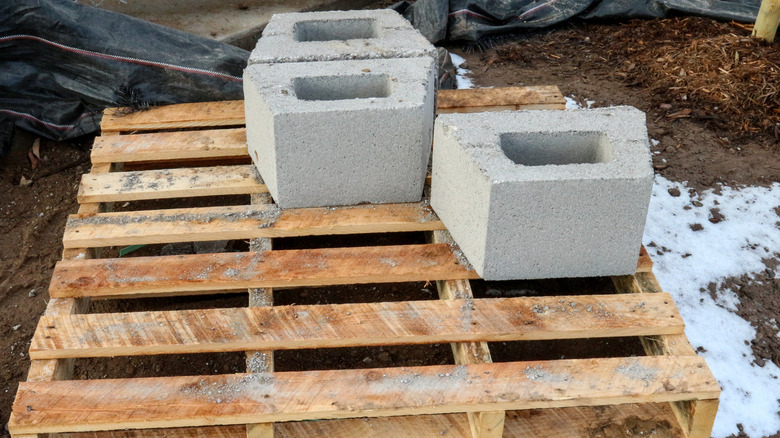
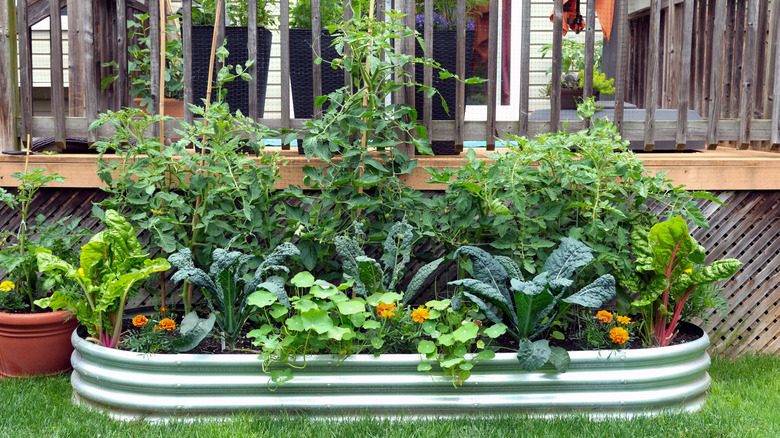
According to Mackey, "Untreated pine is cheap and easy to find, yet it may rot in five years," while cedar or redwood lasts longer, but costs more. Wood framing with galvanized steel sides is also a stylish option, but even the humble cinder block will work well, Mackey said, and "can outlive them all." According to the University of Maryland, some cinder blocks contain fly-ash, a coal byproduct high in heavy metals, but this likely only poses a risk if the blocks crumble. If in doubt, cinder blocks can be sealed with polymer paint. Even if you do not seal cement blocks or treated lumber, though, limited research has found that copper from pressure-treated wood rarely penetrates the soil enough to endanger humans.
Other up-cycled materials may be low-cost or even free: milk crates lined with burlap or landscaping cloth allow for a perfect amount of space for a plant, with adequate drainage. Tires and tire rims can also make excellent planters, "though they may need extra drainage holes or liners to prevent soil loss and overheating," Mackey explained. You can, and dare we say should, even use an old bathtub.
Where to put a DIY raised bed
There are four main things to consider when deciding where to put a raised bed: sunshine, water, flat ground, and accessibility. According to Mackey, "A raised bed needs at least six hours of direct sun, a nearby water source, and level ground that won't flood after a summer downpour." There should be around 18-25 inches between and around beds to make room for wheelbarrows, strollers, or wheelchairs. "And if you're the type who harvests dinner minutes before cooking, place the bed close to the kitchen door."
In an ideal world, you could easily meet all four of these conditions. But for those with a tiny patio, a hilly yard, or a tangle of trees, adjustments might be needed. Those with limited space can make a window box, a planter, a pot, or a smaller bed in a porch corner for a lush herb garden. Earth can be terraced on a hill to create a flat space, and trees can be pruned back to allow some sunlight in. Assess your space beforehand, or use a trick from Raymond Nones' book "Raised-Bed Vegetable Gardening Made Simple": make or collect the frames first, then place them in the spot you're considering. "Then, for the next few days, walk around them and generally observe them. Do they get enough sun? Are they far enough from trees and fences?" Move them until you are satisfied.
Materials you'll need for a raised bed

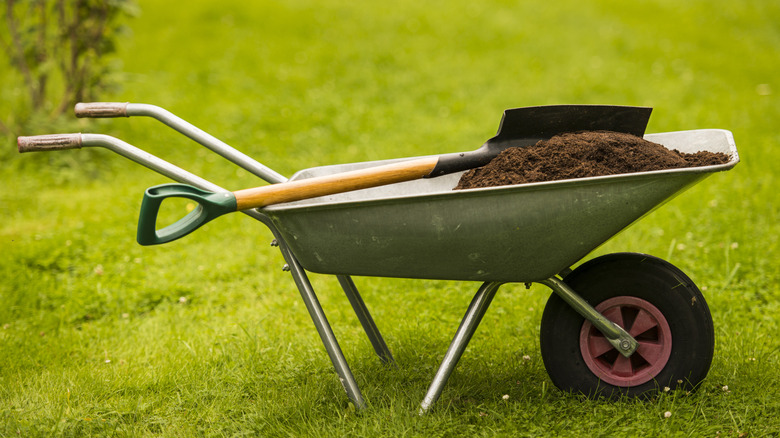
According to Mackey, key tools for building your own raised bed of wood include: your wood or other material of choice, a circular saw or handsaw, power drill, exterior deck screws, corner braces, measuring tape, level, shovel, rake, wheelbarrow, staple gun, hardware cloth, optional landscape fabric, garden gloves, and safety glasses. Skip the circular saw or handsaw if you prefer: many hardware stores will cut lumber to size for you, and grant a certain number of free cuts before they start to charge for them.
There are no hard-and-fast rules about height or other sizing, but experienced gardeners often recommend 12-18 inches. Shorter can work, but deeper roots generally mean taller plants. Higher than 18 inches, and you risk putting too much weight and pressure on your frame.
In a weekend, Mackey said, you can: measure and cut your boards (an 4 x 8 foot raised bed is common, but any size will work), pre-drill and screw corners with the deck screws and corner braces, put hardware cloth under the frame to keep out pests and weeds, line the frame with landscape fabric if using treated wood or metal, and fill the frame with soil mix. But first, you'll need soil, which Mackey called "the real secret sauce."
Can I use soil from my garden?
Any experienced gardener will tell you: get to know your soil. Soil types vary widely, and you can learn a lot about them just from looking, digging, and reading up about local soil types. You can often mix native soil with supplemental materials to create the best possible environment for your plants in a raised bed, but depending on the soil quality, you may end up mixing soil completely "from scratch."
Mackey suggested testing the soil for contaminants to determine whether or not you can use it for growing food. This is best done by having soil samples analyzed by a local extension office, usually at your closest land-grant university. Extension offices are a wealth of resources for land management, crop information, and urban gardening. Home soil tests are not always reliable, and when it comes to contaminants like lead, arsenic, or dangerous pesticides, a high-quality test may be worth it.
If you don't have the time or cash, another option is looking up your soil type on the USDA's Web Soil Survey. Using their mapping tool, you can find detailed information on soil in your area, including chemical and physical properties. If you find your area's soil is particularly acidic, for example, you can lower acidity with agricultural lime. If it's too alkaline, add organic matter like peat, or elemental sulfur, to lower the pH.
How to fill your DIY raised bed
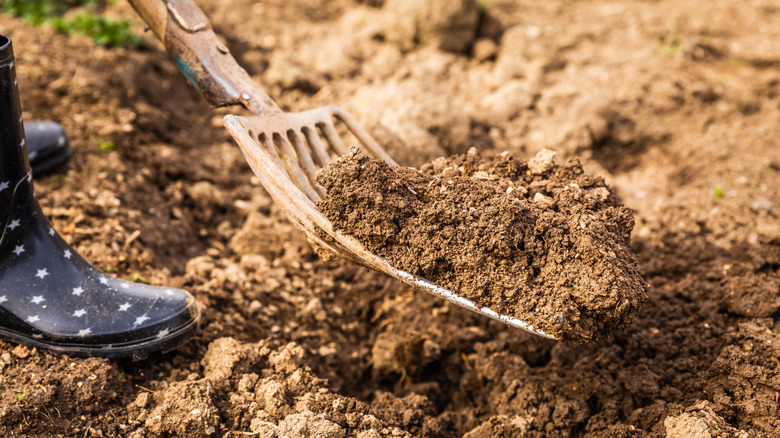
Once you've determined your type of soil, and whether or not you'll be using any in your raised bed, you can fill your frame. Make sure the ground underneath is level — dig with a shovel and spread it out with a rake if it's uneven. Then, "If your backyard soil drains well and tests clean for contaminants," Mackey suggested a mix using 60% native topsoil, 30% compost, and 10% aeration material, like perlite." Aeration material is added to improve drainage, root growth, and nutrient uptake: materials like vermiculite, sand, and even pumice can be used.
But with clay-heavy soil, for example, or contaminants like lead, skip your native topsoil and use a time-tested mix like Mel's Mix, Mackey said: ⅓ peat moss (or an alternative), ⅓ vermiculite, and ⅓ compost. Compost might be available from a local composting facility, a home and garden store, or even a friend who does backyard composting. Other soil components can be found at your local hardware or garden store. If your soil is contaminated, you can place a barrier like landscaping cloth underneath. Make sure the soil is well mixed, fill your raised bed, water it, top up the soil, and you're ready to plant your starts.
When to plant your raised bed
Here are a few key considerations for planting your raised bed: using seeds or plant starts, seasonality, temperatures, and positioning in the bed. Planning carefully for the continued care of your plants is critical for their success.
Some veggies and fruits are best suited for starting as seeds in a raised bed, and others thrive best after they've had a chance to grow a little indoors and then transfer, as seedlings or starts, into the bed. Certain plants should be grown only in the winter, spring, fall, or summer. Many guides to this timing are available, but we've found the National Gardening Association's Garden Planting Calendar to be particularly helpful: just type in your zip code and pull up tables of timing by crop, with suggestions on whether or not to sow seeds outside or use seedlings (which can be grown indoors yourself, or bought at nurseries and garden stores). If you have a list of the crops you'd most like to grow, you can even make your own table for scheduling which crops to grow together by season or month.
How to plant your DIY raised bed

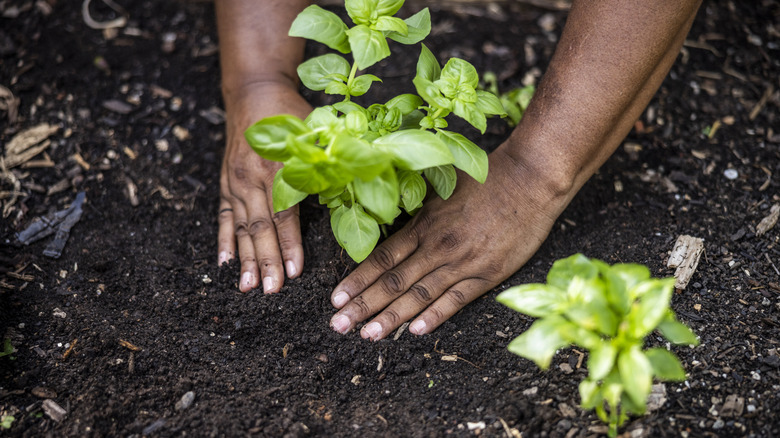
When planting, give plants enough space to grow: There are charts available for some guidance on how far apart to space different crops, or you can refer to the seed packets you're using. Plants grown from seed should be planted very shallowly — at about twice the length of the seed itself, and transplants (also known as starts or seedlings) should be planted as deep as they were in their first containers, so the roots are fully submerged in the soil.
Also keep in mind: you may not need much space or as many plants as you think. Christopher Bird, in his book, "Cubed Foot Gardening: Growing Vegetables in Raised, Intensive Beds" explains that: "Most people think they have to grow three to six plants ... but the truth is, one healthy plant will provide the average family a nice fresh tomato several times a week. Okay, maybe you do want to cook homemade spaghetti sauce. So grow two plants." And yes, we do want homemade tomato sauce.
Another easily overlooked detail is where in the bed to plant what. According to Bird, you don't want taller plants to steal sunlight from shorter plants. And though the sun moves across the sky from East to West, "On average it shines in at a slight angle from south (even at noon, when we normally think of it as being directly overhead)," he writes. Because of this, place taller plants in the north of your bed and shorter plants in the south.
Maintaining your raised bed
It goes without saying that your plants will need water. But the method can vary. Depending on where you live, sprinklers, watering cans, or a hose with a spray nozzle may do the trick. In hotter, drier climates, you may have to build a drip irrigation system for slow, deep watering, while in the Pacific Northwest, watering just once a week could cut it.
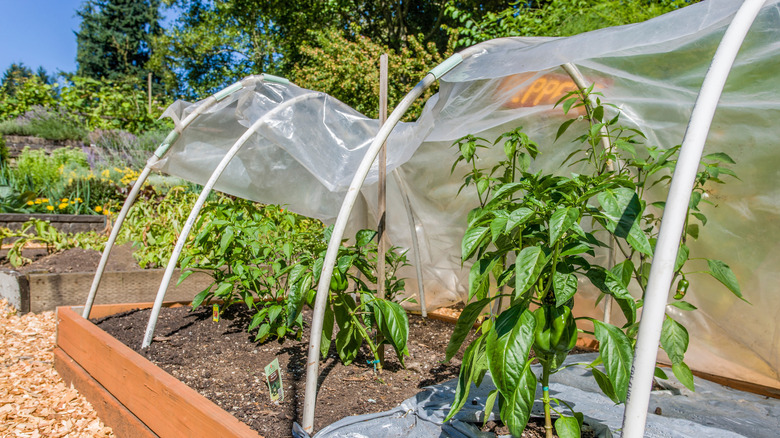
You should also keep an eye out for pests and weeds regularly. Pay attention to how plants respond to varying temperatures, moisture, and sunlight. In colder weather, you may even want to trap heat in the bed with a plastic sheeting structure (like a mini-greenhouse).
But apart from coaxing your plants to grow, Mackey said, there are some other tips for maintaining a strong and healthy raised bed environment: "Top‐dress with two inches of compost each spring, mulch with straw to conserve moisture, and rotate crops to keep pests guessing. Re‐seal wooden boards every few years with food‐safe oil, tighten loose screws, and sow a winter cover crop like crimson clover to feed the soil," he told us.
Raised beds, Mackey said, "turn underused corners, rooftops, and vacant lots into thriving mini‐farms. They invite neighbors to gather, kids to dig, and pollinators to buzz." And with a little care, they can provide you with the best reward of all: freshly grown food to share.