10 Tips For Using A Chocolate Fountain
We may receive a commission on purchases made from links.
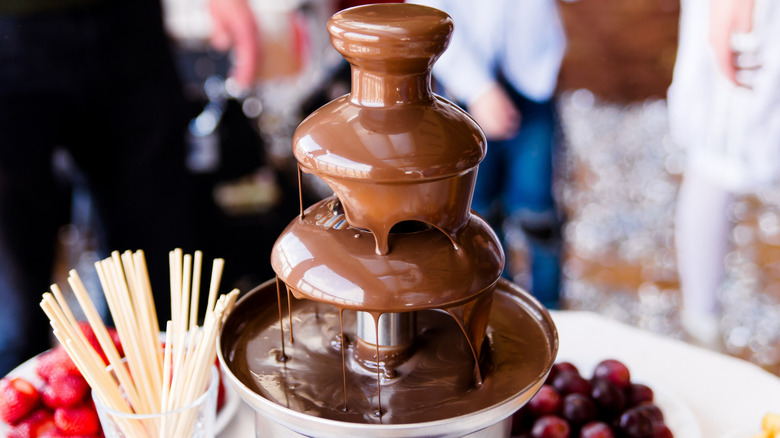
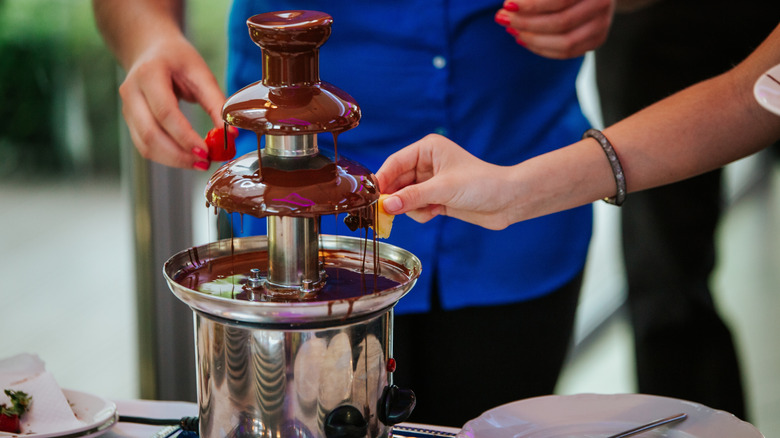
If you've attended a fancy party or wedding recently, chances are you may have seen the mesmerizing centerpiece that is a chocolate fountain. While they might look extravagant and complicated, chocolate fountains are surprisingly accessible and easy to use. Whether you're hosting a holiday gathering, want to impress your guests, or just want a fun upgrade from your standard slow cooker chocolate fondue, a chocolate fountain is a fun, affordable way to add a touch of flair to any event.
Chocolate fountains work by gently heating and circulating melted chocolate through a tiered structure, creating a cascading waterfall of silky sweetness. Guests can dip fruit, cookies, and other treats into the flowing chocolate. As simple as they are, though, there are a few pitfalls that can turn this showstopper into a mess. From chocolate that clumps or refuses to flow to crumbs that ruin the smooth texture, it's important to get the details right. To help you make the most of this crowd-pleasing appliance, we've put together 10 essential tips for using a chocolate fountain so your next gathering goes off without a hitch.
1. Use high-quality chocolate
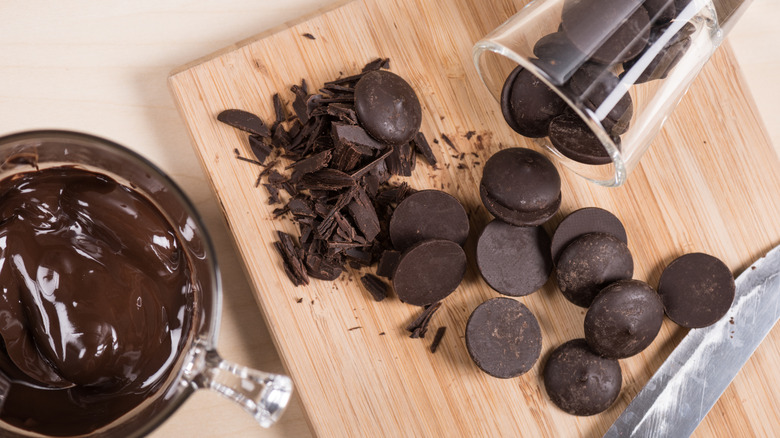
The chocolate in the fountain is truly the star of the show, so it's important to choose a high-quality product. The best type of chocolate to use is couverture chocolate, which is designed for fondue because of its ability to melt and retain its very chocolatey flavor. Thanks to its high cocoa butter content and rich cocoa percentage, couverture melts beautifully, flows smoothly, and retains a glossy, velvety finish that makes for an eye-catching presentation. If you can't get your hands on couverture, opt for a high-quality chocolate bar or baking wafers. These are the best chocolate products for melting and molding because they don't contain the same kind of stabilizers that chocolate chips do.
When it comes to flavor, choose the type of chocolate that best suits your event. Milk chocolate is always a great choice because its subtle sweetness pairs well with a variety of dippers. It is neutral enough to be a crowd pleaser and balance out a range of flavor palettes. However, if you're going for a more elevated, luxurious chocolate fountain, using dark chocolate can offer a more sophisticated option. Dark chocolate's more intense flavor pairs nicely with salty flavors, perfect for snacks like pretzels or chips. If you're feeling playful, white chocolate offers a sweet twist and complements sugary treats like strawberries, cookies, or even chunks of caramel.
2. Add fat to improve the consistency
If you can't get your hands on a couverture chocolate, you can achieve a similar product by simply adding oil or another type of fat to improve the viscosity. Adding an oil product replaces the missing fat content inherent in couverture chocolate so that the chocolate fountain can flow smoothly and achieve that classic shimmery appearance.
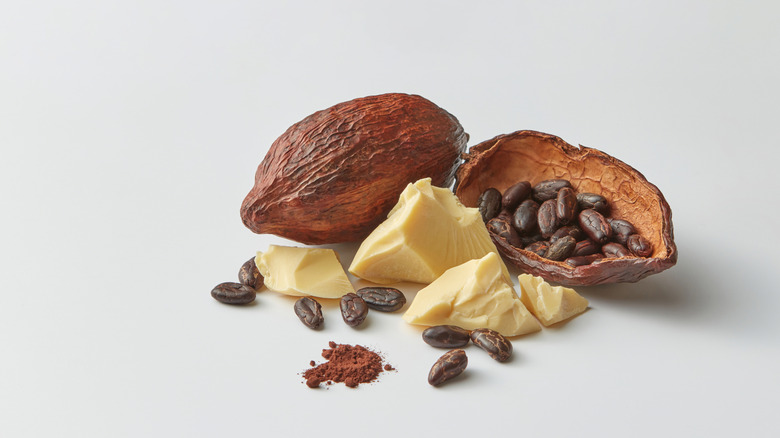
The best fat to add to your chocolate is melted cacao butter, which is the naturally occurring fat in cacao beans. Cacao butter has a low melting point, so just like when melting chocolate, it should be watched really carefully. If you can't find cacao butter, you can also use a neutral-tasting oil like vegetable oil or refined coconut oil. Adding coconut oil can give your chocolate a subtle coconut taste, but if you like coconut flavor, you may enjoy the way it complements it.
When adding your fat to the melted chocolate, stir it in one tablespoon at a time, mixing thoroughly until you reach your desired consistency. You can test if it is thin enough by running it off a spoon or spatula. If it flows easily but not too quickly, it is the correct consistency for the chocolate fountain.
3. Melt your chocolate before adding it to the fountain
While many chocolate fountains include a heating element, it's best to pre-melt your chocolate to ensure it reaches the ideal temperature and silky, pourable consistency. The two most common melting methods are the microwave and the stovetop. Microwaving is often the quickest and most convenient option, but it requires careful attention to avoid burning. Start by chopping your chocolate into small, uniform pieces and placing them in a microwave-safe bowl. Set your microwave to defrost or 50% power, and heat in short 30-second intervals, stirring well between each round until the chocolate is fully melted and smooth.
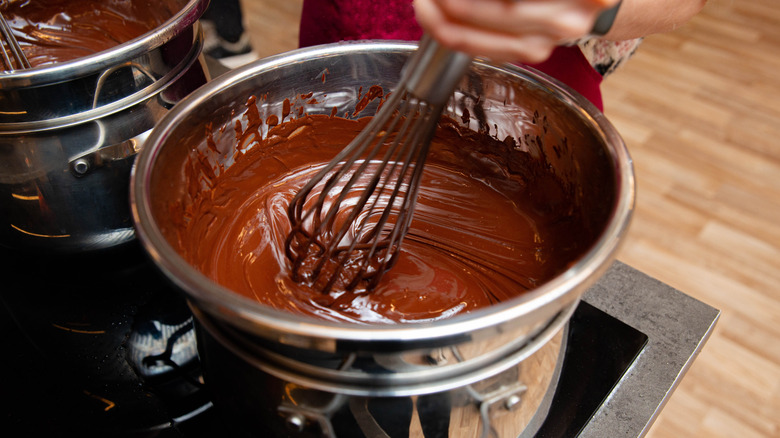
Melting chocolate on the stovetop without burning it is an art and requires the double boiler technique. To use this method, fill a saucepan with a few inches of water and bring it to a gentle simmer. Set a heatproof bowl over the pot, ensuring the bottom of the bowl doesn't touch the water. Add your chopped chocolate to the bowl and let it melt slowly over the steam, stirring continuously until smooth. This is also the time to incorporate any added fat, like oil or cocoa butter, for improved flow. Once the chocolate is fully melted and glossy, it can be poured into your fountain.
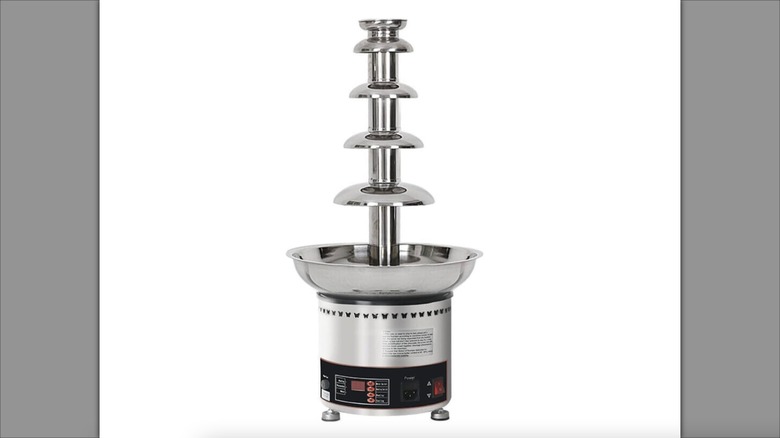
4. Set up the fountain on a level surface
Before turning on your chocolate fountain, one essential tip is to make sure it's placed on a completely level surface. While this may seem obvious, getting the fountain perfectly level can be trickier than it sounds, and it's crucial for achieving an even, continuous chocolate flow. If the fountain is tilted even slightly, you may notice gaps in the curtain of chocolate, and guests on one side may get a less-than-ideal dipping experience.
To properly level your fountain, start by placing it on a flat, stable surface. Then, adjust the feet at the base of the fountain until it sits evenly. For best results, use a bubble level on the base platform and check it from multiple angles to ensure everything is perfectly balanced. Taking this extra step ensures your chocolate flows smoothly. Your guests will appreciate your attention to this detail.
5. Preheat your fountain before running it
To get the best performance out of your chocolate fountain, it's important to warm the machine before adding any chocolate. This step is especially crucial if you're operating the fountain in a cold environment, such as an outdoor setting or even an air-conditioned room, because a cold base can cause the chocolate to harden quickly and interfere with the smooth, continuous flow.
To preheat, simply turn on the fountain's heating function and allow it to warm up for about 10 to 15 minutes. For an even more effective warm-up, try cycling warm water through the fountain before adding the chocolate. This helps distribute heat evenly across all tiers, ensuring a consistent temperature throughout. If you do use water for preheating, make sure to drain it completely and dry all parts thoroughly before use. Any leftover moisture can cause the chocolate to seize or become clumpy once added.
6. Keep your dippers dry
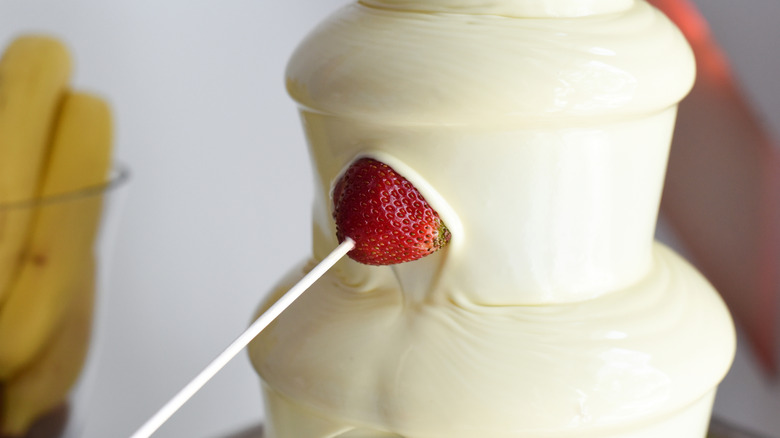
Once you've achieved the perfect smooth chocolate fountain, you don't want to ruin it with the dippers. One of the most common mistakes is introducing moisture into the fountain, which can cause the chocolate to seize and turn grainy or clumpy. Chocolate and water simply don't mix; just a few droplets can ruin the texture, turning your fountain from silky to stiff in seconds.
Dry dippers like cookies, pretzels, and crackers are generally safe and won't pose this problem. But if you're using fruit, it's essential to dry it thoroughly after washing. Fruits with skins or peels, such as strawberries, grapes, and apples, are ideal, as they tend to retain their moisture internally. On the other hand, avoid overly juicy or delicate fruits like melon or pineapple unless you're confident they're completely dry. Take a few extra minutes to pat down fruit and inspect your dippers, and your fountain will stay flawless all night long.
7. Don't choose crumbly dippers
Another factor that can compromise the smooth operation of your chocolate fountain is crumbs. While crumbs won't cause the chocolate to seize like water does, they can still interfere with the texture and appearance of the flowing chocolate. Worse, larger crumbs or broken pieces can get lodged in the fountain's mechanism, potentially clogging the machine or causing it to malfunction.
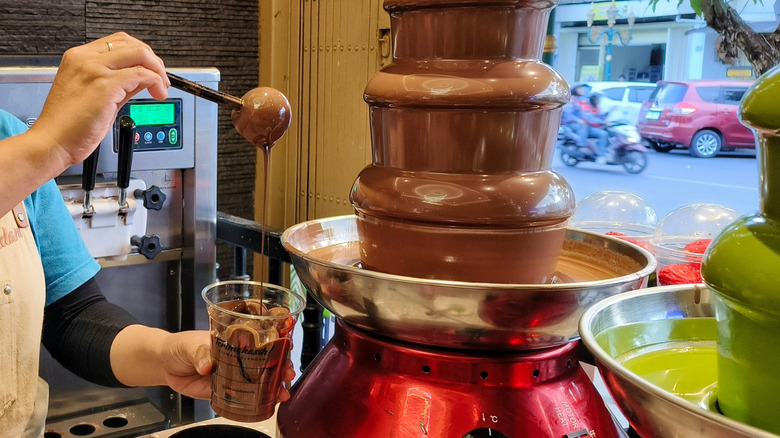
When selecting dippers, aim for items that hold their shape and don't crumble easily. If you're serving items like wafers or cookies, offer them in small, individual portions, so guests aren't tempted to break them apart over the fountain. For more delicate treats like cake or brownies, consider offering a ladle or spoon alongside the fountain, which will allow guests to drizzle chocolate over their dessert instead of dipping it directly. Careful selection goes a long way in keeping the chocolate flow clean, consistent, and party-ready.
8. Don't be afraid to try savory dippers

Even though chocolate fountains are traditionally thought of as a dessert centerpiece, that doesn't mean you have to stick strictly to sweet dippers. In fact, incorporating a few savory options can create a fun and unexpected contrast that enhances the rich, sweet flavor of the chocolate.
Salty snacks like potato chips, popcorn, and pretzels work especially well, bringing a satisfying crunch and a savory balance that pairs surprisingly well with chocolate. If you're feeling adventurous, you can even introduce a subtle cheesy element. Try bite-sized cubes of Gouda or aged Parmesan, which are firm enough to hold up to dipping and make great skewer-friendly options. Or, for something a bit more approachable, offer cheese-flavored crackers for a touch of that savory note without going overboard. A mix of sweet and savory dippers adds variety and keeps guests coming back for more.
9. Don't wait to clean it
By the time your chocolate fountain party is over, you'll probably be exhausted. But if you're tempted to leave cleaning up for tomorrow, trust us and don't. Chocolate fountains are much easier to clean while the chocolate is still warm and soft. Once it hardens, it becomes a stubborn mess that's far harder to remove.
To clean your chocolate fountain, begin by unplugging it and allowing it to cool enough so that the parts are safe to handle. Using a plastic or silicone spatula, scrape off as much of the remaining chocolate as you can. There may still be some hardened spots, and if that's the case, soak the removable parts in warm water for 20 to 30 minutes. This will help loosen any stubborn bits and make the final cleanup much easier.
After soaking, wash the parts as you would regular dishes, scrubbing thoroughly with soap and warm water and then drying everything completely to avoid any residual moisture or bacteria buildup. A little effort up front will save you a much bigger headache the next day.
10. Save and repurpose any leftover chocolate
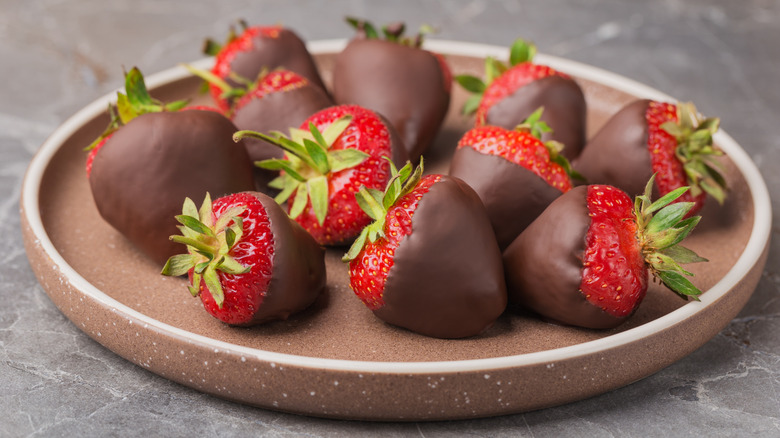
It can be tricky to figure out exactly how much chocolate you'll need for your chocolate fountain event, and chances are you'll have at least a little bit leftover. Don't throw this chocolate away! Leftover chocolate is easy to save and can be reused for your next fountain event or repurposed into other delicious treats. You can make picture-perfect chocolate covered-strawberries, umami chocolate bark, or add it on top of ice cream sundaes.
To store your leftover chocolate, simply line an airtight container with parchment paper for easy cleanup, pour the chocolate in, and pop it in the fridge or freezer. For smaller quantities of leftovers, you can even freeze them in an ice cube tray. It'll stay good for months in the refrigerator and around a year in the freezer. When you're ready to use it again, simply reheat and enjoy.