The Mason Jar Trick For Adorable, Portable Cheesecake
We may receive a commission on purchases made from links.
When you think of Mason jars — the clear glass jars with the rubberized, airtight lid — you may only think of pickling and canning. But they have dozens of (sometimes unexpected) uses. They're the perfect vessel to keep your wine fresh longer. There are some clever ways to pack a lunch in a Mason jar, and you can stack your soup ingredients in them to ensure freshness and incredible taste. They've even become the unofficial container of overnight oats, perfect for a grab-and-go breakfast or, in this case, dessert.
Not only is a Mason jar cheesecake portable and truly delicious, it's super easy to make. While you could bake your miniature Mason jar cheesecakes, we're going to focus on a no-bake version for ultimate simplicity. These little jarred desserts will come out sweet, creamy, and totally satisfying. Although they will need to be refrigerated for a bit before you enjoy them, you can prepare multiple servings in just around 30 minutes to feed a whole crew or save them in the fridge to savor throughout the week.
Once you have your crust and filling base, you can top them with just about anything you'd like, and mix and match your flavors. So, if you don't already keep Mason jars in the pantry, this is the perfect reason to join the club. The Ball 8-ounce Quilted Crystal Jelly Jars will work perfectly for this dessert project, with a little extra pop of design to whet your palate. Once you've secured your jars, just let all the fillings fall into place.
How to make Mason jar no-bake mini cheesecakes
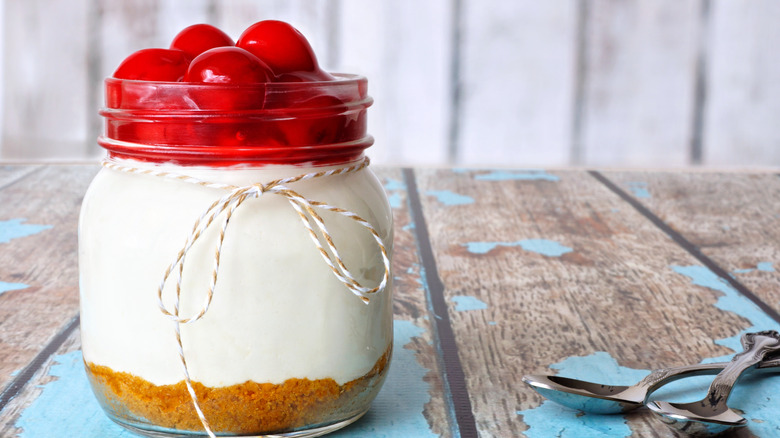
Mason jar cheesecake works its way from the bottom of the jar, up. A simple no-bake crust is as easy as mixing graham cracker crumbs with melted butter. For the filling, you'll need heavy cream, cream cheese, sugar, and lemon juice. And this is where the beauty of the no-bake cheesecake comes in — there are no eggs to deal with (less mess and you can't overbeat them), and there's no precision baking or specialized kitchen instruments to bother with. The ingredients can be whisked together by hand or whipped with a hand mixer. For best cheesecake results, let your cream cheese warm to room temperature before you get started. And you can always whip the heavy cream first (into stiff peaks), then fold the other mixed ingredients in for a super fluffy, airy filling.
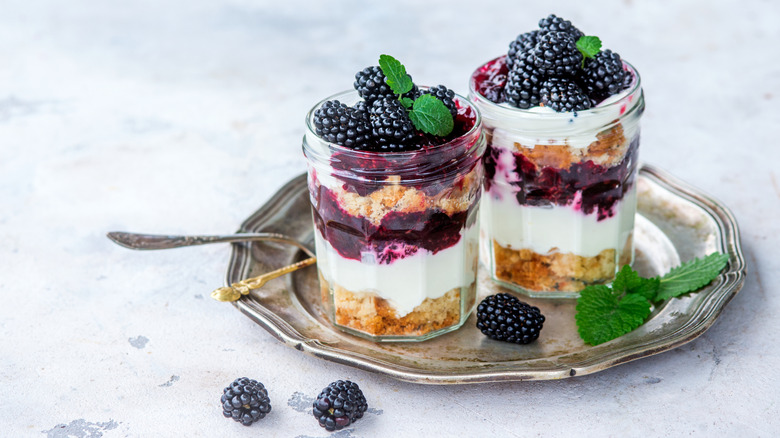
You could mix fresh berries, chocolate, or caramel into the cheesecake filling, or pour it into the jar as is and top it with the sweet additions of your choice. For chocolate lovers, these Mason jar cheesecakes go great with a rich and smooth chocolate mousse, chocolate ganache, or broken chocolate bars. Sliced, fresh strawberries or whole blueberries are obvious choices for fruity toppings, and can even be mixed with the chocolate of your choice. For a sweet and tangy topping, nothing beats lemon curd, and it's easier than you think to prepare — you can make lemon curd right in the microwave.
Once you're done, let the jars cool in the fridge for a couple hours or more. They'll last for at least a week and can be frozen for much longer. This Mason jar cheesecake trick is great for an impromptu picnic, to bring along for an after-school snack, or to simply sit back and relax with a sweet treat after a long day.