

How To Make Butter With Your Stand Mixer In Under 30 Minutes
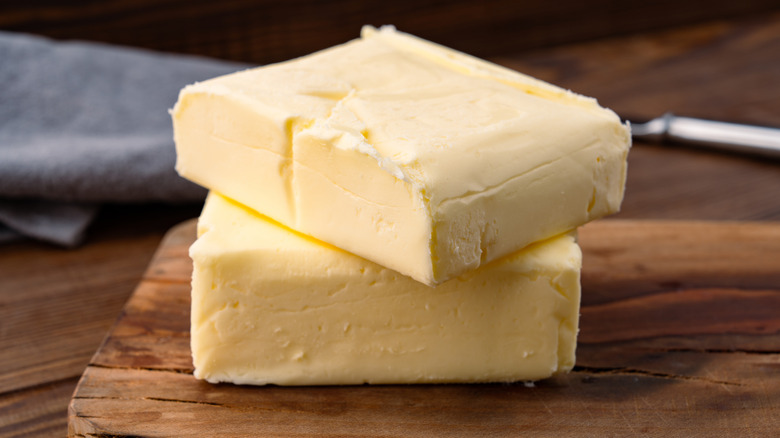
Heavy cream is a key ingredient in many things, but it seems like there's always some leftover. Luckily, you can turn those luscious leftovers into velvety, premium homemade butter by using your stand mixer. A KitchenAid (or similar) mixer can turn out a batch of fresh, creamy butter in just about 30 minutes, providing you not only with the bonus of rich, creamy buttermilk, but also the blueprint for making your very own honey butter or other flavored butters.
Additionally, though a stand mixer takes about twice as long as shaking butter up in a jar, most of those 30 minutes are hands-off, while other techniques require manual agitation. That gives you plenty of time to do things like prep the ice water for washing your butter (a step you should never skip), and lay out pieces of parchment or wax paper for wrapping up your butter to keep it fresh. To make the butter itself, all you really need to do is pour room-temperature heavy cream into your mixing bowl, and slowly turn the mixer up to the highest speed.
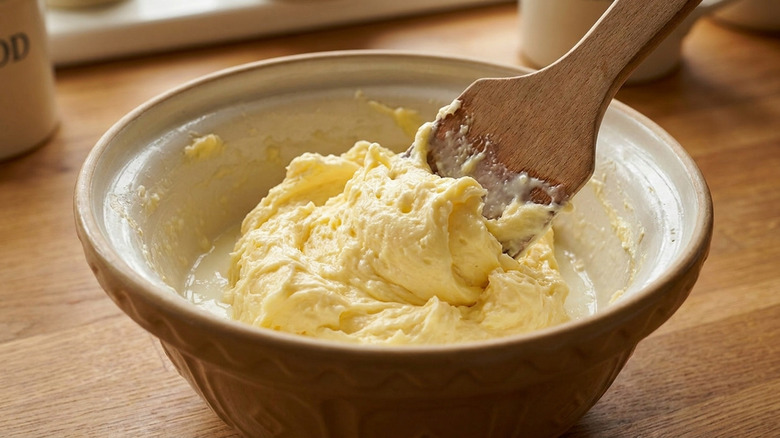
Every few minutes, you'll notice changes in the heavy cream as the fat and cream separate and the fat becomes emulsified into butter. It'll turn into whipped cream first, then gradually shed the buttermilk as it thickens further into butter, slowly becoming a pale yellow color. Once most of the butter has collected on the mixer attachment (usually after about 25 minutes), it's ready to drain, wash, and store.
The story of butter, buttermilk, and ice water
Cheesecloth or a clean cotton tea towel are both ideal for straining as much buttermilk from your homemade butter as possible. The butter itself will be a big lump on your mixer's paddle or whisk attachment (both work well for this), but some may still be floating in the buttermilk. Scoop them from the buttermilk with a slotted spoon, bundle everything up in the cloth of your choice, and gently squeeze it until most of the moisture is released.
It's very important that you reserve the buttermilk for delicious uses, like making tall, fluffy, gorgeous buttermilk biscuits or crispy and tender buttermilk waffles. Store it in the fridge in a clean Mason jar until you're ready to use it. Unfortunately, some buttermilk will be lost in the washing process as you gently massage your butter lump in ice water. This step is important, however, because excess moisture in the butter will cause it to spoil faster.
After that, give the butter one final massage to push out any water it may have picked up, and to work in salt, if you choose to add it. At this point, you can gently form it into a rectangle and wrap it up tightly in several layers of parchment or wax paper and slip it into an airtight glass container, as storing oily foods in plastic can release microplastics. Then, pop it into the fridge where it should stay fresh for up to two weeks.