The Unexpected Thrift Find That Makes Kitchens Look High-End
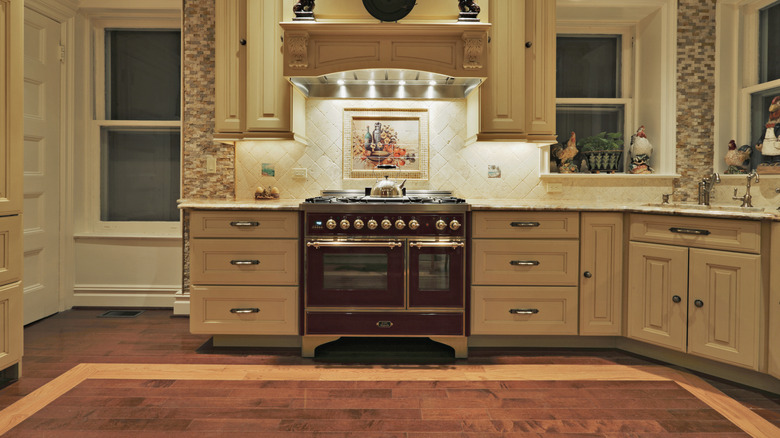
If you are trying to create a high-end looking kitchen on a budget, there are some tried and true ways that designers recommend, from unique overhead lighting to bold colors and marble countertops. One of the most unexpected and lesser known ways to instantly create a more luxurious feel is to wrap the oven hood with a decorative cover, and a wooden antique headboard is the perfect way to do it. Using a headboard to cover a kitchen hood requires finding the perfect piece and the then cutting up the board into pieces that will fit together to create a beautiful wooden box around the vent. It may sound strange, and possibly even dangerous, to use wood near the stove, but rest assured it is perfectly safe to wrap your hood in wood. Always check your local building codes and fire regulations, and comply with safe distance from the stove top (usually around 24 to 36 inches from the stovetop to the bottom of the wood cover).
An antique wooden hood cover not only creates a gorgeous rustic feel (the perfect complement to a trendy farmhouse sink), but opting for a unique hood cover is also an ideal way to make your kitchen feel more curated to who you are. One of the best ways to find beautiful wood for this DIY kitchen upgrade is to hit the thrift shops or search online marketplaces. It's often possible to find secondhand wooden headboards that are adorned with intricate designs. Wood is also ideal if you want to stain it or paint it to match the rest of your kitchen palette.
How to use a headboard to cover a hood
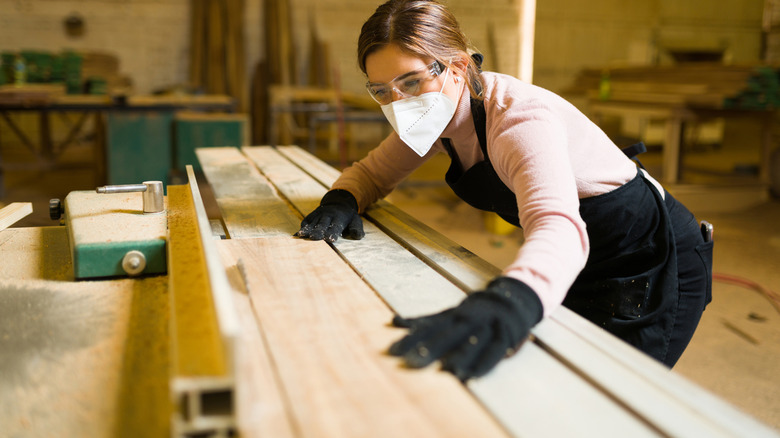
There are plenty of kitchen upgrades that can be done with little upheaval, but this DIY project will take a little more effort. The finished project will be worth it for those interested in creating a kitchen with natural and organic textures and design. From finding and carrying the headboard home to making sure all the pieces fit just right over the vent, it's best done by those that are familiar with woodworking and, most importantly, have access to a table saw.
Once you have picked out your perfect antique piece, you will first need to create a frame for your hood cover. Build the frame from two 2x4 frames (one for the top and one for the bottom). You will then need a table saw to cut your headboard into pieces to make the sides and cover. For an average range hood, your cover will likely be taller than the range and extend to the ceiling, with a little bit of room around the range on both sides. Once you've cut your side pieces, they can be attached to the frame using first glue and then nails. The front piece (and hopefully the most beautiful part of your headboard) can be attached next, again using glue first and then screwed into the 2x4 frame.
To hang your wooden range cover, make sure to first mark the placement on the wall. You can then cut two lengths of wood, to use as horizontal braces. The built hood cover can then be placed on the braces first and then secured into the wall. This project will likely also require sanding, staining, and finishing the boards, as well as buffing with some wax and oil to give your gorgeous new addition some new-to-you shine.