How To Fix Air Bubbles In Buttercream Frosting Without Using A Mixer
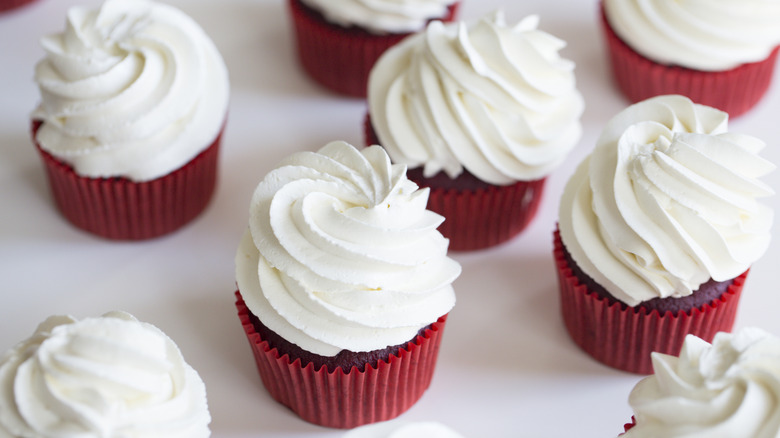
Classic buttercream frosting is incredibly simple to make, requiring only butter, sugar, salt, cream, and vanilla extract. While homemade cakes get that elevated professional look, not to mention extra creamy decadence, that can turn a simple sponge or tea cake into a party dessert, the real magic of buttercream is in its smooth texture. But even when you follow the recipe closely, making sure to use room temperature butter and fine powdered sugar, sometimes air bubbles can play spoilsport and make little craters in what should be a luxuriously smooth surface.
Not sure how to easily fix air bubbles in buttercream frosting? We reached out to Kat from The Baking Explorer for some exclusive advice. With over a decade's worth of baking recipes on her blog, she has tons of troubleshooting tips and tricks, including for this very issue. "Air bubbles in buttercream are simply caused by too much air being mixed into it," she explains. Turns out, if you've put in the elbow grease of mixing buttercream by hand or with the help of a stand mixer, and find the texture dotted with air bubbles, it's possible you may have put in a little too much elbow grease.
Fortunately, getting rid of those air pockets, even without a mixer, is quite easy. "You can use a spatula to remove air bubbles," Kat says. "By pressing the buttercream around the sides of your mixing bowl with the spatula, you can remove [them]." According to Kat, the technique, often used when making macarons, is called macaronage. However, it works equally well with other whisked mixtures that need to look smooth. While there are ways to tackle air bubbles in your buttercream at later stages, it's best to prevent creating them in the first place.
Avoid air bubbles while making buttercream
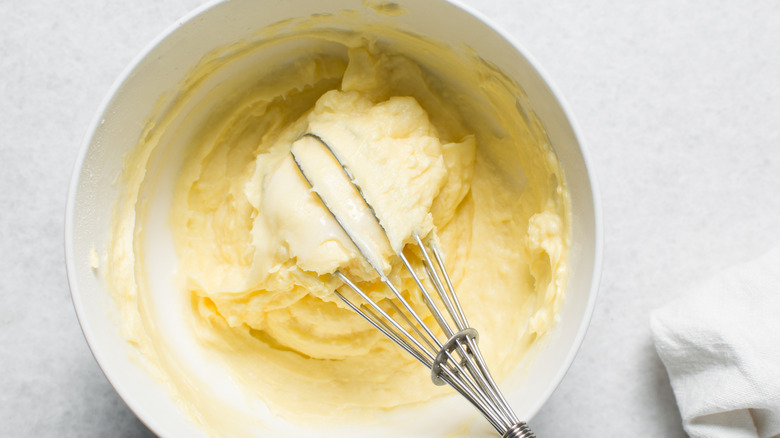
A crucial component of buttercream is air, and like any other ingredient, there needs to be just the right amount. Therefore, it's best not to wait until later to start looking for signs of there being too much air in the mixture as you prepare the frosting. "Look out for small holes throughout the buttercream. This is a sign that air bubbles are present," says Kat, noting, "Buttercream should have a smooth finish without graininess." To ensure you achieve that ideal texture, Kat says, "Don't overmix your buttercream for a long time on high speed." Instead, her advice to anyone using a mixer is to always use the paddle attachment instead of the whisk.
Ironically, while a mixer can help simplify the process of making buttercream, it may also be the reason why your frosting is rife with air pockets. Besides avoiding the whisk attachment, one way to make silky buttercream with no air bubbles is to overfill the mixing bowl, thus leaving less space for the mixer to beat in air. You can also swap the cream for condensed milk in buttercream to make a simple two-ingredient frosting that's just as silky and flavorful but skips having to whisk in multiple ingredients step-by-step. Alternatively, use a hand mixer, or simply avoid appliances altogether. Whisking buttercream by hand, though labor-intensive, is a great way to avoid air bubbles and overmixing since you have greater control over the process.
It's never too late to remove air bubbles from buttercream
Sometimes, the air bubbles in frosting only become apparent when you start layering it on a cake. They may take the form of small dents on the buttercream's surface or the frosting's color may appear too light. "While air bubbles in buttercream won't affect the taste, if you want a professional look when covering your cakes or frosting your cupcakes, it's best to remove them," Kat says.
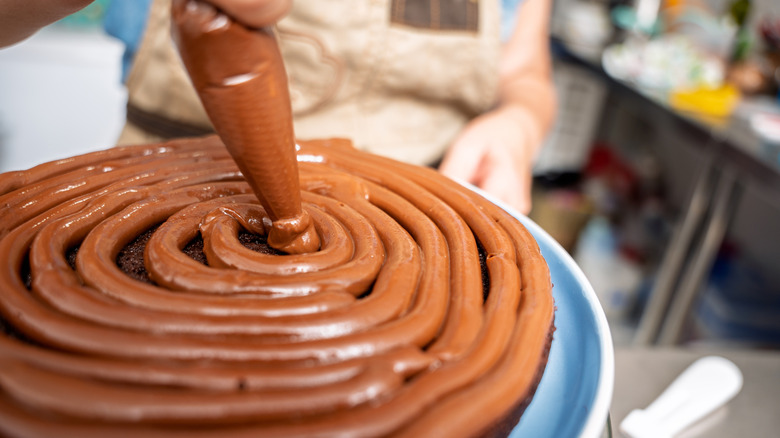
Since air essentially dilutes the buttercream, if you've started piping chocolate buttercream onto a cake and notice its color not looking like the rich, dark chocolatey brown you expect, don't panic. At this point, pause and perform a quick fix before continuing to frost your bake.
There are two simple solutions for removing air bubbles from prepared buttercream once its left the mixing bowl. If you have a blender, simply transfer the buttercream to a blender jar and process it using the sharp blending attachment. This helps remove a good amount of air bubbles, and you can add a touch of cream to help the process along. The other method is to microwave a small amount of buttercream for a few seconds and mix it back into the batch. This method is especially useful for bringing back a richer texture and color if your frosting gets too aerated.
Finally, if the buttercream is already on the cake when you realize you want to remove the bubbles, as with Kat's first solution, a spatula can help you get that smooth finish. Dip the spatula in warm water first, and then run it over the cake's frosted surface. However, note that this won't work with more intricate frosting designs.