The Top 10 Mistakes To Avoid When Making A Pumpkin Roll
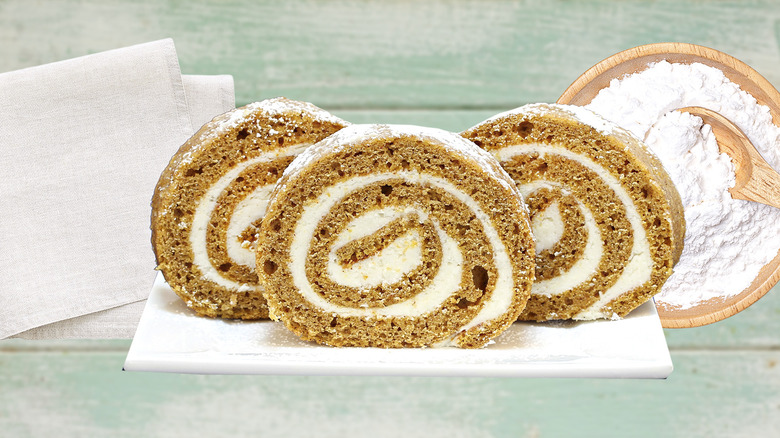
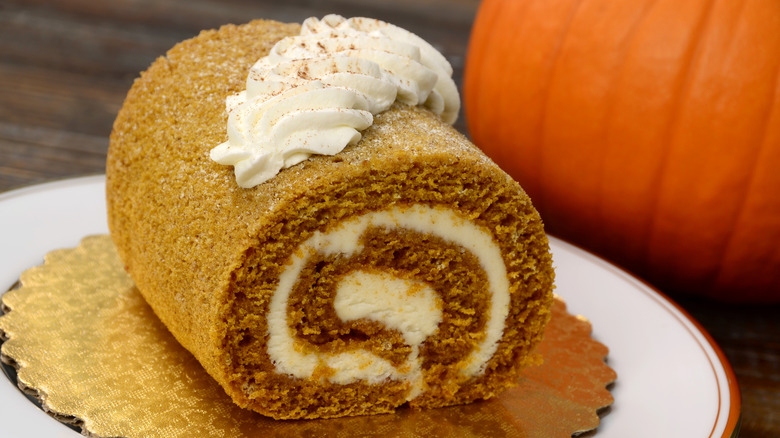
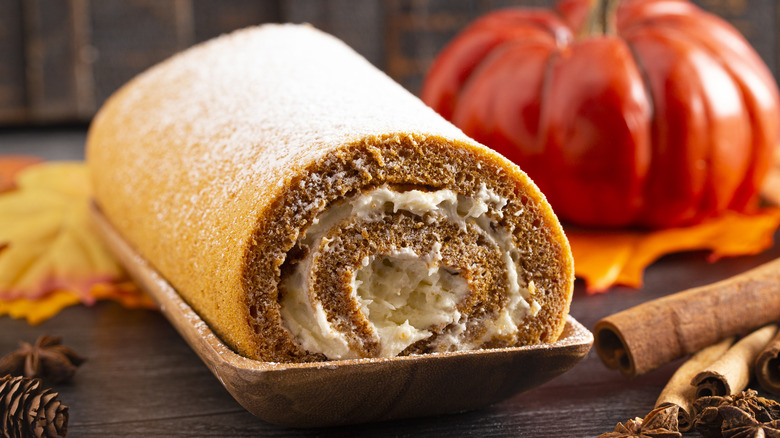
Every hardcore fall obsessive has recurring dreams about the perfect pumpkin roll: A fluffy, subtly spiced pumpkin-flavored cake, gently rolled around a thick and creamy whipped filling ... that perfect spiral shape which holds its pristine form with each knife cut ... the look of pure joy on everyone's face from the very first whiff to the very last crumb. So, why is it that your pumpkin roll recipe never turns out that way when you try to make it at home?! Every fall season, you cry over numerous cracks in your cake, a runny icing, and a sloppy shape that nowhere near resembles all the pumpkin rolls you salivate over in grocery stores and bakeries.
It's a mess. You're a mess. But I have all the solutions to fix this perplexing pumpkin-themed problem. Given my years of experience as a pastry cook, baker, and recipe developer, I will be your well-seasoned expert in this article to coach you through from start to finish all the biggest mistakes to avoid when making, baking, assembling, and serving a homemade pumpkin roll. Together, we can achieve the autumnal goal of the perfect fall dessert.
1. Mistake: Not prepping your baking pan
Before moving forward with anything else, you need to correctly prep your pan, one that's the right size. Without this first essential prep step, you'll end up tearfully prying off chunk by chunk a cake that refuses to release. Goodbye, pumpkin roll — hello, back-up-plan pumpkin cake trifle.
Using the correct pan will yield a cake with the ideal width, length, and thickness. If you use a pan that's too big, the batter will spread too thinly, will easily over-bake, and will have an excessively large surface area, throwing off the balance between cake and frosting. On the other hand, if you use a pan that's too small, the cake will be too thick and won't be wide enough for rolling. My preferred pan is a 10-by-15-inch sheet pan with raised sides, one of the essential pans every baker should own.
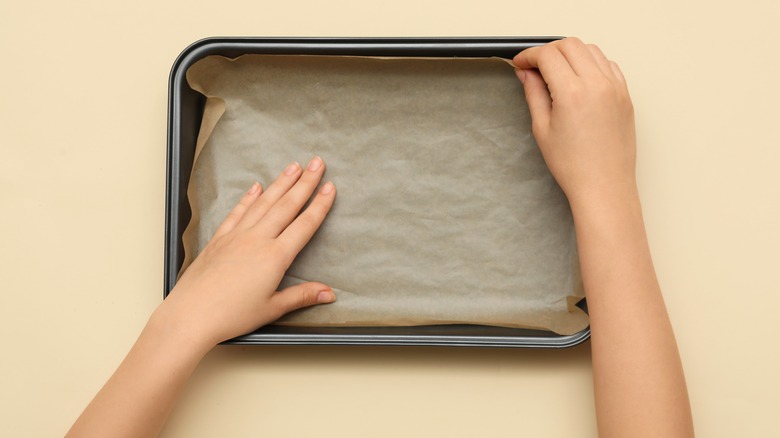
For effective greasing, apply a light and even layer of cooking spray (which you can make from scratch) on the bottom and sides of the pan. This initial application is essential to grease any exposed areas that won't be covered by the liner. The liner should be an appropriately sized sheet of parchment paper, one that covers the entire bottom of the pan with some overhang on the longer sides — this will be helpful in a later step. Finally, apply another even layer of cooking spray on top of the liner. With those three layers (cooking spray/liner/cooking spray), your cake will cleanly release from both the pan and liner.
2. Mistake: Underbaking or overbaking the cake
Hitting that sweet spot of a perfectly baked cake can be a tricky feat. If you underbake the cake, it will be too fragile and moist, making it difficult to transfer it all in one piece out of the pan. And because of how dense it will be, it won't hold its shape when you are trying to roll it. But if you over-bake it, the cake will be brittle and won't roll without cracking. An over-baked cake will also be very dry — no one wants to eat cake with the texture of a dried-up, dehydrated sponge.
The first step to take is understanding how to adjust your oven based on what you're cooking, which in this case is a delicate cake. Learn where the hot spots are in your oven and avoid those areas, or adjust your racks to where you'll get the most even air circulation, typically in the center of your oven.
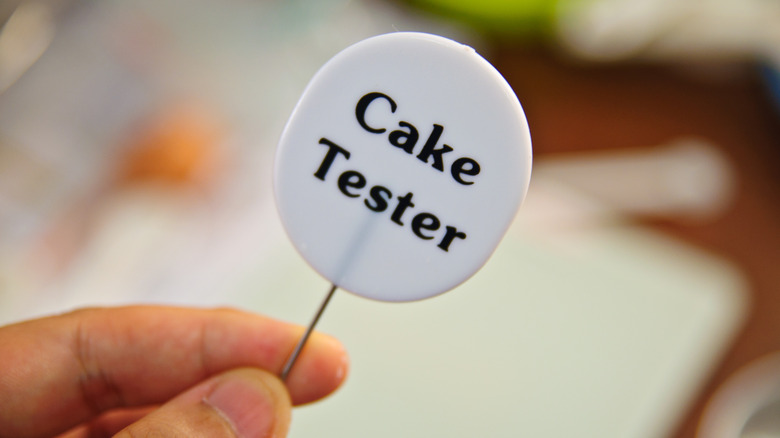
The second step is to review the baking time of your recipe. Make sure you're baking according to the directions. If a range of time is provided, check the cake for doneness at the minimum amount of time, then determine if you need to continue baking for the remaining few minutes. Test for doneness by inserting a toothpick or cake tester in the cake interior and removing it. The cake is done if there are a few moist crumbs attached, not batter. There will still be some carryover cooking, so the toothpick shouldn't be completely clean.
3. Mistake: Not using a kitchen towel and powdered sugar for rolling
A necessary step with every pumpkin roll recipe is to remove the hot, baked cake from the pan and roll the cake over itself until it cools completely to maintain its pliability. But without the right materials, the rolling process could be a failure. If you try to roll the cake on its own, it will stick to itself as it cools and might rip and tear as you unroll it.
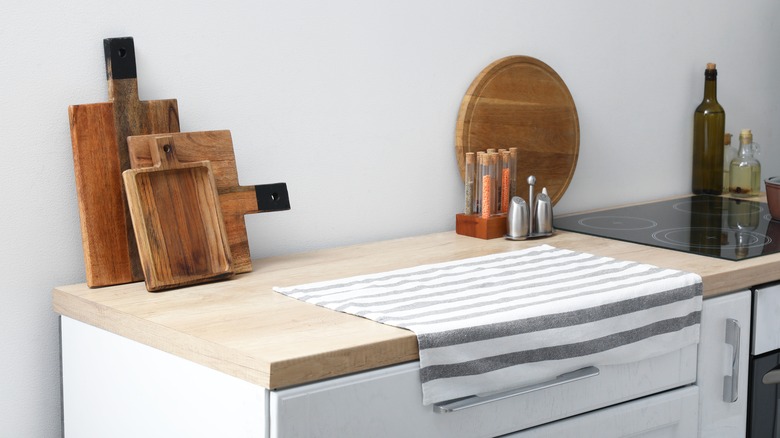
To prevent this from happening, you need to have a buffer layer for rolling your cake around. A thin, non-textured cloth kitchen towel, liberally dusted with powdered sugar using a fine-mesh strainer, is the best option for rolling the baked cake. You want a towel that has a slightly larger dimension than the cake on all sides. Different from rigid parchment paper or wax paper, a thin kitchen towel is able to easily warp and stretch its shape, perfect for the rolling act. I prefer a non-textured design option, since anything textured could leave an imprint on the otherwise smooth surface of the cake. The cloth material also allows some steam to escape for optimal cooling, averting a potentially gummy cake. And as for the powdered sugar, a generous dusting of it helps prevent the cake from sticking to the towel.
4. Mistake: Inverting the cake incorrectly
It's what we pastry cooks dread the most: ruining a perfect cake with one careless move. Improperly inverting the cake from the pan to the prepared kitchen towel is risky, and letting that fear take over your psyche is just as detrimental. Inverting can't be done with nervous second-guessing — you must do it swiftly and with confidence.
First, you need to have everything assembled prior to inverting. As the cake is baking, prepare your kitchen towel on a large, flat surface like a kitchen island or table. You'll also need to set out one wire cooling rack that's the same size, if not bigger, than the cake. You don't want to invert the cake while it's still in the pan you baked it in, since it's hot and difficult to grab. The wire cooling rack is cold and lightweight for you to firmly hold onto. Once the cake is baked, transfer it (still with the parchment paper attached to the bottom) to the cooling rack. This is where some parchment paper overhang is helpful for lifting.
As soon as the cake is on the cooling rack, you need to work quickly. Position yourself at the edge of the work surface, centered in the middle of the kitchen towel, and angle the cooling rack with the cake on top towards the towel. In one singular and swift motion, invert and drop the cake with the cooling rack on top onto the center of the towel. Immediately remove the wire rack, and slowly peel off the parchment. Phew, done!
5. Mistake: Not rolling the baked cake while it's still hot
This is not the time to take a break, so don't relax just yet. The more the cake cools flat, the more its structure sets and becomes rigid. And once it's completely cold, the risk of the cake cracking is incredibly high when you try to roll it after spreading the frosting. Splits in the cake will inevitably cause assembly issues, as the frosting will seep through larger cracks, and the overall final shape of the cake will be warped.
By rolling the baked cake while it's still hot from the oven, you can manipulate its pliability to your advantage for this specific style of dessert. As it cools, the structure of the cake sets in a bendable rolled shape. Once it is completely cooled, the cake can be unrolled and re-rolled without cracking, staying pliable as you complete the final assembly. You want to tightly, yet carefully, roll the cake around the kitchen towel. In order to achieve the maximum amount of swirly layers, you need to roll the cake into a tight cylinder. However, a freshly baked cake is at its weakest, and the fragile structure can be easily crushed or torn if not handled with a gentle touch.
You also want to pay attention to which side you start rolling. Always roll from one short side to the other, rather than starting from one long side to the other. That way, you have more control over rolling, and you'll maximize the amount of swirls to create a cleaner and more compact structure.
6. Mistake: Not letting the rolled cake cool completely
One of the most popular mistakes beginner bakers make is underestimating the importance of cooling time. Unrolling the cake from the kitchen towel too prematurely erases all of the effort taken in the previous step to prep the cake in that shape. If it isn't completely chilled in the rolled format, the remaining time that it is cooling in the flat shape prevents it from developing any pliability to be re-rolled after applying the frosting. The cake must remain in the roll format until it is completely cooled. Not only does this help pliability, the cloth wrapping also helps retain the cake's moisture far more than when steam is allowed to totally escape from the surface. To foster the most even airflow during the cooling process, place the rolled cake on a wire cooling rack — just place it on the same one you used when you first inverted the cake. Once the cake is completely cold, about 1 hour, you can then unroll it from the kitchen towel.
Another reason why you need to cool the cake completely is for decorating purposes. Have you ever tried to frost a warm cake? It's gloopy mayhem. Trying to decorate a warm cake will cause the frosting to melt. It won't hold its consistency, and will become loose and annoyingly unmanageable to spread in a thick, even layer. A homemade pumpkin roll deserves more than a rushed, impatient process.
7. Mistake: Your frosting isn't the correct consistency
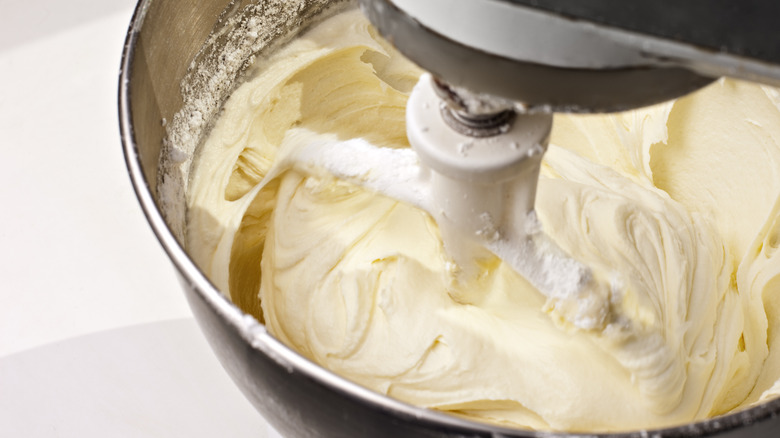
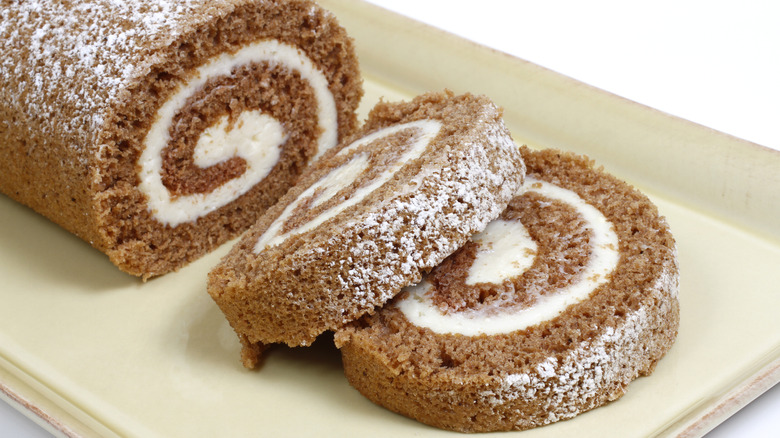
Most pumpkin roll recipes utilize a cream cheese frosting, a luscious and lightly tangy spread that plays well with the pumpkin cake base. It usually has some vanilla, but it can be easily transported further into fall territory by elevating the flavors of the cream cheese frosting, like adding a hint of warming spices or using browned butter for a decadent touch. Whatever way you decide to flavor it, you need to make sure your frosting is the right consistency before spreading it over the cooled cake. The trick here is to make a frosting that is stiff enough (yet still light and fluffy) to hold its shape so that when you slice into the cake, you'll see clear, solid layers of a perfect swirl, alternating between even layers of cake and frosting.
Fortunately, this style of frosting is an easy recipe to adjust. If the frosting is too thick with a cement-like consistency, it will be difficult to spread and might weigh down the delicate cake base. Add water or milk one tablespoon at a time to loosen it. If it's too soft, it will be too loose and won't hold its shape as you roll and slice the cake. A simple fix for this is to add more powdered sugar one tablespoon at a time to thicken it. Allowing the frosting to chill for about 30 minutes to 1 hour will also help to thicken the texture, since the butter and cream cheese in the recipe can chill and re-stiffen.
8. Mistake: Rolling the cake too loosely
For the most compact cylindrical cake shape and the most gorgeous cross-cut swirl, not only do you need your frosting at the right consistency, but you also need to understand how to roll the cake once you apply said frosting. There's no big secret here to reveal: quite simply, it's all about how tightly you roll the cake around the frosting.
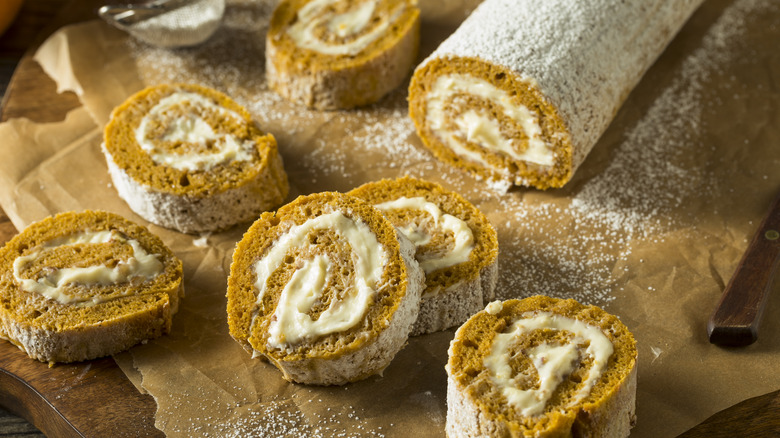
Rolling too loosely will create droopy, uneven layers and an overall cake structure that is weak and fragile. When you cut into a cake that isn't rolled tightly enough, you'll end up with messy slices that are so loose they can actually start to unravel. As long as you roll the cake compactly, but not too tight, that your frosting bursts over the edges, you'll be rewarded with a well-structured, Instagram-worthy dessert with mesmerizing swirls and twirls.
And remember: you rolled the hot cake from one short side to the other to pre-set its pliability in that specific direction. After you spread the frosting, you don't want to mistakenly roll from one long side to the other. The cake definitely won't be able to bend in that direction, and you'll end up with a cracked, droopy cake. Once you start rolling, it's difficult to unroll without a big mess.
9. Mistake: Not chilling the cake prior to serving
Don't you dare rush the setting process! If you skip chilling the cake for at least 1 hour in the refrigerator, preferably 2 to 4 hours, you aren't giving the cake and frosting enough time to set in the rolled shape. This time is necessary for the frosting to solidify so it's not too soft when slicing, and helps it literally glue together with the cake into a uniform dessert that won't separate or unravel. The chilling process also helps to dissolve any remaining residual powdered sugar on top that may still remain from the kitchen towel.
You also need to store the cake properly while it's chilling in the refrigerator. Once you have assembled and rolled the cake into its cylindrical shape, it's best to then wrap the entire cake in one layer of plastic wrap. The plastic wrap helps to keep the exterior of the cake from losing any moisture, and it also helps the newly rolled, and still a little fragile, cake maintain its shape as it chills.
10. Mistake: Not cleaning your knife between slices
If you're frustrated by constantly getting repeat cake crumbs and frosting clumps on each piece of pumpkin roll you slice, you're missing a pinnacle step during the serving process. For the cleanest cuts, one of the biggest tricks of a pastry cook is cleaning your chef's knife after each and every slice when you're preparing a dessert you need to portion. As you slice into a pumpkin roll, some of the crumbs and frosting will inevitably stick to the knife, leaving behind an annoying, albeit delicious, residue when you go in for another slice. To prevent this, quickly run your knife under warm water and wipe dry with a towel after each slice. A clean knife means a clean dessert.
If you don't have enough counter space directly next to your kitchen sink for the repeat cleanings, you shouldn't have to run back and forth between your work surface and the sink as you're carrying a very sharp kitchen tool. Set up a little cleaning station on the same work area you're cutting the cake by filling a tall enough vessel like a large pitcher, pot, bowl, or container with warm water. All you'll need to do is dip the blade of your knife in the water, dry the knife, then continue on slicing your beautifully baked and assembled pumpkin roll. If you're not too deft with a knife, try another method like the old-school cutting technique of using a long piece of string.