Don't Throw Out Plastic Takeout Containers: The Genius Way To Use Them In Your Garden
We may receive a commission on purchases made from links.
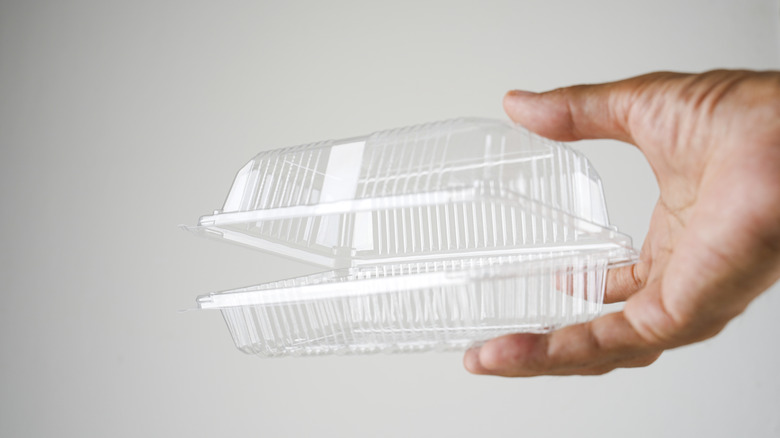
The kitchen can be a place where we generate a lot of trash, from takeout boxes to food waste. When possible, it's great to find creative new ways to use these items rather than tossing them, whether that means reusing old coffee grounds to deodorize your kitchen or turning glass yogurt jars into spice storage. So if you're one of those people who can't help but hoard plastic takeout containers, prepare to be validated: As it turns out, those clear clamshell containers that once held your leftovers also work great as a mini greenhouse.
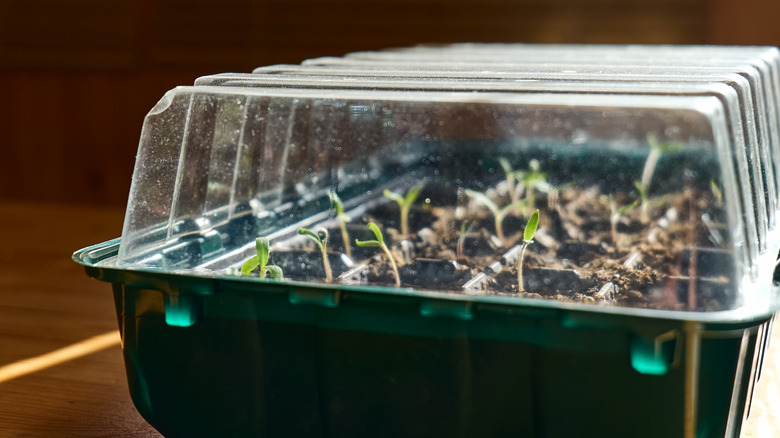
After you find a container tall enough to leave space for soil and seedlings, it's as simple as adding drainage in the form of a few holes in the bottom, and then the DIY greenhouse is ready to help you successfully start a vegetable garden. The plastic acts similarly to the transparent walls of a true glass greenhouse, letting in lots of light and heat and then trapping it within, protecting your plants from the weather and keeping them cozy at a consistently warm temperature. This is especially helpful if you live in a place with harsh winters and you're looking to start your seedlings before you're confident that the last frost is over.
Even if you're not quite ready to grow your own tomatoes, there's no better feeling than seeing "basil" listed in a recipe's ingredient list and simply reaching over to your indoor herb garden to grab what you need. Once your seedlings have reached the top of the container (usually about six to eight weeks), you can transplant them into the ground — and save the container to reuse for the next season's seeds!
Tips and tricks to help your green thumb shine
If you've ever tried to grow a garden, you know it's a little more complex than just planting seeds and hoping for the best. So to help you on your journey to gain a green thumb, here's some advice: First things first, not all seeds are best suited to being started indoors. For example, carrots and beets don't transplant well, and melons or squash need more horizontal space to grow, even in the beginning. So when it comes to your mini greenhouse, you're better off sticking to herbs like basil, rosemary, or oregano, or vertically growing veggies like tomatoes or peppers.
To make sure your plants are living their best life, place the greenhouse on a windowsill that receives a lot of bright sunlight throughout the day and remove all labels from the container to maximize sunlight exposure. Give your plants a healthy base of extra-nutritious seed-starter soil, like Midwest Hearth's mix on Amazon or one from your local plant shop. For routine care, use a water mister like Aebor's plant sprayer to keep the soil moist without overwatering it.
Your mini greenhouse will make the germination process simpler, but there are still some issues you might run into along the way that require troubleshooting. One of these is mold growing inside your closed container. If this happens, try watering the plants less often, or prop open the greenhouse slightly for some ventilation. And if you want to try growing a variety of plants, using DIY seedling pots made out of egg cartons — or using Argconner's biodegradable ones — inside your mini greenhouse can make it easier to transplant the seedlings in separate soil plots once they've germinated. Keep checking in on your plants to adjust care as needed, and happy growing!