Out Of Cupcake Liners? This No-Stick Swap Has You Covered
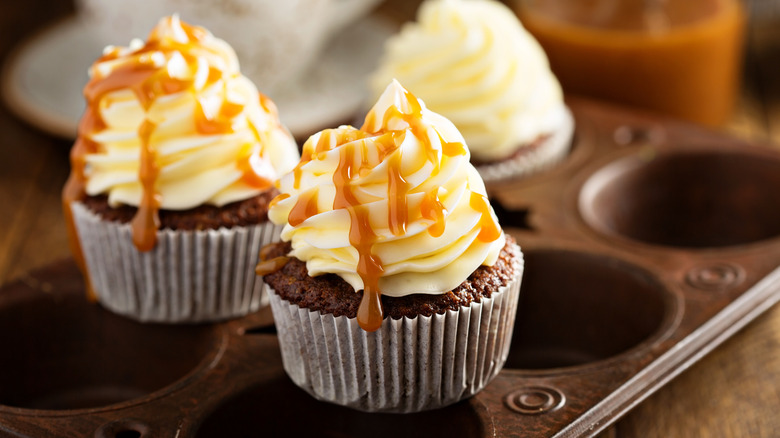
When that cupcake craving hits, there's nothing better than a fresh batch of classic carrot cake cupcakes garnished with caramelized walnuts, or the quick fix of an upgraded boxed cake mix with the absolute best store-bought frosting around. Of course, whipping up a batch of your favorite dessert is contingent on whether or not you have all the supplies you need, including cupcake tin liners.
While cupcake and muffin liners aren't strictly necessary, they make it much easier to slip your baked goods out of the tin without turning them into a crumbly mess — as well as to store, serve, and eat them. These liners also make for a pretty presentation, showcasing your hard work in an array of colors, designs, and festive finishes. However, if you've put your batter together only to discover you're out of liners, parchment paper is a simple solution that's easy to DIY and gives your cupcakes and muffins sophisticated flare.
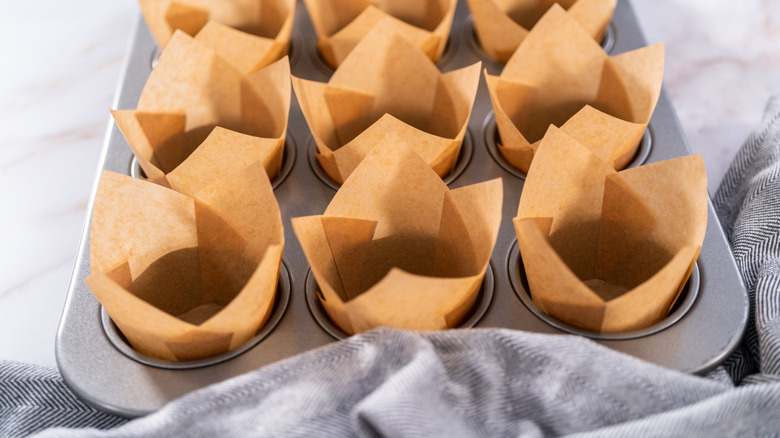
Parchment paper not only lines baking sheets and folds into beautiful packets for fish baked en-papillote, it's the perfect material to make homemade muffin tin liners. Designed to provide a nonstick surface that withstands high heat and can even keep your food moist, parchment paper can also showcase cupcakes and muffins with café-style beauty and rustic charm. Taking it from a full sheet to charming liners is as simple as cutting the same number of squares as cupcakes or muffins you'd like to make, then shaping them into the wells of your pan.
Making sure your DIY liners are the perfect size, every time
Once you get the hang of making your own cupcake liners, this may become one of those essential parchment paper cooking hacks you use every time, kissing store-bought liners goodbye forever. The only finicky part of this process is cutting the parchment paper to the right size. You want squares large enough to fully cover the bottom and sides of each well, with some sticking out of the top.
A 6-inch square is perfect for most standard muffin tins, but for jumbo or mini, you'll want to add the length of the diameter of the opening to the depth of the well, plus an inch or two. For instance, if you have a jumbo muffin tin that's 4 inches across and 2.5 inches deep, 8-inch squares should do the job. To ensure the parchment squares "crumple" into the perfect shape with picture perfect corners showcasing your baked goods, cut a 1 to 1.25 inch slit into all four straight edges of each square. This provides weak points for the parchment to collapse, both ensuring uniform wrappers and decreasing the risk of your parchment tearing.
Next, you'll need a glass or measuring cup (or any cylindrical object with a flat bottom) that fits easily into the wells of your baking tin. This is the tool you'll use to shape your liners, so make sure it touches the bottom of the well. Simply center each parchment square over a baking tin well, and gently press down in the center with the cylinder-shaped tool until the parchment gives to the shape of the well. Then use your fingers to press the parchment up against the sides until it holds its shape in the well, repeating for all baking wells. Hit the inside of each parchment liner with a little nonstick cooking spray before filling with batter.