This Design Adds Personality To Your Kitchen And Frees Up Countertop Space
We may receive a commission on purchases made from links.
However big your kitchen is, it likely isn't big enough to fit all your cooking equipment. There is more than likely at least one drawer that is overstuffed, or one counter that is all clutter. Now, there are plenty of ways in which to save space. Perhaps you've thought about containers to organize your cooking tools, complete with a label maker and a dream to finally have a clean, organized cooking area. But there is one method that doubles as both a storage solution and decor.
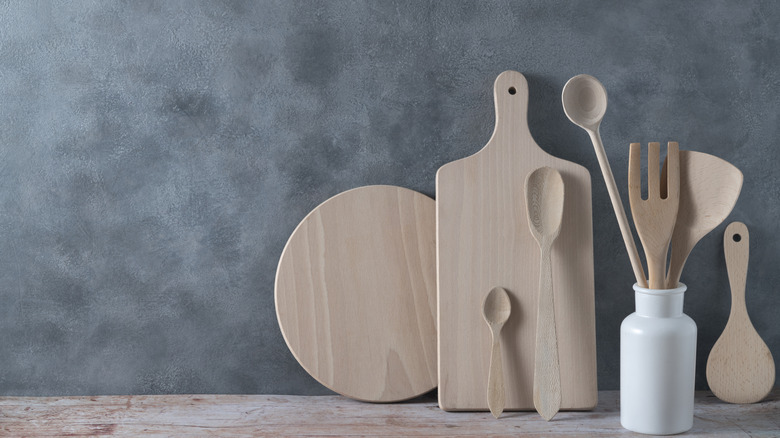
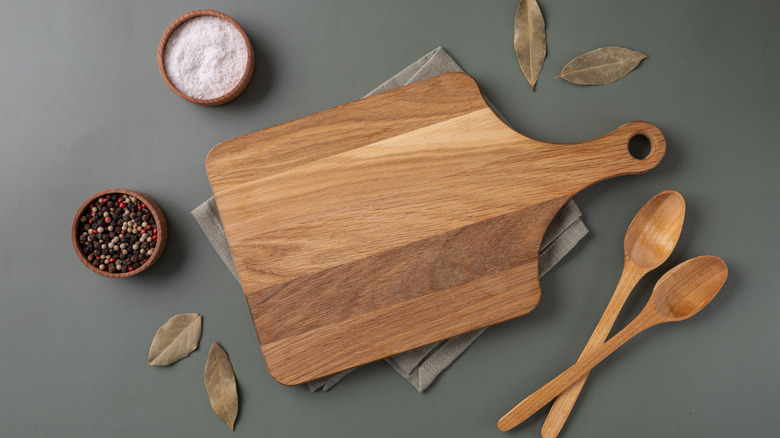
Wooden cutting boards are not exactly compact. They are, however, beautiful or at least they can be, especially if your wooden cutting boards are properly seasoned. A swirled olive wood cutting board is great for displaying, as with vintage cutting boards decorated with images burnt or painted on. So why hide them away?
To save kitchen space, and create a beautiful accent in your home, turning those cutting boards into pieces of a statement wall might be the perfect solution to your storage woes and prove to be a great addition to your home. Ideally, a cutting board statement wall should be placed in or near your kitchen. This is a great way to maximize its utility (you can grab a cutting board from your wall and get to slicing) and helps to create a piece of decor that adds to the flow between cooking and the living areas while giving your home a Nancy Meyers, coastal grandmother aesthetic.
Tips for bringing your wall together
Now, before you start work on your cutting board statement wall, there are a few tips you'll want to keep in mind. For starters, it's probably best to arrange your cutting board layout beforehand to avoid spacing issues when hanging your boards. To achieve this, take a large piece of paper and trace your layout then transfer it onto the wall. You'll also want to check for studs in your wall (using a stud finder) before placing your nails. If you want a cutting board on a portion of the wall that doesn't have a stud, use an anchor to support this screw. This will ensure that your hanging is stable.
Of course, if you avoid nails entirely, you can also use command strips. However, you'll want to make sure your boards aren't too heavy for the strips. If you prefer, place a hanging rack on your wall and affix your cutting boards to the rack. If your cutting board collection is too sparse for this hack, use this opportunity to thrift a few vintage, decorative cutting boards to fill your wall. Just make sure to properly clean both sides of your board before adding back to the wall.