Never Skip This Step For Homemade Jell-O Shots
If you've ever tried to pop Jell-O shots out of a mold only to have them tear, crumble, or flat-out stick, you're not alone. It's a common mistake, but it's also one that's very easy to prevent. The fix? Don't skip prepping your muffin tin or silicone mold. It might sound unnecessary, but that one extra step makes all the difference when it's time to serve.
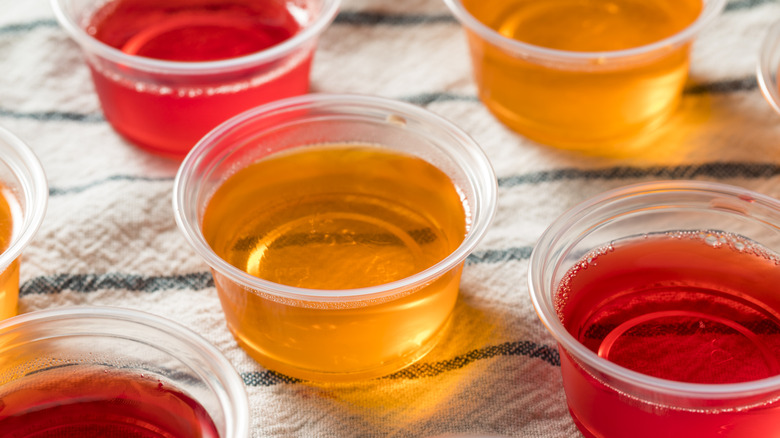
It's one thing to learn how to make Jell-O, and it's another thing making sure your Jell-O is neat. That way, you avoid scooping out a sticky mess with a spoon. After you've grabbed your box of Jell-O, and before you pour in your liquid mixture, give each cup a quick spritz of baking spray. After that, use a paper towel to gently rub out the excess. You're not trying to coat the pan in oil. Instead, you want just the slightest bit of grease, which acts as a release barrier. This ensures the Jell-O firms up while still being easy to remove.
And don't worry, this doesn't affect the flavor. The grease doesn't seep into the Jell-O or change the texture in any noticeable way. It's just there to help your shots stay intact and look great on the plate. This goes a long way when you're either hosting a party or just making a fun treat for friends.
Little steps go a long way for Jell-O shots
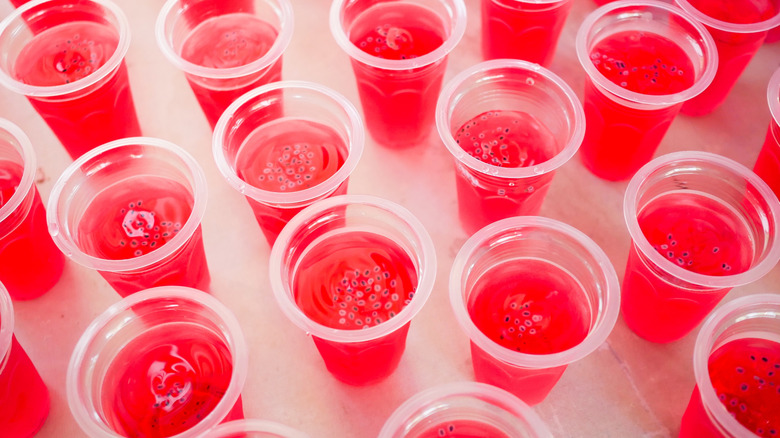
The beauty of homemade Jell-O shots is how easy they are to customize. You get to choose everything from the colors and shapes, to flavors and garnishes. But they're only fun if they come out looking clean and party-ready. Prepping your mold properly helps maintain those neat, jiggle-perfect edges you want. Using a nonstick spray and wiping out the extra grease ensures the Jell-O holds just enough to set, but not so much that it clings. This trick works especially well for firmer Jell-O shots with a lower water-to-gelatin ratio. Firmer shots hold their shape better and are easier to un-mold, especially when paired with a greased surface.
And here's another tip: if you want ultra-smooth edges and a consistent finish, let your Jell-O shots sit at room temperature for about 5–10 minutes after removing them from the fridge. This softens the outer layer just enough to help them release without a mess. If you're not using a muffin pan, the same rule applies. Whether you're working with mini cupcake liners, silicone trays, or even novelty molds, always give them a quick prep. You'll thank yourself later when the Jell-O slips right out, with no crumbling or frustration. At the end of the day, homemade Jell-O shots are supposed to be fun, so take that one extra minute to prep your mold. It's a tiny detail that leads to smooth, Instagram-worthy results every time.