This Is Probably Why Your Kitchen's Fresh Coat Of Paint Is Bubbling (And How To Fix It)
We may receive a commission on purchases made from links.
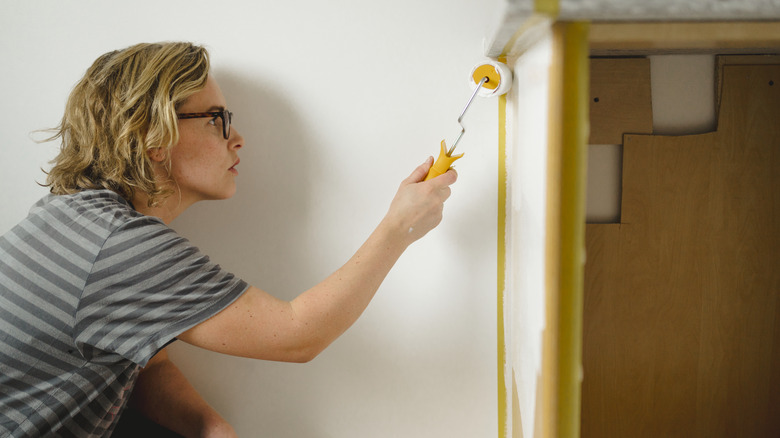
One of the easiest ways to give your kitchen a bit of a refresh or achieve a Tuscan kitchen look is a new coat of paint. It costs much less than a remodel, and unlike the lasting choice between granite and quartz, if you don't like the color of your kitchen walls, you can easily change your mind. There is one big problem to look out for, however: bubbling paint. Nothing's worse than going through all the trouble of painting the room, only to come back the next day to a bunch of damage. So watch out for a common culprit — excess moisture.
Kitchens can create a lot of residual dampness. There's steam from cooking and baking, as well as moist air escaping from dishwashers and other appliances, like humidifiers if you're using their help to make fresh homemade pasta. This can all compound if the room has bad ventilation, which is common in older kitchens. Water damage can also go unnoticed behind the scenes, so it's important to make sure the walls are properly prepped and sanded, and the room is very dry before you break out the paint rollers. If you're not sure whether your walls are too damp for painting, familiarize yourself with the signs of water damage, and invest in a tool like the General Tools MMD4E Moisture Meter to make sure the surfaces are dry. Also, never paint during hot, humid conditions which will create moisture on the walls. Instead, do your painting in the morning or the evening when the conditions are better.
What to do about paint bubbles
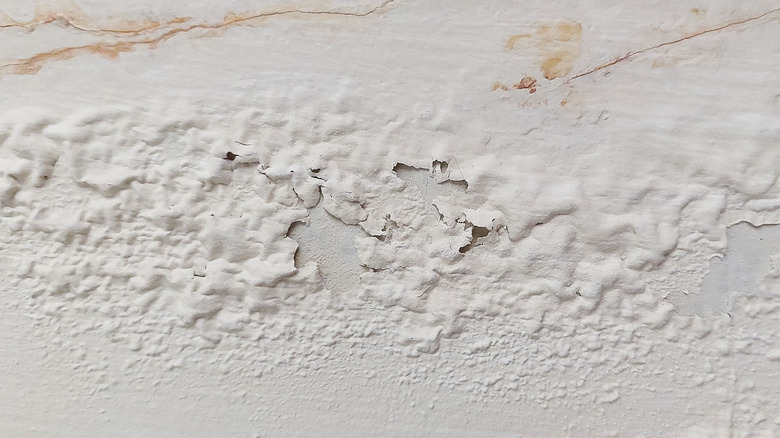
If you're reading this article, however, chances are you've already got paint bubbles on your hands. Don't beat yourself up; most of us don't have a moisture meter hanging around, and many DIY painting jobs are done on the spur of the moment. If you're not a professional painter, there also probably wasn't a lot of forethought. Sadly, the bad news is that there's not an easy fix for bubbling paint: You're going to have to start over, at least wherever the bubbles have formed.
The first step to fixing bubbled paint is to figure out what caused it. Scrape away a section of the damaged surface and test it with the moisture meter to see if that's the problem. If so, fix whatever is causing it first. This might mean leaking pipes or bad ventilation, so get an expert opinion. If it's not moisture, the culprit might probably be a dirty surface or the type of paint that was already on the walls before. Once you know what's going on, scrape the rest of the bubbly surface, patch any damage with spackling or patching compound, then sand everything until it's smooth. Finally, wipe everything down so that there's no sanding dust left behind, let the walls dry, and you'll be ready for primer and paint.