How To Use Your Microwave To Sanitize Your Kitchen Sponge
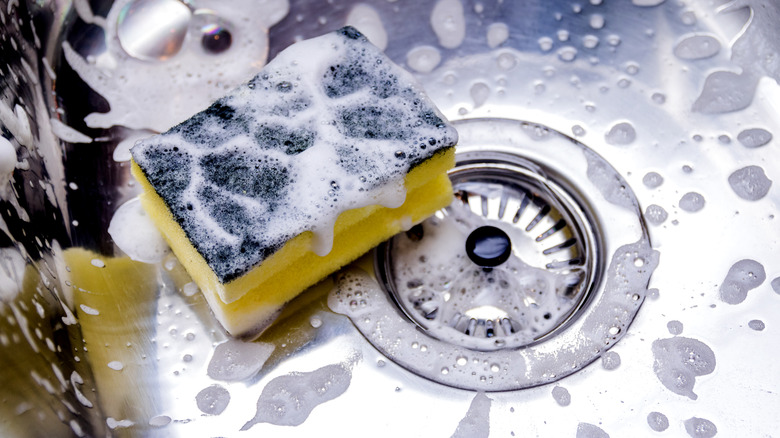
Kitchen sponges usually have a smooth and rough side and are great for scrubbing stuck-on food stains from dishes, wiping down countertops, and cleaning silverware. However, the more you use one, the more stained and gross it can get. The good news is you don't have to replace your sponge after each use, even though it might look like it needs to be tossed. You can sanitize a wet sponge in the microwave by heating it for about one minute on high power.
A 2017 kitchen sponge study published in Scientific Reports found that there were as many as 45 billion bacteria per square centimeter of a used kitchen sponge. Not cleaning your sponge is one of those food safety mistakes that could cause your dishes to become riddled with bacteria. You should sanitize your sponge every day and replace it no less than every two weeks; however, look for signs that suggest you need to replace it sooner.
How to sanitize your kitchen sponge
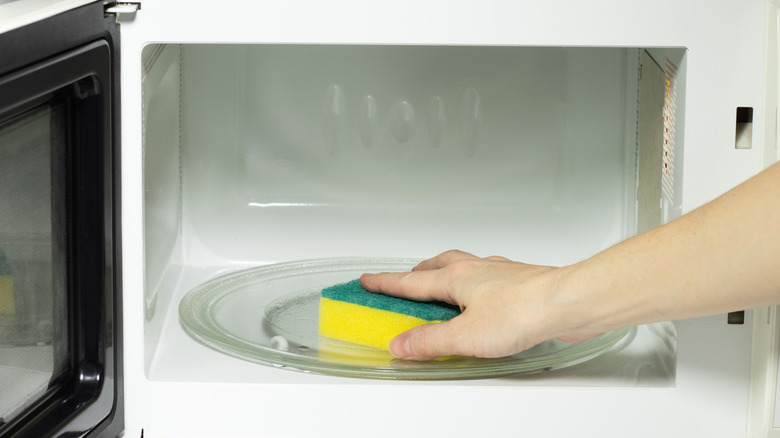
Cleaning your sponge is an essential step in cleaning your kitchen after cooking. Sponges are easy to sanitize, but make sure it's completely wet throughout; a dry sponge could potentially catch on fire in the microwave. Heat the wet sponge for 60 seconds, which is enough time to kill bacteria on a standard-sized kitchen sponge. Remove it carefully from the microwave, as it will be hot.
If you don't have a microwave or want another way to deep clean, you can also run the sponge through the dishwasher, which will sanitize it well. For a method that doesn't require appliances, use a small amount of bleach mixed with water — stick to a ratio of between ¼ and ½ teaspoon of bleach per quart of warm water.
Sponges don't last forever, so replace them at least every couple of weeks or sooner if they smell. Sponges should be odorless, so any unpleasant smell is a sign to toss it. Plus, if it feels slimy even after sanitizing, it's time to get rid of it.