

No Garden, No Planter — Grow Potatoes With This Item In Your Recycling Bin
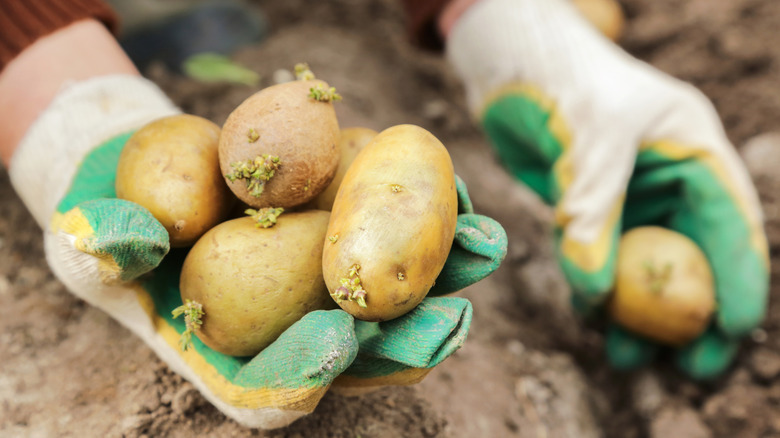
Potatoes are one of the easiest crops to grow whether you're a skilled gardener or a newbie. They're low-maintenance, thrive in different soil types (especially sandy loam), and with just a little bit of care, they can reward you with a surprisingly abundant harvest. Another great thing about potatoes is that they can also grow in pots, which means you won't need a huge backyard to put your gardening skills to the test. But if you're already using all your pots to grow herbs or edible flowers that can elevate your meals, there's no need to buy more. Believe it or not, a simple cardboard box might be just what your tubers need.
If you've relied on some of the best meal delivery services for busy families, chances are you have a cardboard box sitting somewhere at home. Instead of just throwing it away, use it as a budget-friendly planter to grow your own potatoes. Not only will a cardboard box provide plenty of room for your spuds, but it's also biodegradable. Cardboard boxes are usually made from wood fibers that naturally break down over time and enrich the soil with organic matter.
But how does it all work? The process is incredibly simple and starts with a medium or large plain brown box. Make sure to remove any tape or stickers from it to prevent residue from ending up in the soil, and choose your preferred potato variety.
Growing potatoes in cardboard boxes requires a few simple steps
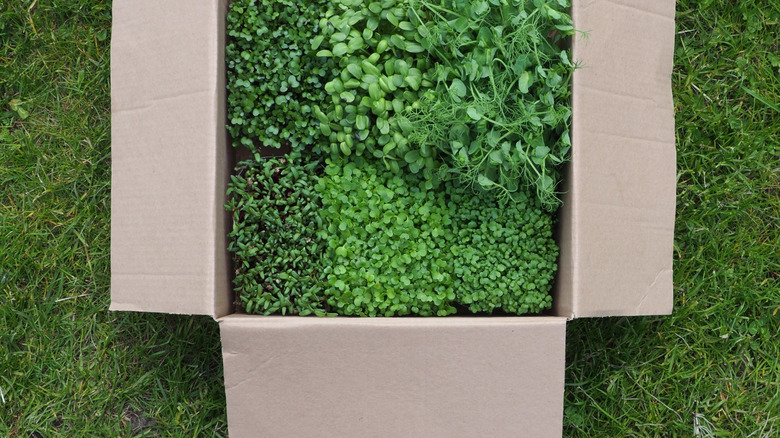
The first thing to do is wait for your potatoes to sprout, which usually takes a few weeks. Once you notice the first small shoots, cut the spuds into smaller pieces so that each one has at least one or two sprouts. Find a suitable, sunny spot outside for your cardboard box, tuck the cardboard flaps inside the box and then fill half the box with soil.
After you've prepared the box, gently press the potato pieces into the soil 6 to 12 inches apart from each other with the sprouts facing up. Add 3 to 4 more inches of soil on top, and even it out with your hands. You could then sprinkle in some fertilizer, opting for one that's low in nitrogen but higher in phosphorus and potassium in order to support healthy tuber growth. Instead of the extra soil, you can also fill the rest of the box with straw, dried grass, or another suitable mulch. Just don't go overboard, as using too much mulch can do more harm than good.
After that, you'll need to water the potatoes. Keep an eye on the soil so it doesn't dry out. The first shoots should appear within a couple of weeks. Finally, how long you'll have to wait before harvesting depends on the variety. Most potatoes take between 60 and 120 days to mature. Once they're ready, simply harvest them and cook them however you like.