How To Melt Marshmallows 3 Foolproof Ways
Marshmallows are delicious little sugar pillows. Once upon a time, marshmallows were made with sap from the roots of the mallow plant known for growing in marshes (hence the name). Today's marshmallows are made from three ingredients: gelatin, granulated sugar, and powdered sugar. The combination creates a squishy and chewy treat that is delightful. However, their unique texture also presents some challenges when it comes to cooking with them. If you need to melt a marshmallow for your next baking project, you may be wondering how to do it without creating a sticky and unruly mess. We are here to help.
We will walk you through three different methods of melting marshmallows. Whether making Rice Krispie treats, decorating a cake, or creating a scrumptious dessert, review the steps of each process to find the right one for you. The good news is that no matter which method you choose, you do not need a lot of time or equipment. This is an incredibly beginner-friendly project.
What you need
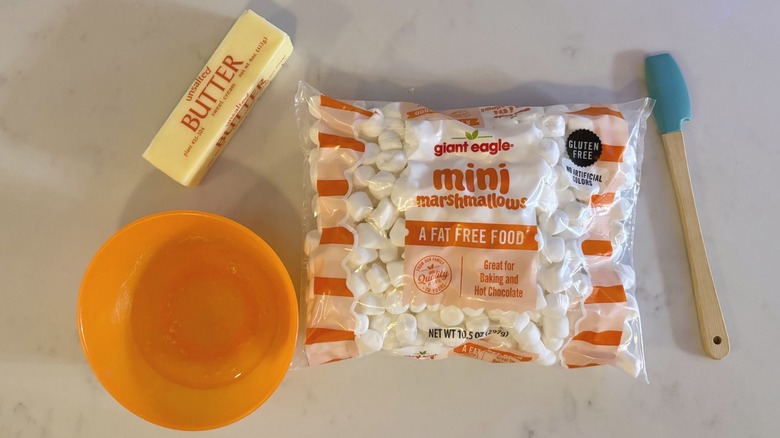
Depending on which method you use, you will need slightly different materials. For all methods, it is helpful to have some water and oil or butter. This will add moisture to the marshmallows and keep a nice and silky, though very sticky, consistency. Additionally, a rubber spatula is a good idea for all methods. Rubber spatulas are great as they can easily glide around edges, which will help prevent pieces of marshmallow from overcooking.
If you are using the microwave method, you will need a microwave-safe bowl. If you are using the skillet method, you will need a high-rimmed skillet or pan. You can also use a small soup pot, depending on how many marshmallows you are melting. Finally, for the double boiler method, you will need either a double boiler or a high-rimmed pot and a heat-proof bowl that is wider than the pot. I recommend a basic metal mixing bowl. Just be careful when you touch it, as it can get hot.
Common mistakes to avoid

The easiest mistake to make when melting marshmallows is to overheat them. If you set the heat too high you won't just melt the marshmallows, you could toast or even burn them. This changes the flavor of your marshmallow and can also make cleanup a drag. This is why it is important to gently warm the marshmallows over low heat.
If you are new to melting marshmallows, you may not know that marshmallows actually expand in the microwave. This is because they are filled with little pockets of air, and when they heat up they act like a balloon. This is why you can't microwave them for too long at a time. It may be tempting to set your timer for longer, but do not do it or you will have a sticky surprise.
Finally, not adding any fat or water to the mixture is a big mistake. This will lead to dry and brittle marshmallows that will set up hard and lack the distinctive chew you'd expect. The additional fat will also make the melted marshmallows easier to work with for a longer period until you can complete your project.
In the microwave
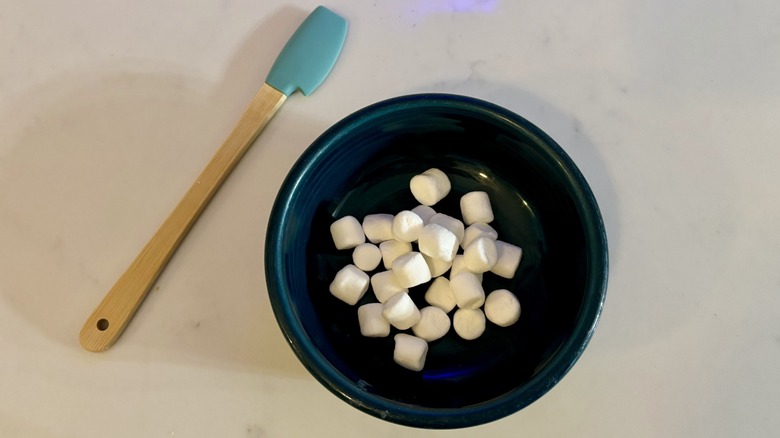
This method is best for melting small amounts of marshmallows and is one of the fastest options. Place the marshmallows you intend to melt into a microwave-safe bowl.
Put your bowl of marshmallows into the microwave. If you have a 1000-watt microwave, consider setting your microwave to half power for this.
Warm the marshmallows for 15 seconds. Remove them from the microwave, stir with your rubber spatula, and return.
Repeat this process in 15-second increments until all marshmallows are melted. Give it a final stir to check for the correct consistency.
Using a double boiler

This is the most complicated method in regards to instruments needed, however, it is the best method if you need the marshmallows to remain on the heat for long periods. The double boiler is the least likely to brown or cook the marshmallows. Place water in your double boiler system and bring it to a boil.
Lower heat to a simmer and place your bowl on top. Make sure the bowl does not touch the water.
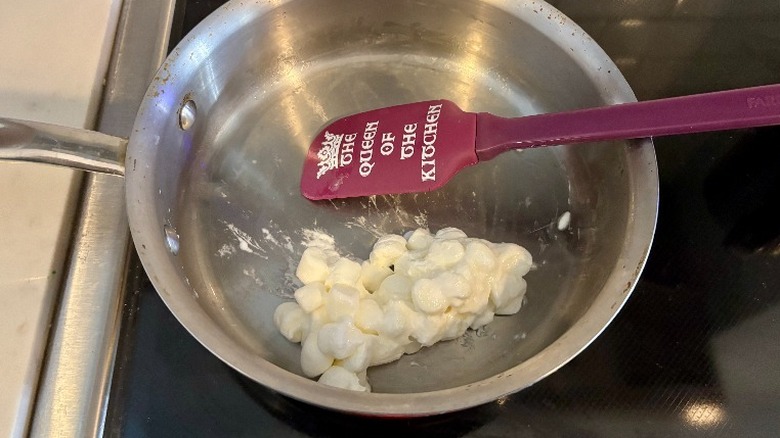
Place your marshmallows into the top of the double boiler along with any water, oil, or butter you may be using. Be careful not to touch the hot bowl while you stir the mixture on low heat. If you're only making a small amount, try to keep the marshmallows clumped together.
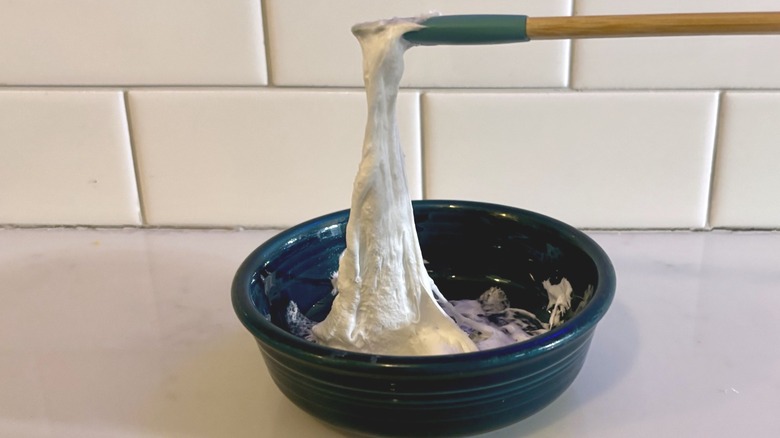
Keep stirring until the marshmallows completely melt and have a smooth consistency. The marshmallows can sit on low heat without burning but do not leave them for too long.
In a skillet
This method can take a while but is ideal for making large amounts of melted marshmallows, such as for Rice Krispie treats. Bring your skillet to low to medium-low heat.
Wait until the pan has reached temperature, then add a few tablespoons of butter or oil. Neither should sizzle. Your butter should melt but not brown. If it browns your pan is too hot.
Place the marshmallows into the warm pan with the butter or oil and, using your rubber spatula, stir over low heat. If using a small amount of marshmallows, keep the marshmallows clumped together, as this will help create a nicely melted pile and prevent the marshmallows from sticking to the pan.
Keep stirring until the marshmallows have completely melted. This may take a few minutes as it must be done on low heat to avoid burning.
Because melted marshmallows will re-solidify pretty quickly, melt them just before you plan to use them. Do not try to melt them too far in advance.
Clean up
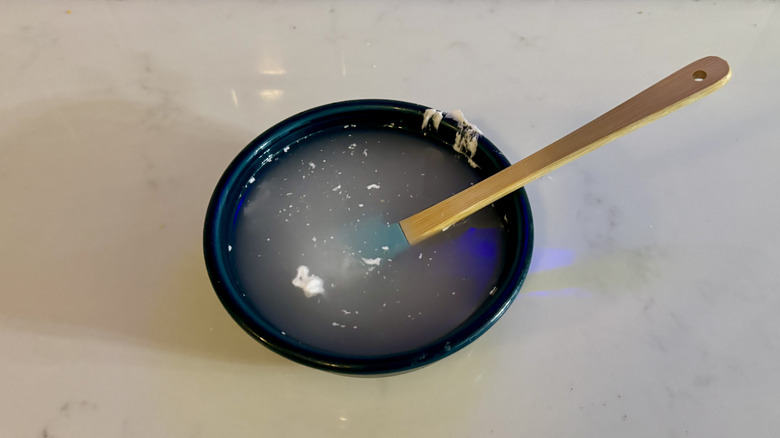
Now that you've completed your melted marshmallows, you may wonder, or even dread, cleanup. But don't fret. Cleanup is easier than you think. Once your equipment has cooled, fill your bowl, pot, or pan with warm water. Place the dirty rubber spatula in the water. Make sure the liquid covers all the sticky marshmallow residue. Now let it sit. Walk away. Watch an episode of your favorite TV show. Have a snack. Then, when you return, the marshmallow should have dissolved. Simply wash it like you would any other dish.