Why It's Worth The Effort To Tie Your Beef Tenderloin
Beef tenderloin is a melt-in-you-mouth entrée, thanks to its natural tenderness. Because this premium cut costs a pretty penny, the cook has every reason to do everything it takes to create an awe-inspiring spread. We're talking adequate seasoning, perfect searing, optimum roasting temperature, and just the right degree doneness for a beautiful pink interior. But before you perfect any of that, you've got to tie up that steak.
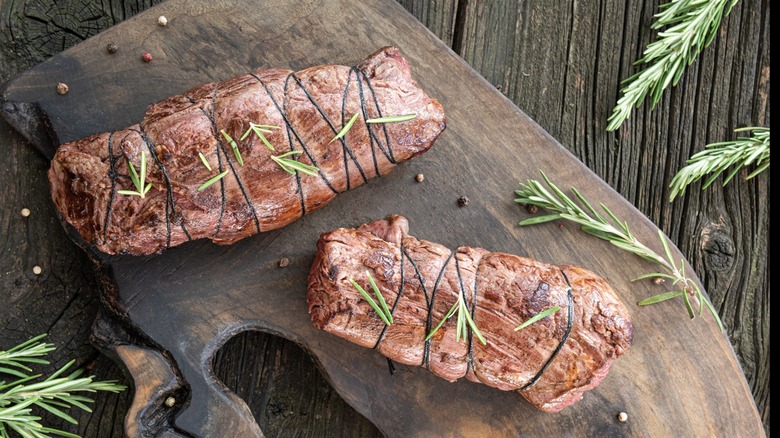
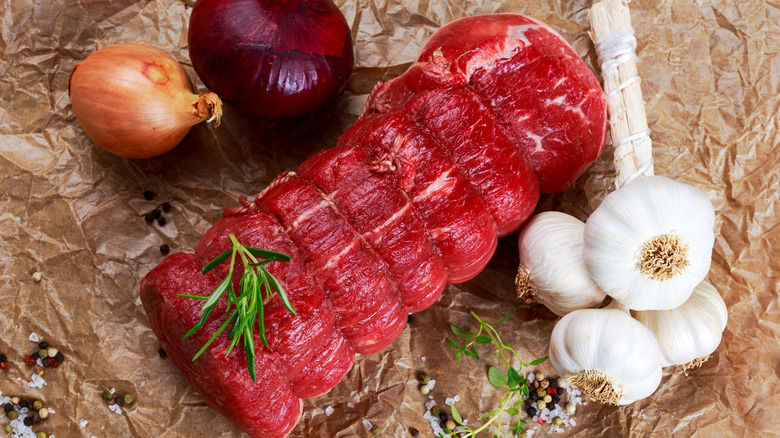
The beef tenderloin you bring home from the butcher doesn't usually look like the perfectly cylindrical roast tenderloin found in photos. The raw version is a long piece of meat that tapers on one end like a tail and bulges on the other end with flaps. Tying this cut of meat is how cooks transform it into that perfect log shape. The bound meat keeps its form without falling apart as it cooks in the oven. This allows you to carve out those cute, circular slices that'll impress everyone at the table.
Besides aesthetics, tying up beef tenderloin has a practical function: The acquired uniformity in shape and size allows the meat to cook evenly. Every section of your tenderloin heats up at the same rate so you can enjoy the same level of doneness in every bite. What's more, searing a uniformly shaped piece of meat is much easier than a formless cut and will result in perfect and equal browning all around.
Pull some strings to get a perfect beef tenderloin
Knowing the butcher can help you get the best cuts of steak. Sometimes, if you ask nicely, they'll even sell you the whole untrimmed tenderloins (usually kept behind the counter) that come at a much more affordable price than the already-prepped pieces on display shelves. But once you reach home, you'll need to get some butcher's twine and tie the meat into a perfect shape.
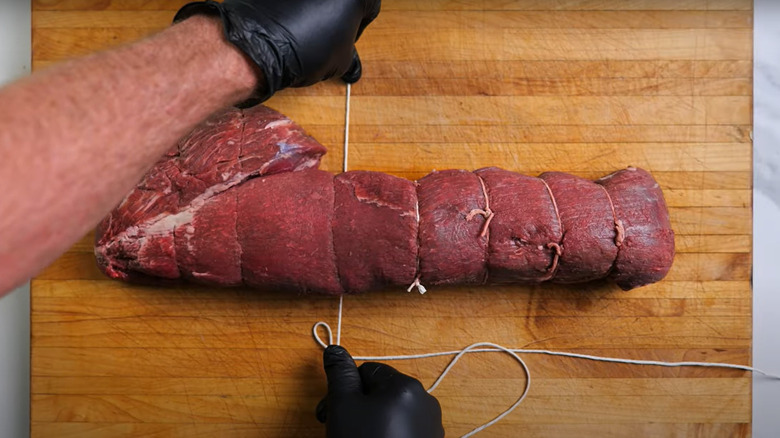
Begin by trimming off the fat and silver skin, then place the tenderloin flat on a cutting board. Take the narrow tail end and tack it in under itself so it's as thick as the rest of the strip of meat. To start tying, pull out some twine from the spool, pass it under the tacked end of the meat, loop it around, and make a double knot. Next, make a large loop with the thread around your hand, then hold up the meat and pass the loop through until it comes to sit about one inch away from the first loop. Pull the twine to tighten the second loop. Repeat this process to make subsequent loops. Once you get to the end of the tenderloin, turn the meat over, then pass the twine under and then over each loop one at a time until all the loops are secured on the underside.
Alternative tying technique for your beef tenderloin
In case the tying process described above sounds too complicated, there's another method you can try. This alternative technique is a bit simpler, and involves making individual twine loops around the tenderloin. Begin by passing the twine under the meat on the tacked-in tail end. Take the twine around the meat and tie a butcher's knot (which is simply a slipknot), then secure that with a basic knot. Now cut the excess twine. Tie the second loop in the same way about one inch from the first. Repeat this until you reach the end of the tenderloin. And that's it. No matter the method you use, keep the loops tight without squeezing the meat too much.
Once your tenderloin is completely tied up, pat it dry with paper towels, then season all around with salt and pepper. For best results, keep the seasoned steak in the fridge overnight so the savory notes from the salt can get absorbed, making the meat more flavorful. This overnight stay in the fridge also helps dry out the surface of the meat, which will encourage a perfect sear the next day. After searing, you can proceed with the slow roast as usual, then rest the steak before finally serving this delicious dish.


