The Ultimate Guide To How Marshmallows Are Made
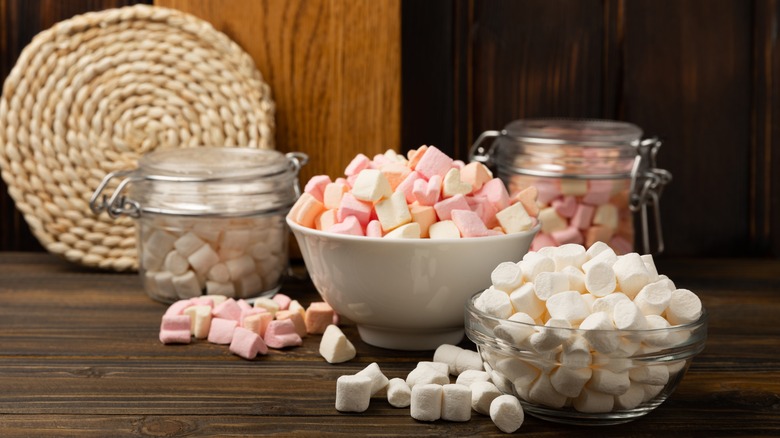
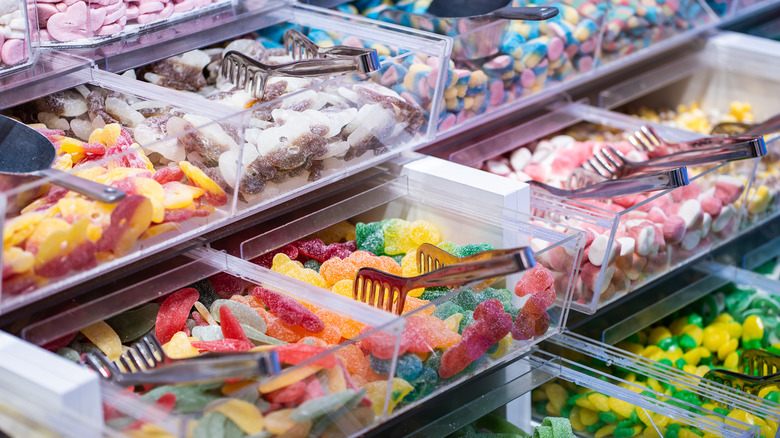
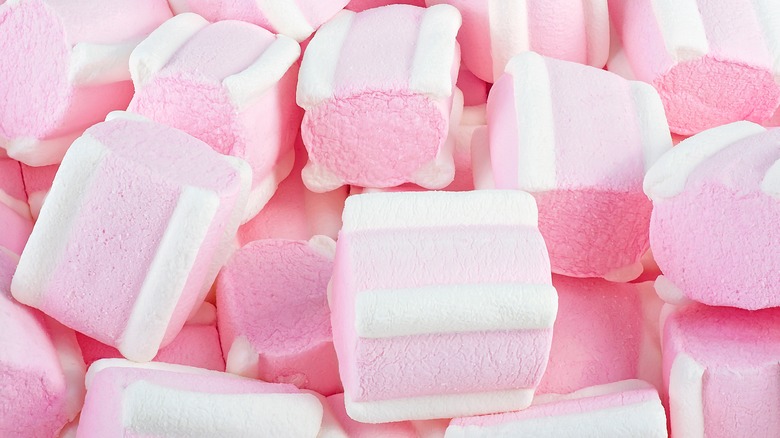
Marshmallows are a tasty, versatile treat that comes in a variety of shapes, sizes, and flavors. They're most in demand in the summer when warm nights create the perfect atmosphere to roast marshmallows over a fire. In spring, they pop up as Peeps, fun-shaped, brightly colored marshmallow treats. But marshmallows are available year-round and can be used in plenty of delicious recipes, or just eaten as a snack.
These delightful treats have been around for centuries, and now are a staple product in the baking aisle. Their unique structure — soft on the outside, gooey on the inside — is thanks to the ingredients used and the way they're made. Today, the process of making marshmallows is more streamlined than it's ever been. Rather than taking hours, factories today can produce hundreds of marshmallows in a fraction of the time. We've broken down everything you need to know about marshmallows and what goes into making them.
The history of marshmallows
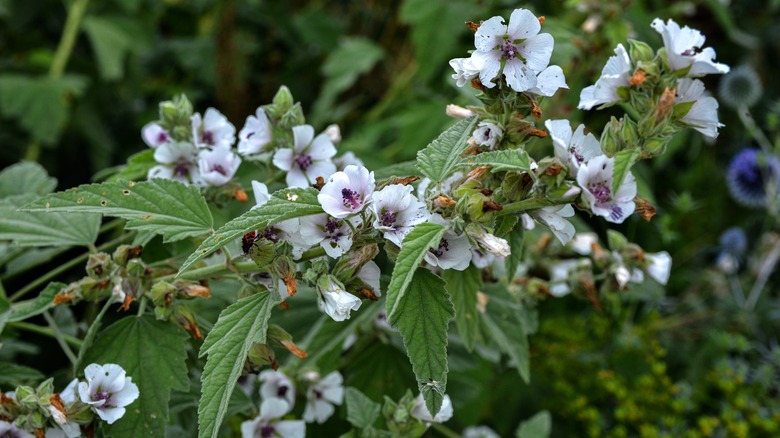
Marshmallows are some of the oldest treats in existence, dating back to about 2,000 B.C. Back then, marshmallows were originally made using the mallow plant (Althaea officinalis), a flowering plant native to the marshes of Asia and Europe. Egyptians made marshmallows by boiling pieces of root pulp from these plants and mixing them with nuts and honey. While the mallow plant was used medicinally at this time, this special delicacy was only for special events involving royalty or the gods.
At some point in the mid-1800s, the French started making their own version of marshmallows. Candy stores whipped mallow sap with egg whites, corn syrup, and water. Initially, the marshmallows were formed by hand, an extremely time-consuming process. Eventually, candy makers started using marshmallow molds lined with cornstarch. Although they swapped the mallow for gelatin, the marshmallow kept its name.
By the 1900s, marshmallows were being mass-produced, but it wasn't until the middle of the century that the revolutionary extrusion process was created to speed up production. This process, created by Alex Doumak, streamlined marshmallow-making. It no longer took several hours to create marshmallows; now, they can be mass-produced in an hour.
What are marshmallows made of?
Most marshmallows are made from the same basic ingredients. These can be broken down into three categories: sweeteners, emulsifying agents, and additional ingredients for flavor or color.
Generally, the sweeteners used to make marshmallows are granulated cane sugar and corn syrup, which give the marshmallows their sweet flavor. Cane sugar is the standard white sugar you find in the baking aisle, while corn syrup is a sticky, viscous syrup that's made from corn starch and contains various sugars. There's typically a higher proportion of corn syrup than granulated sugar because this makes it easier for the granulated sugar to dissolve and prevents it from crystallizing.
Emulsifiers are ingredients that bind other ingredients together and stabilize them so they don't separate. They also provide the gooey texture that marshmallows are known for and help the marshmallows hold the air that makes them puffy. The most common emulsifier used to make marshmallows is gelatin, but other emulsifiers found in marshmallows include egg whites, gum, and cornstarch. Water is often added as well.
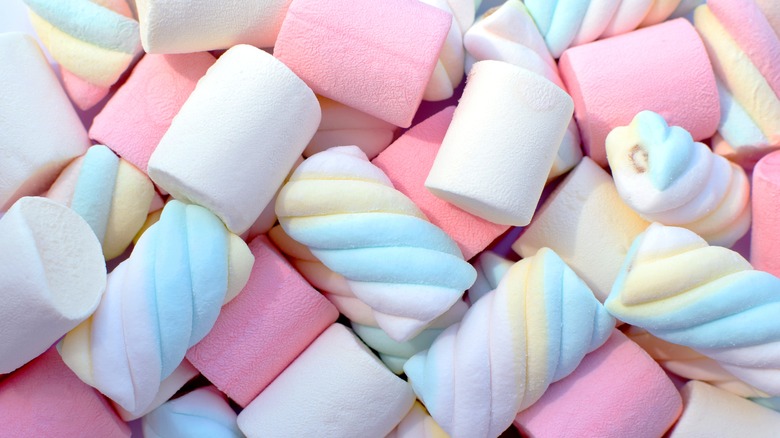
Finally, most marshmallows have a little bit of flavoring, which can be natural or artificial. Extracts like mint or lemon may be used to create flavored marshmallows. For marshmallows that are colors other than the traditional white, some sort of food coloring, usually artificial, is used.
First, the emulsifier is prepared

Before the marshmallows can be made, the emulsifier, usually gelatin, needs to be prepared. The main thing you need to know about gelatin is that it's made by cooking collagen. Collagen is a connective tissue found in bones, ligaments, and skin. In humans, collagen makes our bodies more elastic, but in cooking, it creates the bouncy, springy gelatin used in marshmallows and Jell-O.
To make gelatin, the skin and bones of animals like cows, pigs, and fish go through a process called hydrolysis. Simply put, the animal parts are dissolved in a caustic solution and then cooked until it becomes a gel. Luckily, the gel is dried, ground, and packaged as a powder, so home bakers don't have to deal with making their own gelatin.
However, before the gelatin can be used in making marshmallows, it needs to be rehydrated. This is as simple as combining the powder with cold water and whisking. You'll need to give the gelatin time to bloom, similar to how yeast blooms. The gelatin will absorb the water and expand.
If you're making marshmallows at home and have chosen a different type of emulsifying agent, you'll need to prepare that instead. For example, you'll need to separate egg whites or mix water and cornstarch.
Mixing and boiling combines the ingredients
The next step of how marshmallows are made involves mixing together the ingredients, starting with the granulated sugar, corn syrup, and water. The specific amounts will depend on the recipe and how many marshmallows are being made. Then, the mixture is gently boiled, which dissolves the sugar and helps the ingredients blend. If you're making marshmallows at home, you'll need to continuously mix the solution to prevent it from burning and use a candy thermometer to monitor the temperature.
Once the sugar mixture reaches about 240 F, it's combined with the prepared gelatin or whatever emulsifying agent is being used. Depending on the emulsifying agent, the mixture may need to boil for a little bit longer to fully integrate the emulsifier into the sugar.
In a commercial facility, the mixture is usually strained to remove any extraneous matter. This is a precautionary measure and doesn't typically need to be done if you're making marshmallows at home.
Then add air ... lots of air
After the mixture is blended and boiled, it's time to add the key to making marshmallows fluffy: lots and lots of air. This is also the stage where additional ingredients to flavor or color the marshmallows are added. First, whatever additional colorings or flavorings are added, then the mixture is whipped to incorporate air.
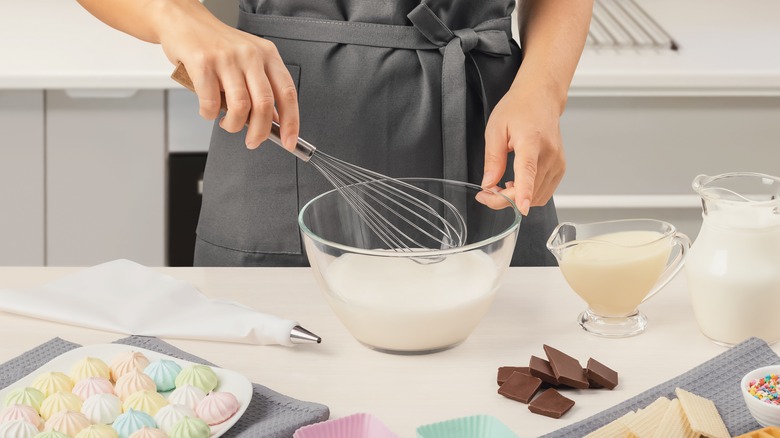
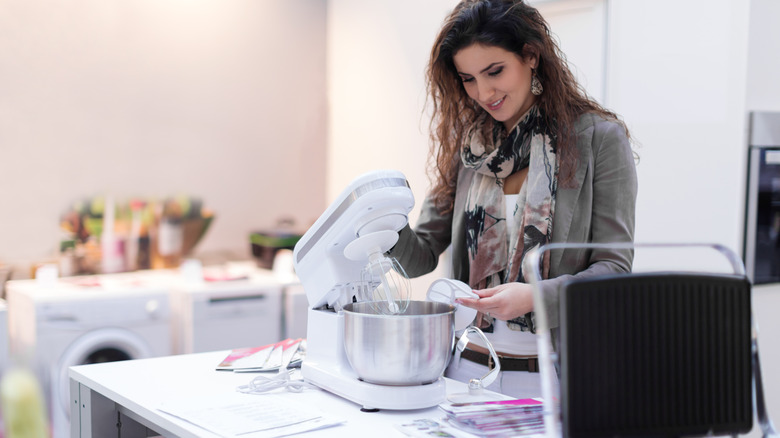
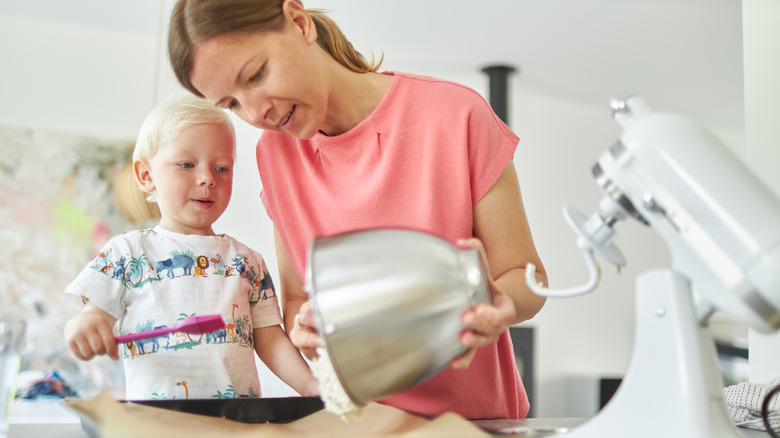
At home, you whip air into the marshmallow mixture using a stand mixer. Use the whisk attachment and beat the mixture for about ten minutes, until it's fluffy, white, and has increased in size. You can also use a handheld mixer, although this may get tiring. Mixing by hand with a whisk won't work, as you won't be able to reach the speeds necessary to infuse the air into the mixture. In a factory setting, this process is usually done in a large pump that can add so much air it increases the mixture to two or three times its original size, making for light, fluffy marshmallows.
Time to shape the marshmallows
Once the marshmallow mixture has been whipped for a while, it's time to set them and shape them. This is one area where the process for homemade marshmallows and the process for commercially made marshmallows varies the most.
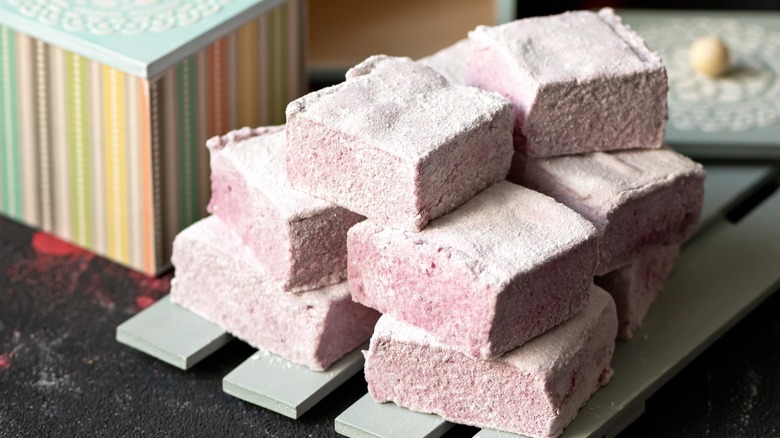
At home, you'll want to prepare a baking dish by spraying it with non-stick cooking spray and sprinkling the surface with powdered sugar. Then, you'll pour the mixture into the pan. Like Jell-O, the marshmallows will need time to set, usually about four hours at room temperature. This also allows the marshmallows to form a thin layer that holds everything together. Then, you cut the marshmallows into squares.
In the factory, this process is called extrusion and is very different. A machine is used that forces the marshmallow mixture through circular tubes. While the mixture shoots through the tubes, it's put under 200 pounds of pressure per square inch. This extreme pressure forces the marshmallows to set without the hours of waiting.
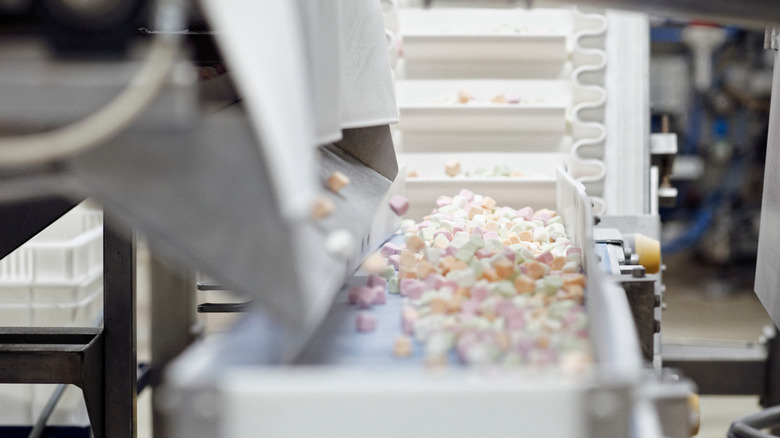
The machine then squeezes the marshmallow mix out into long strips or bands on a conveyor belt. After they get a chance to cool slightly, they then are sliced into the standard, marshmallow-sized pieces everyone knows and loves. Different-sized marshmallows, like mini marshmallows or jumbo marshmallows, will need to be squeezed through different-sized holes.
Some factories don't use the rope or band method for their marshmallows. Instead, the mixture goes into a different part of the machine that squeezes individual marshmallows out onto the converter belt. Regardless of the method used, the end result is little marshmallow pillows perfect for s'mores, baking, and snacking.
Next, they're cooled down
When marshmallows go through the extrusion process, they need to be kept within a certain temperature range so that the material will still flow through the pipes while under pressure but will also continue to hold its shape after it's squeezed onto the converter belt. This means when the marshmallow mixture leaves the tubes, it's very hot.
As a result, the mixture will need some time to cool down before it can be packaged. This can be done in a cooling drum, which not only cools the marshmallows but also removes excess starch. Cooling drums are large machines that send the marshmallows through cooling chambers that quickly and uniformly cool the treats.
At home, you don't need a fancy cooling drum. Your marshmallows will cool as they set. To speed up the process, you can put the marshmallow in the refrigerator. This can, however, affect the texture a bit, so you may want to just wait for the marshmallow to set at room temperature.
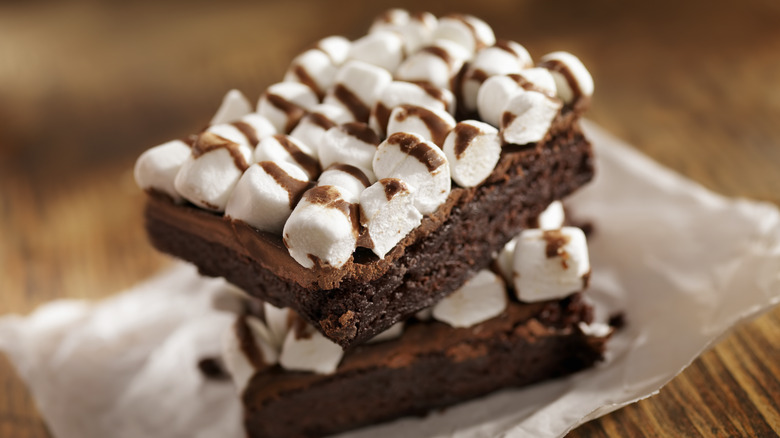
You can get a glimpse of what the liquid marshmallow mixture looks like when you heat a marshmallow and they begin to melt. The thin layer on the outside turns golden brown, but inside, it turns into melty marshmallow goodness.
Finally, they're packaged and shipped
Although the marshmallows have cooled, they still aren't quite ready to be packaged and shipped to the store. There are a few more steps to go through before the marshmallows are ready to hit the shelves.
First, the marshmallows are usually dusted with cornstarch. This prevents them from sticking together and forming a giant lump in the bag. You can dust your homemade marshmallows with corn starch too — or, even better, powdered sugar —so they don't stick together in whatever container you put them in.
Once the marshmallows are completely dry, cooled, and dusted, they can be weighed and packaged into the clear bags you see at the store. Many companies will send these packages through a metal detector to ensure that no little machine parts find their way inside the marshmallows. Finally, the packages are stamped with a batch number and a best-by or expiration date.
Are marshmallows vegan or kosher?

Most marshmallows are not vegan, as they contain gelatin, which is made from animals. Egg whites are another common emulsifying agent, but these are also not vegan. However, there are some brands that make vegan marshmallows, typically by swapping the gelatin or egg whites for some sort of starch. Brands that offer vegan marshmallows include Dandies, Trader Joe's, Mallow Puffs, Freedom Mallows, Anada, Free From Fellows, and Yummallo.
If you're making marshmallows at home, you can use your own substitutes for gelatin or egg whites, such as cornstarch, xanthan gum, or agar agar, a popular gelatin substitute derived from red sea algae. There are also some products specifically marketed as vegan gelatin replacements.
Often, because of the gelatin, marshmallows aren't kosher, either. Luckily, most vegan brands are also kosher, and some more mainstream brands offer kosher marshmallows as well. For those with dietary restrictions who still want marshmallows, making marshmallows at home is a great option as it allows you to substitute with whatever you like and ensures that you aren't at risk for cross-contamination.
What's the difference between store-bought and home-made marshmallows?
Because companies can use large industrial equipment to make marshmallows, there are going to be some differences between store-bought marshmallows and homemade marshmallows. Marshmallows made by hand are often denser than store-bought marshmallows because a stand mixer isn't able to infuse as much air into the marshmallow mixture as an industrial mixer can. This isn't a bad thing, necessarily, but it comes down to personal preference.
Homemade marshmallows often have a creamier texture than store-bought marshmallows. There are a few reasons for this, including their density, as we mentioned above. Making marshmallows at home also gives you more control over the ingredients used. Additionally, allowing the marshmallows to set over a few hours rather than sending them through a cooling drum prevents them from getting too dry.
While there isn't really a time or cost benefit to making marshmallows at home, one of the biggest upsides is that you can tweak the recipe as needed. You can switch the gelatin out for something vegan, add extracts to enhance the flavor, or create flavors that you can't usually find at the store.
If you're planning on using the marshmallows to make s'mores on a camping trip, store-bought is probably the way to go. But if you're looking for a decadent treat or want something creamy for your hot chocolate, making marshmallows from scratch can be a fun project.
What you need to make marshmallows at home
Making marshmallows at home isn't too tricky, and it leaves you with a unique and tasty treat. Luckily, we've got the perfect homemade marshmallows recipe to whip up in your very own kitchen.
You'll need nonstick spray and powdered sugar to coat the pans. You'll also need unflavored powdered gelatin, cold water, granulated sugar, light corn syrup, salt, and a flavoring of your choice, such as vanilla bean paste, peppermint extract, or chocolate extract.
Start with preparing your baking pan by coating it with nonstick cooking spray. Next, use a mesh sieve to sift powdered sugar into the pan. The goal is to coat the pan in powdered sugar, so you can shake or tap the pan to make sure the powdered sugar is evenly distributed. If there's any excess powdered sugar, go ahead and dump it out. This prevents the marshmallow from sticking to the pan and makes it easier when it's eventually time to remove and cut the marshmallow.
How to make homemade marshmallows
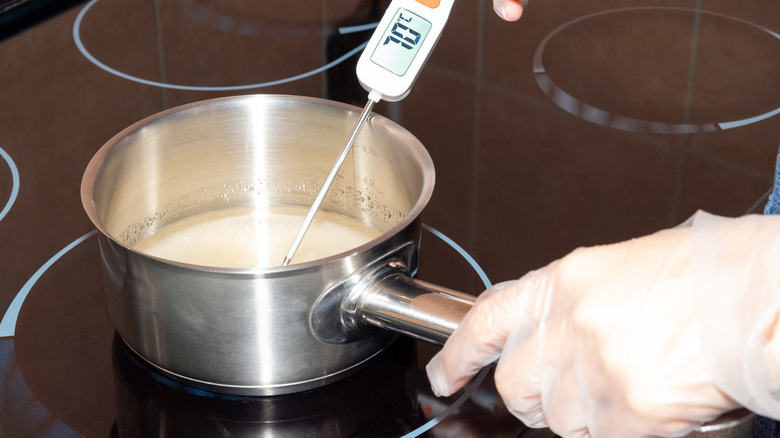
First, attach the whisk attachment to your stand mixer, add cold water and the gelatin, and whisk together. While the gelatin blooms, you can start the sugar syrup by adding the granulated sugar, corn syrup, salt, and more cup of cold water into a medium saucepan. Stir until the ingredients are combined, then turn the stove heat to medium-high. Use a candy thermometer to monitor the temperature, and swirl the mixture every minute until it reaches 240 F.
Once it's reached 240 F, turn the mixture to a low speed and carefully add the hot sugar syrup to the gelatin. Make sure the gelatin dissolves completely, then add the vanilla bean paste or the flavoring of your choosing. Now it's time to whip it — turn the mixer on high and let it whip the mixture for about ten minutes. It's done when the mixture is fluffy and white, and then you can spread it into the prepared pan. If you're having trouble spreading it evenly, spray a little cooking spray onto your spatula.
After that, the mixture gets to rest for about four hours at room temperature, or two hours in the refrigerator if you're in a time crunch. Once it's set, sift the other ¼ cup of powdered sugar onto your workspace. Use a knife to loosen the edges of the marshmallow block, then flip the block onto the powdered surface. Cut into cubes with a sharp knife and coat in powdered sugar to prevent sticking.
Fun ways to use marshmallows
For many people, marshmallows bring to mind campfires and gooey s'mores made from chocolate and graham crackers, but there are so many uses for marshmallows outside of s'mores.
One common use for marshmallows is in Rice Krispies treats. While the classic cereal bars are always a hit, check out fun ways to upgrade your Rice Krispies treats, like adding in candy or swapping Rice Krispies for other types of sweet cereals. Marshmallows are also a key ingredient in chocolate marshmallow cookies, chocolate fudge, and this delicious over-the-top s'mores dip. You can also use marshmallows to turn something standard into an extra-special treat. Add marshmallows to your ice cream or use them to top your desserts, sweet potatoes, or even toast. They're also great for beverages: blend them into a milkshake, melt them in hot chocolate, or even use them to garnish your cocktail!
Of course, there's nothing wrong with making s'mores, or even just snacking on the marshmallows themselves! Whether you're buying them from the store or making them from scratch, these sugary delicacies can be used in dozens of ways and add a tasty addition to any campfire, party, or snack time.