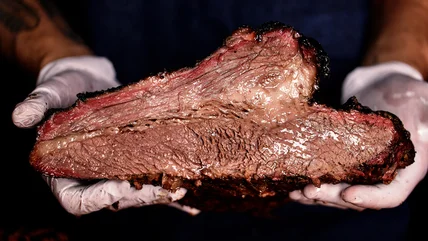
Do Some Restaurants Really Undercook Steak On Purpose?
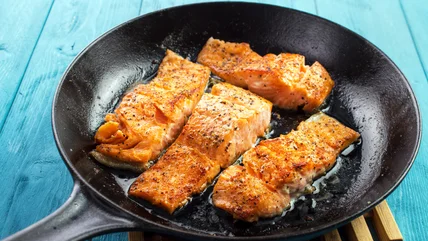
You may have heard the rumor that steakhouses intentionally undercook your steak order instead of following your requests. Is there any truth to this idea?
Read MoreYou may have heard the rumor that steakhouses intentionally undercook your steak order instead of following your requests. Is there any truth to this idea?
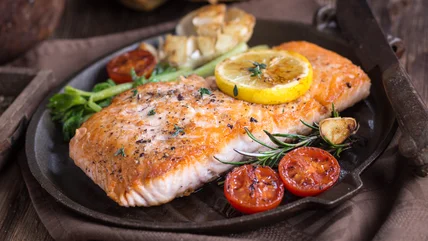
Read MoreHow do you choose which oil to use when making your favorite salmon dish? The right one for your recipe depends on a few factors -- here's how to decide.
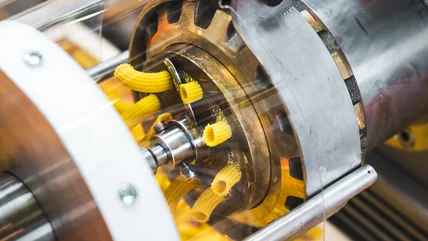
Read MoreBronze cut pasta is a classic favorite that's making a comeback. This more old-fashioned pasta is becoming popular in home kitchens -- and for good reason.
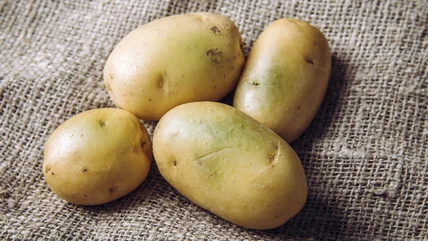
Read MoreYou're not the only one who's found a green potato or two in your bag. Here's why and how green potatoes happen -- and how you should handle them as a cook.
Read MoreHow do you choose which oil to use when making your favorite salmon dish? The right one for your recipe depends on a few factors -- here's how to decide.
Read MoreBronze cut pasta is a classic favorite that's making a comeback. This more old-fashioned pasta is becoming popular in home kitchens -- and for good reason.
Read MoreTrifles are impressive and celebratory desserts, but they can take a while to complete if everything's made from scratch. Instead, follow Mary Berry's lead.
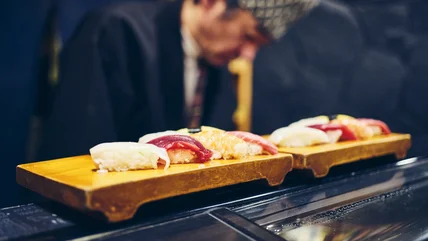
Read MoreUnlock the secrets to savoring sushi like a seasoned connoisseur with tips from one of the foremost experts and professional chefs in the country.
Read MoreSalmon may be a dinnertime staple for many, but it can still be tricky to get right. If you want to up your salmon game, here are 14 mistakes to avoid.
Read MoreThe next time you peel ginger, put the knife aside -- it's only going to diminish your end result. Here's what you need to use instead for the perfect peel.
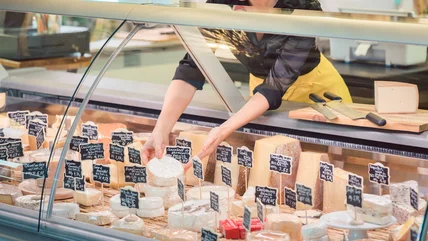
Read MoreCheese is a priority at Whole Foods Market. Did you know that this grocery retailer offers a gourmet cheese sampling service, free of charge?
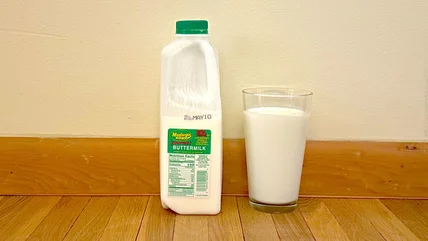
Read MoreButtermilk is a versatile ingredient, but if you don't keep in at home, it's easy to make with some simple kitchen equipment and a couple of common ingredients.
Read MoreBoxed pancake mix doesn't have to be a bummer. Easily step up the mix with one quick ingredient swap for fluffier and even more delicious flapjacks.
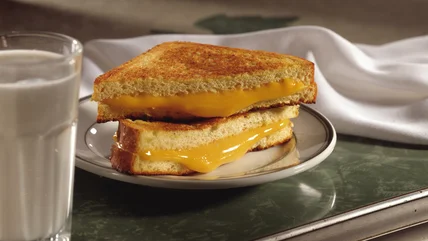
Read MoreThe grilled cheese might seem simple, but sometimes, simple is tricky. We list all the tips you should follow for your next grilled cheese.
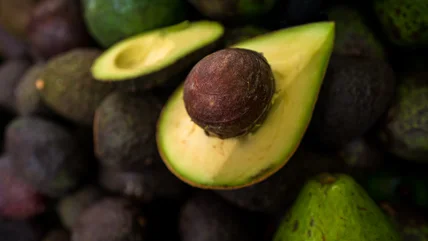
Read MoreThe skin of a ripe avocado will generally appear deep, dark green - almost purply or black - while bright green skin means the flesh inside is not yet ready.
Read MoreThe Fool's Gold Loaf included such a prodigious amount of peanut butter, jelly, and bacon that the sandwich required an entire loaf of bread.
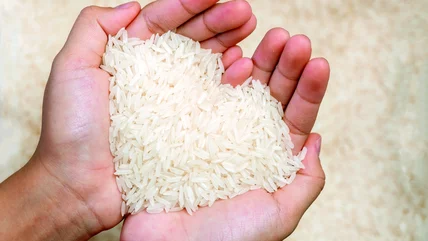
Read MoreDid you know that you can cook rice in liquids other than water? From chicken broth to coconut water, and even white wine, let's elevate your next rice dish.
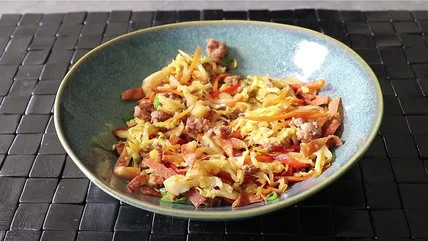
Read MoreThe burrito bowl had its moment in the sun, but now it's time for a new dish to shine. Let the good times roll in a bowl with egg roll ingredients.
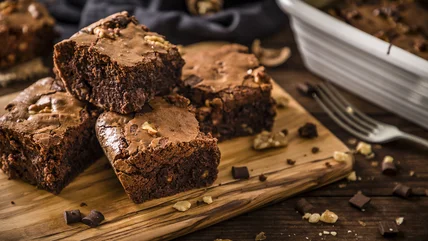
Read MoreA rich brownie is a decedent treat but if you're looking for an upgrade, we got the tips. From spicy chili to peanut butter, prepare to indulge.
Read MoreYou don't need to start stockpiling chocolate in your basement just yet, but there may come a time when it's in short supply. Here's why it might happen.
Read MoreThe best hot dogs aren't made by grill alone -- they're forged out of a two-step process that combines the tasty char of the grill with one easy kitchen method.
Read MoreSome people think that oil and water work well together when you're cooking pasta. Celebrity chef Lidia Bastianich is not one of those people.
Read MoreWhen making her favorite restaurant-style salsa, Ree Drummond chooses not to use fresh tomatoes, and The Pioneer Woman has good reason not to.
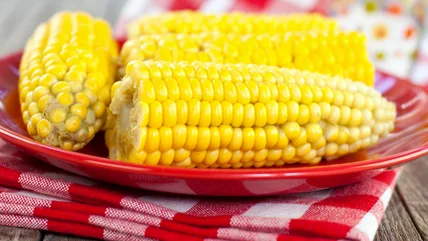
Read MoreRock summer cook-out season with this easy, breezy corn shucking method that you can pull off in just a few minutes. All you need is a microwave.
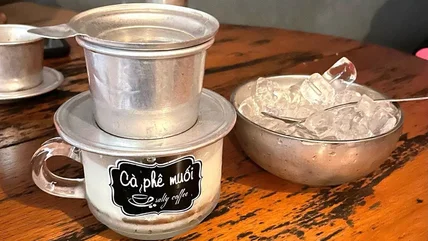
Read MoreThe salty bean-based drink has become increasingly popular at modern Vietnamese cafes, but the story of its creation is the stuff of legends.
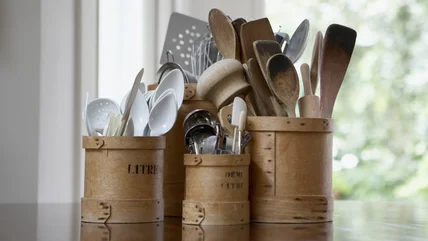
Read MoreEvery kitchen needs its staple knives and spatulas, but some of the most useful kitchen tools are a bit more obscure. We're here to give them their shine.
Read MoreNot all canned tuna is equally bland -- in fact, some is so flavorful it could make for a stand-alone meal. Here's chef David Chang's favorite brand.
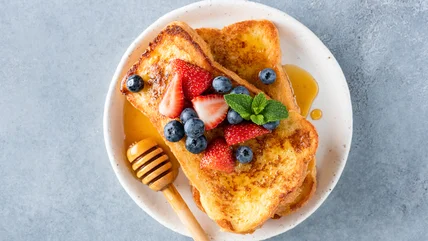
Read MoreFrench toast is always a popular breakfast treat, but you can make it even more crave-worthy with these delicious twists, from fresh fruit to cannoli cream.
Read MoreTo get your brisket just right, you need to properly trim the meat's fat cap. Here's how much to trim for a juicy, tender, not-too-chewy result.
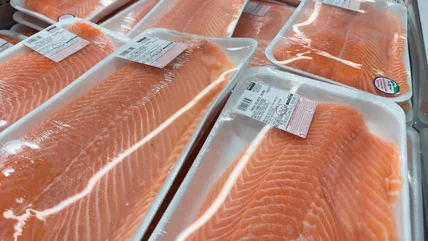
Read MorePlenty of grocery stores sell salmon, but there are good reasons why you might want to consider heading to the bulk retailer the next time you want fillets.
Read MoreIf you're dairy-free or vegan, there's another way to get that cheesy flavor for your popcorn -- and it's an ingredient you probably don't expect.
Read MoreSip better-tasting espresso every morning with this simple Nespresso hack. It will only take a few minutes -- and trust, it's totally worth it.
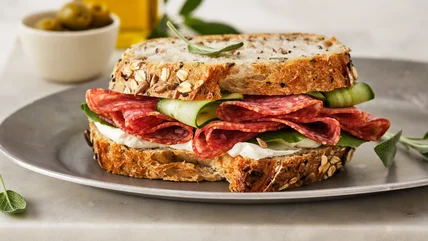
Read MoreNext time you're making a cold cut sandwich, swap out your mayo for this mainstay condiment. The result will be a tangy, refreshing pick-me-up.
Read More