The Best Schedule To Clean Your Keurig For Great Tasting Coffee
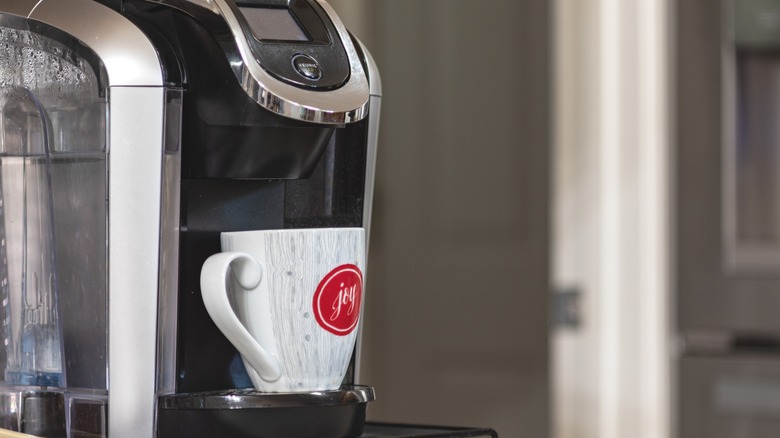
When it comes to brewing a delicious cup of joe, it's hard to beat the convenience and simplicity of a Keurig coffee maker. Just pop in a pod and push a button for a tasty, flavorful beverage delivered in no time. Using a Keurig is an automatic, reliable step in many people's daily routines, however, if you're not cleaning your coffee maker regularly you might be surprised when it stops working properly. Therefore, it's best to stick to a regular cleaning schedule rather than just cleaning it on a whim.
Cleaning and descaling your Keurig is crucial for keeping your machine in working order by removing and preventing mineral buildup, bacteria, and mold. The result is a better-tasting and sanitary cup of coffee for yourself and your loved ones. The machine parts may vary depending on your Keurig model, but the cleaning schedule is generally the same. The cleaning schedule is impacted, however, depending on how often you use the coffee maker — as with any kitchen appliance, more use means more cleaning.
Daily, wipe down any spills in the drip tray, and always remove used pods. It's also recommended to change the water each day. At least once per week, clean all the removable components, scrubbing them in warm, soapy water. Every three to six months, run vinegar through your machine to clean the internal parts and descale for mineral buildup. Finally, don't forget to clean the needle as needed and replace the charcoal water filter every two months (or, if you're not using your Keurig daily, every 60 tank refills).
Cleaning the external components

Before removing and cleaning your Keurig components, ensure the machine is turned off and cooled down. At least weekly, hand wash the external parts with dish soap to remove leftover coffee grounds and oils and to prevent bacteria and mold from forming. This includes the water reservoir and lid, drip tray, and pod holder. Remove and set aside the filter before washing the water reservoir.
Take care when removing the pod holder to avoid the sharp needle used to puncture the pods. The pod holder assembly consists of two pieces — the holder and the funnel located on the bottom. Remove the funnel and wash both pieces. While you wait for the parts to dry, wipe down your machine with a wet sponge or paper towel.
If you use your Keurig to brew multiple types of beverages — coffee, tea, and hot chocolate for instance — it's a good idea to run a cleansing brew between pods. A cleansing brew consists of running a cycle without any pods in the machine. This will help remove any remaining flavor from the previous brew. Also, to avoid clogging the needle, run a cleansing brew immediately after brewing pods that contain milk, such as hot cocoa pods.
Cleaning your Keurig every week will help improve the flavor of your coffee. If you're someone who enjoys a super bold cuppa, you can also try using two coffee pods for one Keurig brew.
Details on descaling your Keurig

Keurigs are quick and easy for brewing a single cup of coffee (and for other uses — there are a lot of things you didn't know your Keurig can do). But if you don't descale your coffee maker every few months to remove the built-up calcium deposits, it could stop working unexpectedly (if this happens to you, learn how to make coffee without a coffee maker).
How often you should descale your Keurig depends on how much use it gets. Machines with average use (used daily) should be descaled at least every three months, while those used less frequently (a couple of times per week) can be stretched to six months. If your Keurig will be unused for a month or longer, it's recommended to descale the machine before storing and again when it's brought out of storage.
There are solutions you can buy to descale your Keurig or you can use distilled white vinegar. The instructions may differ depending on your model, but essentially, you fill the reservoir with vinegar or the descaling solution, place a container on the drip tray, and run the machine on the largest cup size (without inserting a pod). Repeat this process until the reservoir is empty, then wash the tank and fill it with water. After letting your machine rest for around 45 minutes, run several cleansing brews to remove all traces of vinegar. The work is worth it for a clean, great-tasting cup of coffee.