The Best Way To Roast A Pre-Cooked Easter Ham Without Drying It Out
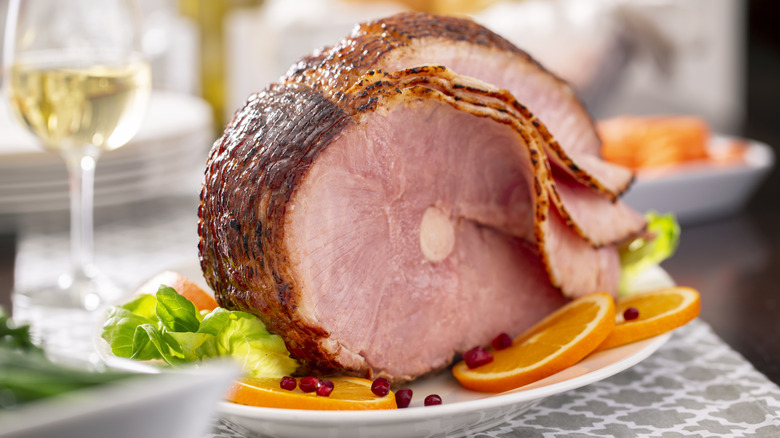
With Easter just around the corner, it's time to start thinking about how to make the most of your Easter ham! Most people will just turn to a slab of good old pre-cooked ham for maximum convenience since it technically can be eaten straight from the package. But cooking and roasting it in the oven will bring out a lot more flavor from the pork than just eating it straight.
You don't need a ton of time to do this — just about two-and-a-half hours, and you'll have dinner ready to go. Start by preheating your oven to 275 degrees Fahrenheit, then, for every pound of ham, roast for 12 to 15 minutes. If you have a few extra minutes to spare, you can even try adding a glaze to the ham like this apple cider and mustard ham glaze onto the ham for an extra burst of flavor.
But watch out for dryness! Most of the popular pre-cooked hams sold today have been sliced up, exposing the meat within. So, unless you have a plan to counter this, it's very easy for the oven's heat to accidentally dry up the interior of your ham, too, leading to a chewier, more rubbery bite. The "cure" for this is surprisingly simple: Before you roast it in the oven, make sure the ham lies with its cut side facing down in the roasting pan, then cover up with aluminum foil.
Two-step strategy to prevent over-dry ham
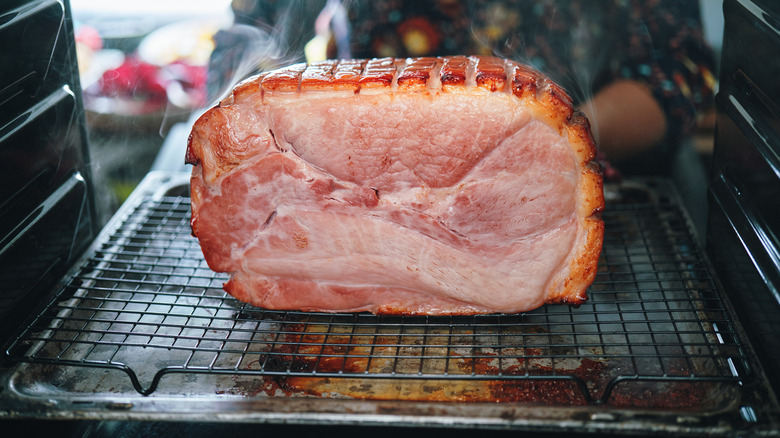
Follow this two-step game plan when you're cooking your ham: First, you'll want to expose as little of the ham's interior to the heat of the oven as possible. That's done by putting the ham into the roasting pan with its cut side down and away from any direct heat flow.
The second part is to lock as much of the moisture and juices within the ham as possible. You can't prevent the juice from evaporating while the ham's roasting, but there are ways to keep it from escaping so much that your ham would end up tasting dry. This part is done by wrapping up the ham in aluminum foil, which will help to keep those precious juices right where we want them — inside the ham.
As the ham cooks, you'll notice juices collecting at the bottom of the pan. Don't throw these away! Instead, use a basting brush to scoop up the flavorful juices and brush them onto the ham once or twice during cooking. This not only adds moisture back into the ham but also enhances its flavor.