Why You Should Soften Sticks Of Butter Standing Up
Butter is the indisputable backbone of so many of our favorite treats — you wouldn't make a batch of chocolate chip cookies or a classic white cake without a stick or two. If you're a serious foodie or baker, your freezer is probably never without some. We can all relate to the struggle of attempting a recipe only to realize we forgot to plan ahead and leave a stick out to soften.
When you need to get to baking and don't have hours to let a frozen stick of butter thaw to perfect consistency, don't fret — there are many tried and true shortcuts. If you've usually relied on throwing a stick in the microwave, it turns out there are some best practices that can improve even this easy method to ensure your butter is softened evenly and just enough.
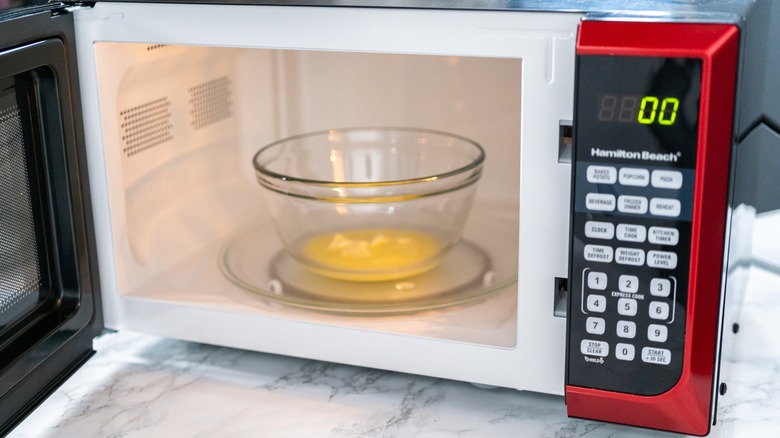
There are numerous ways to soften or melt butter, but next time you're baking, try standing your stick of butter up in a glass, a microwave-safe bowl, or a measuring cup. The placement on its end helps combat the uneven heating that can sometimes occur in microwaves. (Ever noticed your sticks only melt in the middle or on one end, and remain frozen in other spots?) Standing it up vertically makes for a quicker heating time and a more even softening, sans mess or hours of wait time — because who has that when you're craving cookies?
The way you melt your butter matters, and here's why
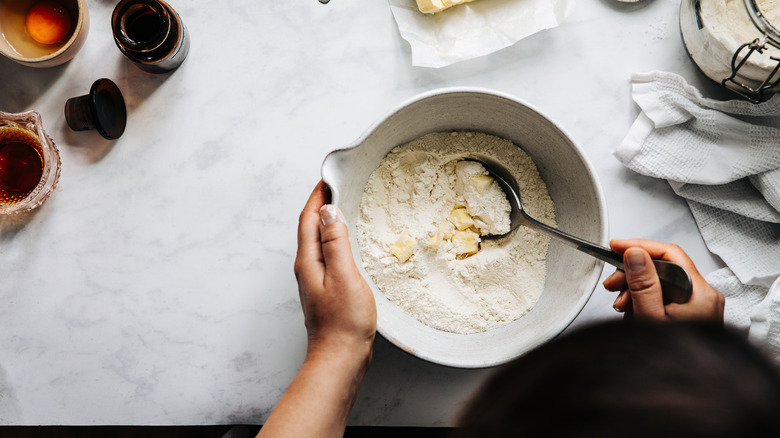
Using the standing-up method softens butter perfectly, and fast. This matters because, as you might have heard, baking is something of a science. Nuking your butter for too long can change its state from a pliable-but-still-firm texture to a totally melted liquid — and that can impact the final baked good. For example, if you're making a cake or cookies, your butter should be soft enough to cream into a stiff texture, in order to create fluffiness in the finished product. This is because solid butter fat holds tiny pockets of air which are then imparted into the final baked good, creating airiness and height. On the other hand, using butter that's too melted may yield denser, less airy cakes and overspread flat cookies.
But again, if you don't have several hours for a frozen stick of butter to reach the ideal consistency, a microwave can do the trick. You can get your butter right where you want it by melting it in the microwave in short several-second intervals. While you're nuking it, keep it in the paper wrapper. Most butter wrappers are made out of paraffin-coated paper designed to be microwave-safe, and keeping it on prevents a mess.
How to achieve the perfect, just softened-enough butter texture
While using this method, be sure to keep an eye on how it's softening. Usually, you'll need a total of around 15 to 25 seconds (conducted in smaller intervals) until your butter is ready to be creamed with your sugar and mixed into your recipes. Use the finger test to tell if it's ready. Lightly push a finger into the stick — or use the back of a spoon. If it easily leaves an indentation but retains its basic shape and structure, you know it's softened enough but not too far gone.
Sometimes you might over-melt your butter. Maybe you add a few too many seconds to the microwave and next thing you know, it moves past the softened phase straight into a melted pool. It happens to the best of us. Depending on the recipe you're making, in many cases it's absolutely still possible to bake with liquified butter. In some cases, depending on the texture and mouthfeel you're after, it could be ideal (for example, if you're a crispy cookie lover!). Of course, if you're making something like pastry, cold butter is an absolute necessity and your recipe will not turn out using butter that's too warm. The same goes for something like buttercream, which requires butter that's softened but not runny. To play it safe, stick to microwaving in 5-10 second increments and keep a close eye on things to make sure the stick doesn't become too softened.