Every Way You Can Make Ice Cream Without A Machine
I scream. You scream. We all scream for ice cream. As it turns out, mankind has been screaming for ice cream for centuries — millennia, even. Some estimates suggest that the frozen desserts that were the precursors to modern ice cream began appearing on tables by 4,000 B.C. Kulfi, a more ice cream-like dessert, came onto the scene around the 13th century in Arabic cultures, and ice cream and Italian ice hit the scene in Italy in about the 1600s. All of this points to the fact that ice cream existed before ice cream machines did. This is good news for ice cream lovers who would love to concoct their own batch of creamy frozen goodness but don't yet possess the fancy-schmancy tools required to do it.
On this list, you get the lowdown on eleven ideas that allow you to make ice cream from scratch at home, even if you don't own an ice cream machine, or even if you just plain like a foodie challenge, all in the name of progress and science. Each suggestion brings a little something different to the ice cream bowl, from coffee can ice cream to ice cream made with a little Mason jar magic. All are delish, and some, you'll probably like so much you'll want to try them two or three times just to be sure you got the method committed to memory. Bon appétit.
1. Make snow ice cream
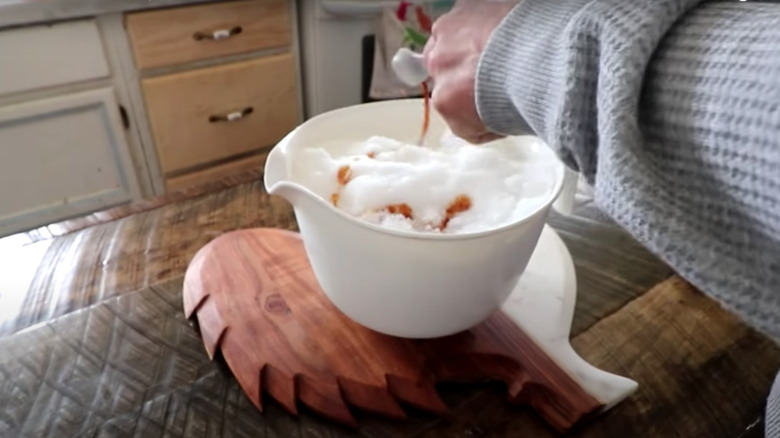
Fans of Laura Ingalls Wilder's "Little House" books probably remember the story about snow ice cream in "Little House in the Big Woods." When it snowed, her grandmother ladled warm maple syrup over a plate of fresh snow. It was a treat that they could only eat in wintertime, and for those people today who might feel a smidge weird about eating ice cream in the middle of winter, this is practically an endorsement for serving yourself the biggest bowl possible.
And while the results from the "Little House" books likely have more of a candy consistency than an ice cream consistency, the idea is the same: snow as a base for a sweet treat. Making a variation of this "Little House" treat starts with the freshest, cleanest snow you can find. Scoop it into a bowl and then add sweetened condensed milk and vanilla. Stir the ingredients together until the snow ice cream sets up. This may require the addition of more snow to get the consistency right. It's ready to eat once it sets up. For an extra nostalgic touch, try it with some maple syrup as a topper.
2. Roll around a coffee can
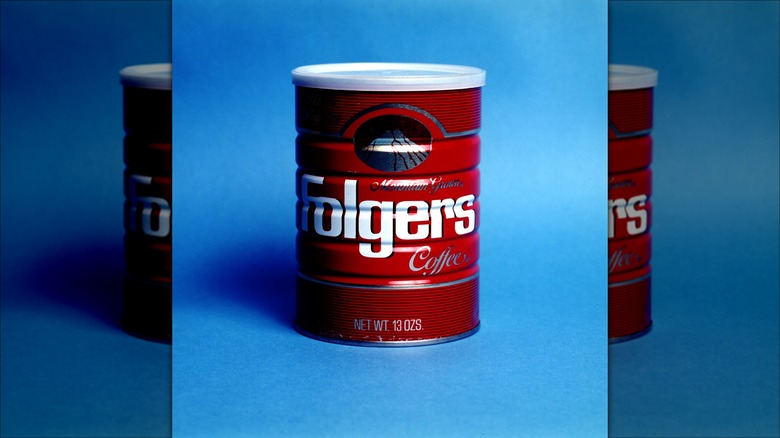
As it turns out, that Folgers can of yours does more than give your coffee grounds a vacuum-sealed home. Its cylindrical shape makes it an excellent substitute for an ice cream machine. For this to work, you actually need two coffee cans, one small one and one large one. Duct tape, ice, rock salt, and your favorite delish ice cream recipes are also required.
First, you whip up the ingredients for your ice cream recipe. After that, wash out the coffee cans and pour the ice cream mix into the smaller one. Seal the lid with tape to keep the contents from spilling out. Next, nestle the smaller can into the larger one, kind of like you would nestle Russian nesting dolls together. Add rock salt and ice to the larger can — the smaller can should be snug inside the wall of ice — and then seal the larger can with tape.
Roll the nestled coffee cans back and forth for 15 to 20 minutes. Open the cans, stir the ice cream for a few, then repeat the process, rolling the can around for another 15 to 20 minutes until the coffee can ice cream is ready to eat.
3. Break out your Ziploc bags
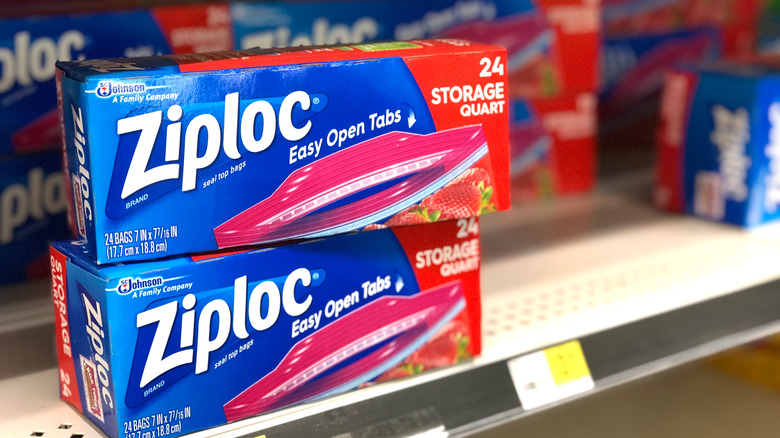
When you're stocking up your pantry with Ziploc bags, it's likely that you plan on using them for bagging up sandwiches or stashing leftovers in the fridge. However, they're also excellent non-mechanical ice cream machines. While the walls of this makeshift ice cream maker might be a bit flimsier than its manufactured counterpart, the resulting ice cream tastes just as delish once you know how to construct this Ziploc baggie wonder apparatus. For this homemade ice cream maker, the largest baggies work best.
Start by mixing together the ingredients you need for your homemade ice cream. Once that's done, fill a baggie with ice and rock salt. Next, gently pour your ice cream mix into a second baggie, ensuring that the zip lock is tightly sealed when you're done. Cover the baggies with a towel and begin shaking the mixture for several minutes as hard as you can. After 5 to 10 minutes or so, your ice cream is ready to nosh.
4. Create mason jar magic
Home canning enthusiasts who are also ice cream lovers have a leg-up on most other people when it comes to making ice cream from scratch at home. The same mason jars they use for canning soup become a handheld ice cream maker. Only a little assembly is required.
If you count yourself among those in this group, here's how it works. Fill a clean mason jar with the ice cream recipe of your choice that uses heavy whipping cream as its base. Add the lid, sealing it tightly. Shake the mason jar vigorously for several minutes. For the first several minutes, you'll hear the shaking sound of the liquid moving around inside the jar. Eventually, the shaking sound will stop because the cream has set. Once you reach that point, put the jar in the freezer to turn the contents into your favorite flavorful frozen treat. Give the ice cream mixture a couple of hours to set in the freezer before you serve it.
5. Turn ice cubes into ice cream
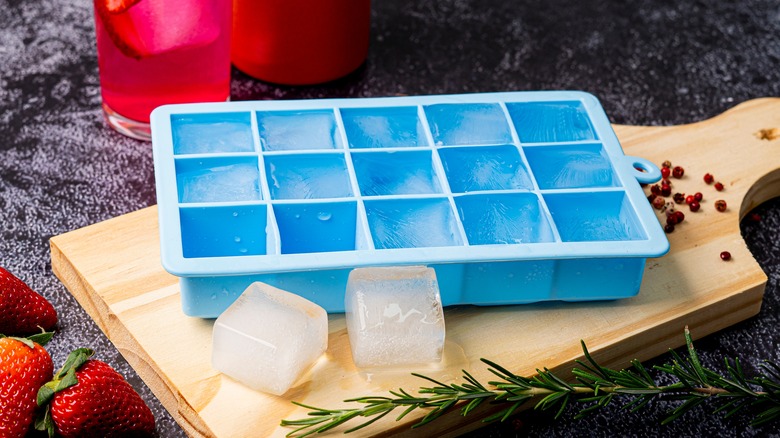
Ice cube trays don't have to just be a receptacle for your tap-water-turned-ice-cubes. They also freeze ice cream mix amazingly well, which means they become the first step, or one of the first steps, in your made-from-home quest for the perfect ice cream recipe. This method of ice cream making works really well with a frozen custard recipe that you have to heat up a bit first, so if you've been waiting to try a frozen custard recipe because you didn't have the means to make it, this is your chance to give it a whirl.
Mix up the ice cream or custard recipe. Create an ice bath in a large glass bowl and then strain the ice cream mixture into a second bowl, which you have placed on top of the ice bath. If your ice cream recipe requires you to heat up the ingredients, whisk them until they are room temperature. (You'll whisk them inside the bowl that's floating on the ice bath.) Once the mixture is the right temp, pour it into clean ice cube trays and freeze them for 6 to 10 hours. After your ice cream cubes have formed, toss them into a food processor. Blend the mixture until it's smooth and serve in ice cream bowls or on ice cream cones.
6. Fill a cake pan
Who knew that you could make both the cake and the ice cream you intend to eat with said cake in the same pan? Not at the same time, of course, but still, the cake pan is the same tool, giving it extra brownie points for being useful all the way around.
Start your ice-cream-making activities with a large cake pan and your ice cream recipe du jour. Mix up the ingredients, then add the mix to your cake pan. Pop it into the freezer for a couple of hours. Once this sets, remove it from the freezer.
Using a whisk, stir around the mix to smooth out any lumps and clumps that froze into the concoction. Allow this to set back up in the freezer for 45 minutes to an hour. Repeat the de-clumping activities from before, then pop the mix into the freezer once more. You'll do a stir, de-clump, and pop-in-the-freezer a couple more times with 30 or 40 minutes between each of your de-clumping activities. Once you've put your ice cream in the freezer for the final time, leave it there for at least four hours or even overnight before serving.
7. Hand mixers make amazing ice cream
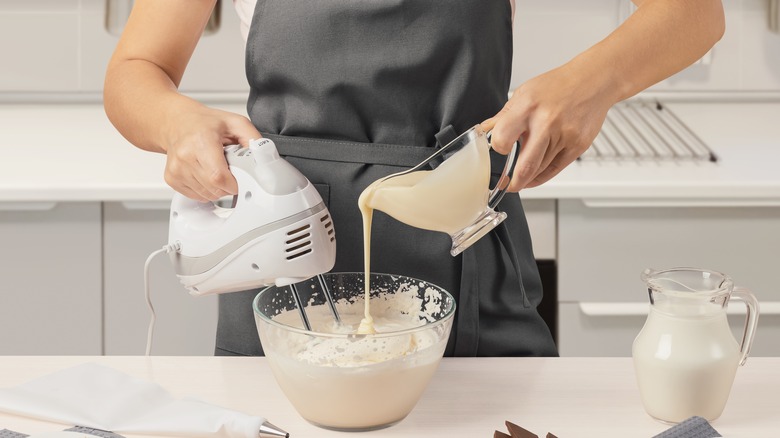
A hand-held mixer and two bowls are all that stand between you and a bowl of fresh, homemade ice cream. Any ice cream recipe will work with it. This method of frozen treat-making also works with frozen custard if you prefer that to ice cream. In place of the ice cream machine, you'll fill one large bowl — the largest one you have — with ice and salt, stirring the salt around to coat the ice.
In a smaller bowl — metal works best here — add in the ingredients for the ice cream. Place the bowl inside the larger bowl on top of the ice. Mix the ingredients together with your mixer with the small bowl still inside the larger ice-filled bowl. Mix for 10 to 15 minutes. Then, put the whole nine yards in the freezer for an hour or two.
Give the mixture another go with the mixer after you remove it from the freezer. You'll beat the mix until it starts to feel less like whipped cream and more like ice cream, scraping the sides of the bowl as you go. Don't whip for very long, just a couple of minutes at the most. The final step requires you to put the mixture in some freezer-safe bowls for 24 hours to allow it to set. In the meantime, you can lick the blades clean just like you did when you were a kid after your mom made cookies as a tide-me-over treat.
8. Have a ball making ice cream
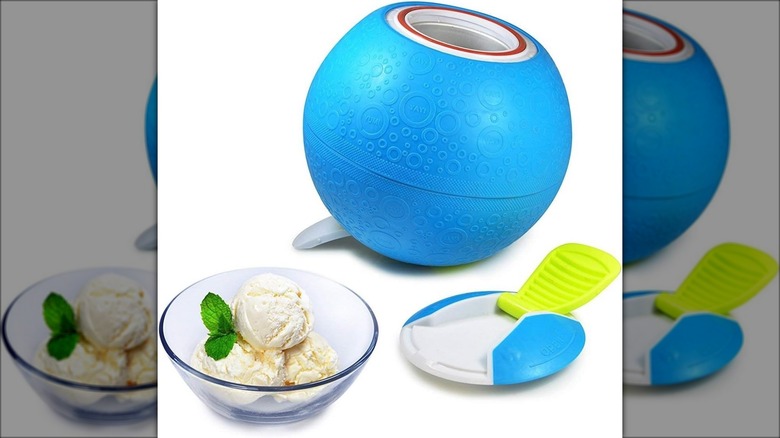
Even if you lack an ice cream churn, most homemade ice cream recipes still require some churning action to make a go of the recipe, and when you use an ice cream ball, you'll literally have a ball while making your dessert and get the good churn in while you're at it.
Here's how this cool tool works. The ball has two openings, one at each end of the ball. Into the first opening, you'll pour your ice cream mix. The inner container of the ball makes one pint of ice cream. Once you secure the opening, move to the opposite end and toss in some rock salt and some ice.
Now, here's where the fun begins. The ball ice cream maker is soft-sided, like a regular ball. You and yours can play ball with one another for about 30 minutes or so. That's all it takes to firm up the ice cream. Serve it after your fun and games have ended.
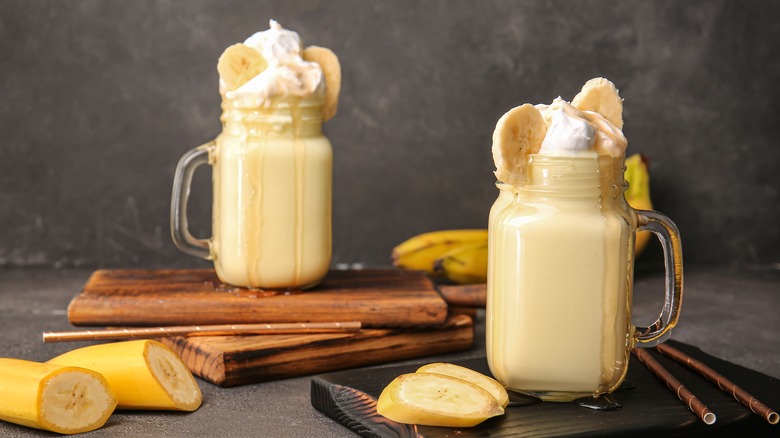
9. Whip up some banana n'ice cream
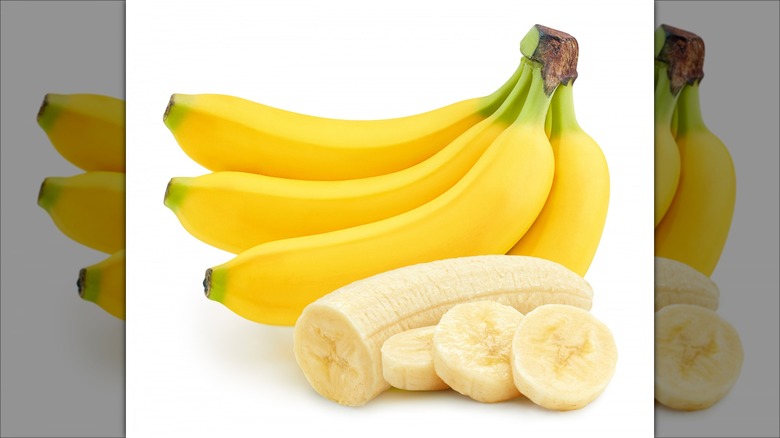
Of all the things that those who are dairy-intolerant or vegan miss when they cut out milk and dairy products, losing ice cream might be the most disappointing. It's a food that comforts people on rainy days, is used to celebrate birthdays and weddings, and is the epitome of childhood in a cup. Fortunately, some savvy home chefs have given ice cream back to the ice cream deprived in the form of n'ice cream, which may just be a contraction of 'nanas and ice cream. Or for the uninitiated, ice cream made from frozen bananas.
In many respects, making n'ice cream is simpler than making regular ice cream. Start with frozen bananas. When you're choosing bananas for this recipe, go with bananas whose skins have turned a little brown, like those you'd use for making banana bread. Once the bananas have frozen, put them into the food processor with a splash of plant milk. Almond or coconut milk works nicely but any kind of plant milk will do. Blend gently, occasionally stopping the food processor to spoon the bananas off the side of the food processor.
Add in your flavorings of choice. Vanilla extract, cacao powder, or maple syrup are just some options. A pinch of sea salt helps, too. Blend until the bananas take on the consistency of soft ice cream. It keeps in the freezer in a freezer-friendly container for a couple of weeks.
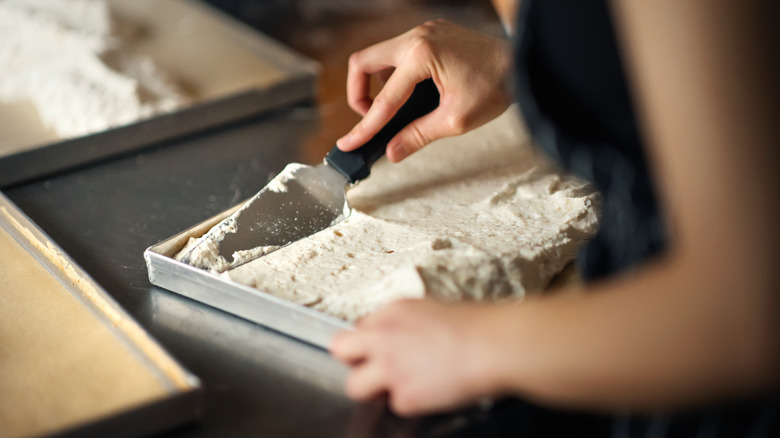
10. Try the dry ice method
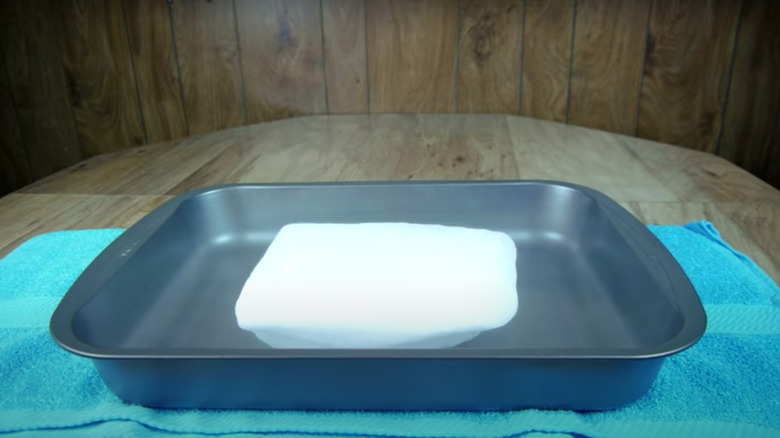
As it turns out, dry ice isn't just for making rock concerts look cool. It also plays a key role in the production of ice cream machine-free ice cream. This method relies on the physics of dry ice and, thus, gets some cool science experiment points, in addition to being delish.
To get this experiment started, place a thick towel down on your work surface. Then, place the dry ice in a cake pan and position the pan so that it's completely on the towel. The dry ice will require some additional covering, so place another folded towel on top of it, tucking the sides of the towel deep down into the pan around the edges of the dry ice. Vodka or alcohol adds the requisite amount of dampness for cold conductivity. Just pour a bit in the center.
You'll add the cold plate next. A cast iron skillet or a frying pan works well here. If you've used rubbing alcohol to wet the towel, opt for a pan with sides to keep the ice cream from touching the alcohol. Once your cold plate gets a good chill on, pour on the ice cream recipe you're working with. There's no special recipe required for this. Push the ingredients around the cold plate with metal spatulas until the mix takes on the consistency of ice cream. Try this ice cream making hack if you're making rolled ice cream, like it's made in Thailand.
11. Tickle your tummy with tofu
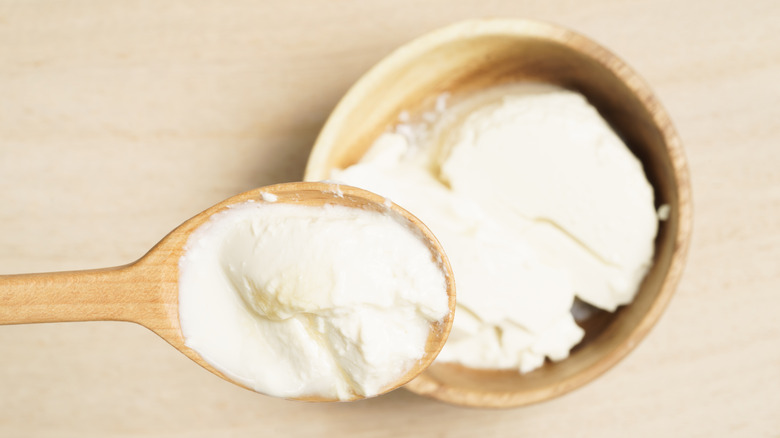
Tofu is the stuff of stir fries and sometimes a base for faux chicken, not ice cream, right? Nope. Tofu ice cream is a thing, and it comes with some advantages that many other made-without-a-machine ice creams don't. For one thing, it's a bit less sweet, making it a nice option after a heavy dinner. For another thing, it's so darn easy to make. Tofu ice cream requires only a block of silken tofu and some honey or maple syrup. If you'd like a bit more flavor, add a bit of vanilla or frozen fruit. To make it, combine one block of silken tofu with 3 teaspoons of honey or maple syrup. Break the tofu apart with a whisk and then, whisk it a bit more until it turns smooth. An electric mixer also works here.
Once you've reached a smooth consistency, ladle the contents of your mixing bowl into a small freezer-safe bowl or pan and cover with plastic. Allow it to chill in the freezer for one hour, remove it, and stir it with a spatula or wooden spoon. Place it back into the freezer with the cover on for another hour. When you're ready to eat it, pull it from the freezer. It may have a slightly harder consistency than normal ice cream, so allow it to sit out at room temperature for a few minutes. Top with more honey or maple syrup and your ice cream toppings of choice.