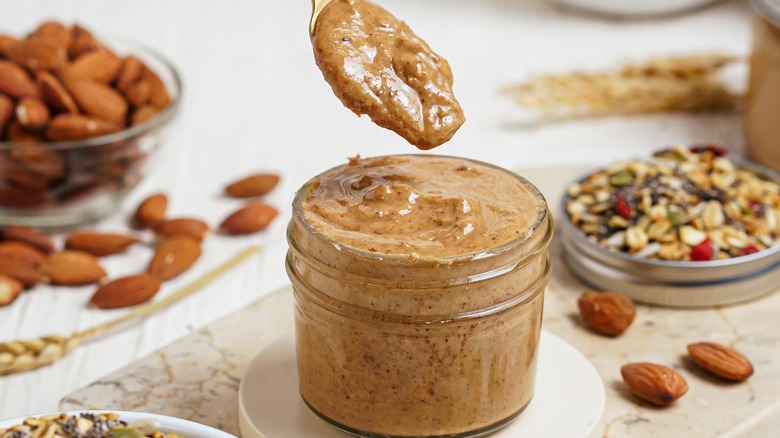
How To Make Homemade Nut Butter
Barring food allergies, pretty much everyone loves peanut butter, whether with jelly, in more involved preparations (peanut butter frozen yogurt, anyone?), or straight off the spoon. If you have a high-powered blender or food processor, it's incredibly easy to make homemade peanut butter, which not only lets you feel accomplished and cheffy but lets you control the ingredients and specific taste and texture. Same goes for any other nut butter your heart desires: almond butter, cashew butter, hazelnut butter, pistachio butter, pecan butter ... It's so easy you barely need a recipe, but here's a basic rundown, with a few pointers to keep in mind.
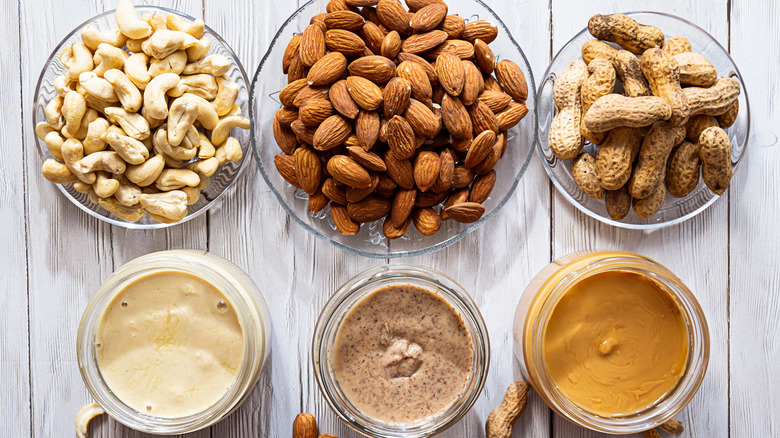
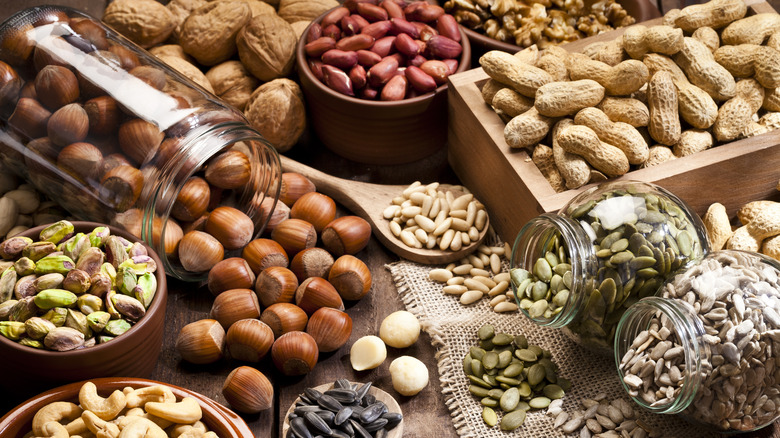
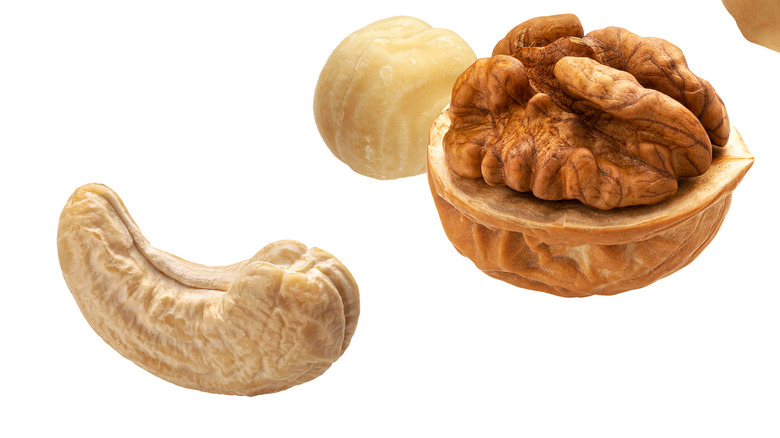
Choose your nut (or legume, or seed)
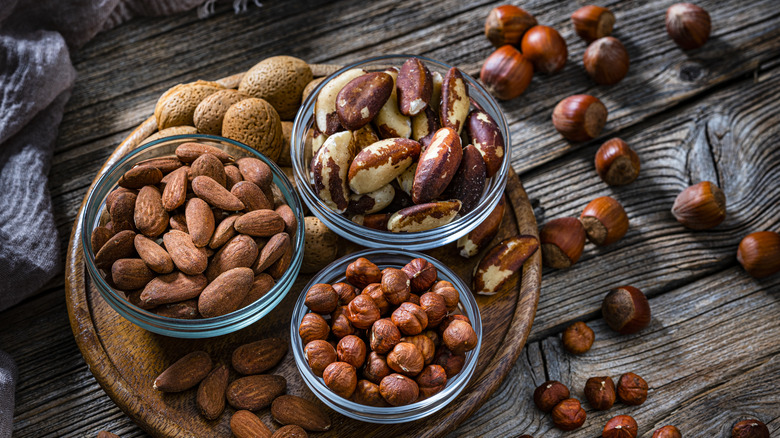
Generally, nut butters aren't blended, since sticking to a single type really highlights that variety's particular flavor — but nothing's stopping you from experimenting. No matter what kind you choose, you're best off buying whole, raw nuts from the bulk section, as these tend to be both fresher and more economical. Buying pre-roasted, salted nuts defeats the purpose of controlling the precise flavor of the nut butter, but again, try whatever appeals to you (even honey-roasted peanuts work)! To make one jar of nut butter, you'll need between 2 and 4 cups of nuts. You can also use sunflower and sesame seeds in the same way.
Prep them for processing, toasted vs. raw, and should you soak?
Most recipes call for you to very lightly toast your nuts: Preheat the oven to 350 F, spread the nuts in an even layer on a rimmed baking sheet, and roast for anywhere between 5 and 15 minutes — the total time depends on your oven, the type of nuts you're using, and how deeply you want to toast them. Check every 5 minutes and give the pan a shake or use a spatula to stir the nuts so they toast evenly, and take them out when they're golden brown and fragrant; your nose is a really helpful indicator of when nuts are ready to come out. If you smell them before the timer goes off, check them right away, because they might be done and on the verge of burning.
You also have the option of making raw nut butter, which may have some health benefits, but probably not so much that it makes a huge difference. The bigger factor would be the taste; toasted nut butter will have a deeper, richer flavor.
Another option is soaking your nuts in water to remove naturally occurring chemicals that may affect nutrient absorption — and possibly enhance the flavor too — but if you soak them, you will need to dehydrate the nuts afterward, whether you toast them as a final step or not. For obvious reasons, most people skip this step, but it's something to consider.
Removing skins
If you're toasting your nuts, you don't need to let them cool completely — in fact, since they harden as they cool, using them while still a little warm can make blending them easier. Just wait until they're cool enough to handle, then remove any skins, which impart bitterness and mar the texture of the nut butter (although, some people actually prefer to leave them on). It's okay if some stubborn bits remain, but the more skin you can remove, the better — an old trick is to place a bunch of nuts in a cotton kitchen towel and rub vigorously to loosen the skins.
Pre-chopping
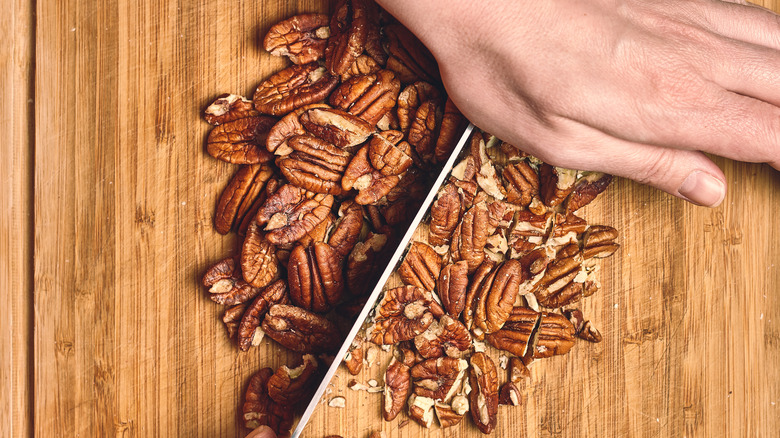
If your blender is a proper beast, you don't need to chop the nuts at this point, but if you're at all concerned that your appliance isn't quite as powerful as it should be, roughly chopping the nuts with a knife — especially if they're harder varieties like almonds and hazelnuts — can help take stress off the motor. And if you want a chunky nut butter, reserve a handful of toasted nuts, chop to your desired size, and hold them back to stir in at the end.
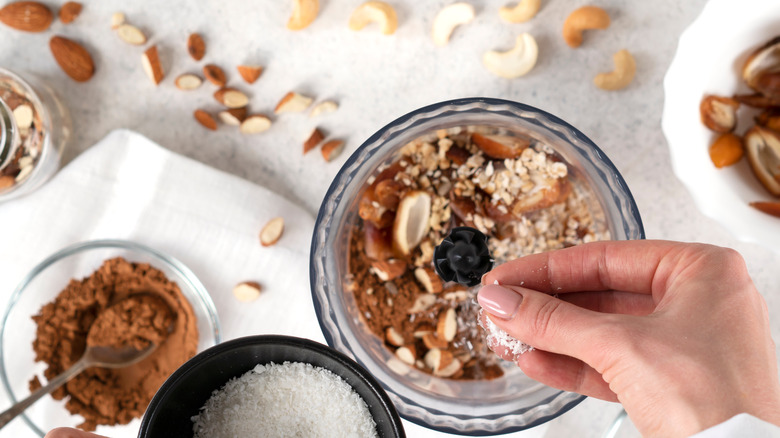
Blitz them up
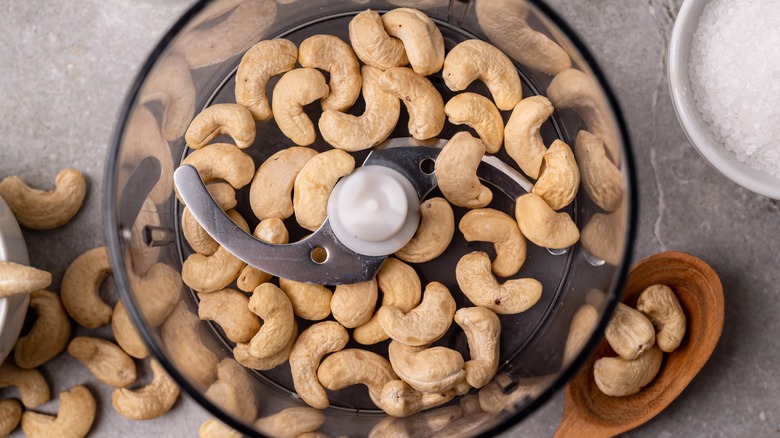
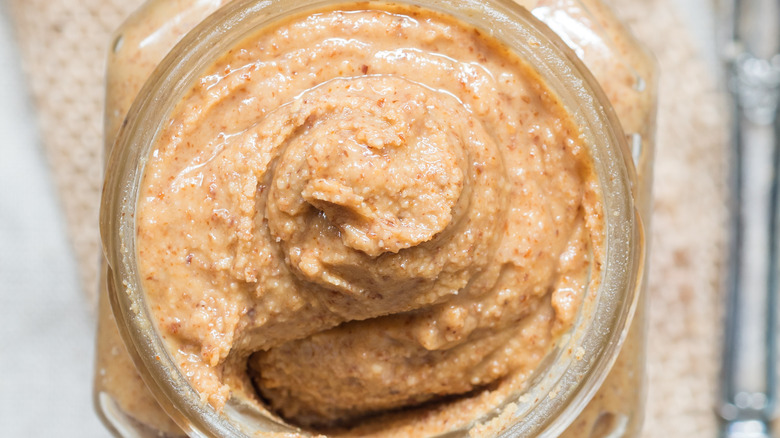
The blending part of making nut butter can take a significant amount of time, and it can look like things are never going to come together, but they will (eventually)! The more powerful your blender or food processor, the quicker this is, but it also depends on the type of nut you're using; for instance, cashews are softer and oilier than almonds, so they'll break down much faster, but they might actually take a little longer to emulsify completely because those oils don't want to separate and disperse. No matter what type of nut you use, just tip them into your food processor, put the lid on, put it on the highest power setting, and let the blades do their work. Scrape down the sides of the container as needed, and give the machine a rest for 10 or so minutes if the motor seems in any danger of overheating. The nuts will go from chopped to pulverized to pasty and thick before finally smoothing out into a recognizable nut butter texture.
Adjust the texture
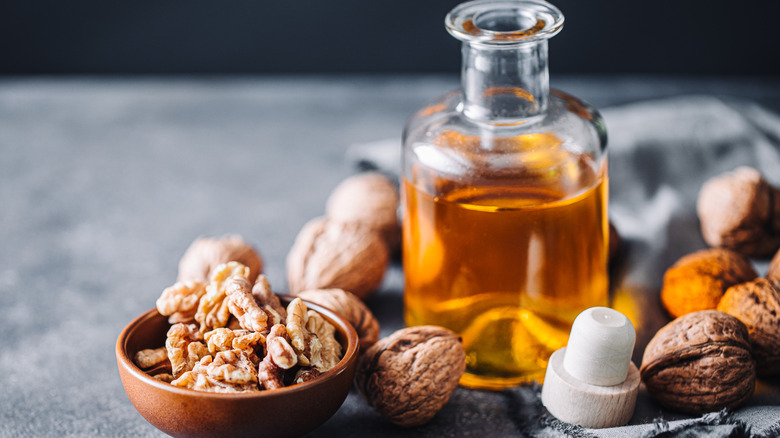
If you've been blending for around 15 to 20 minutes and still aren't seeing the right texture develop, you can add a teaspoon of neutral oil (or nut oil) at a time to help things along. Keep adding more in small increments until you have the texture you want. And if you crave a more homogenized supermarket-style peanut butter (think Jif), you can add Crisco or other shortening, potentially even lard if you're a fan of the peanut butter-bacon combination! Once the texture is how you like it, if you reserved some chopped nuts for a chunkier butter, now's the time to stir those in.
Season (or don't) to taste
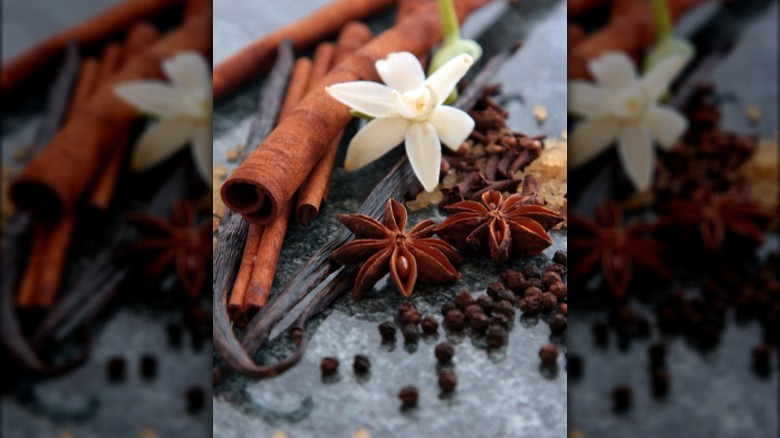
To finish up, taste your nut butter. If you love it, leave it alone. If you think it needs a little something, add a pinch of salt and/or sugar, or even a bit of honey, maple syrup, agave, or other sweetener, but do so sparingly, mix well, and taste again before adding more. That's all your basic nut butter needs, if even that. But if you want to get more creative, you can add all sorts of spices at this point (cinnamon, ginger, cayenne, vanilla ...), and add-ins like chia seeds, chocolate, and so forth too.
How to store it
Since nut oils can go rancid fairly quickly, you should store your nut butter in an airtight container — glass Mason jars are always nice — in a dark, cool place like a pantry, garage, or cupboard away from the stove. The refrigerator is ideal because it not only preserves freshness but inhibits bacterial growth (especially important in homemade, preservative-free nut butters!), but honestly, I never do that, because (a) it firms up in the fridge and isn't as spreadable right away, and (b) I go through nut butter super quickly, so it never has a chance to go bad. But you know the old saying, "Do as I say, not as I do ..." and then there's the more modern: "You do you!" (Just err on the side of caution and store it in the fridge if you think it will take you more than a few weeks to get through your jar — or start making smaller batches of only 1 cup or so of nuts to begin with.)
A note on equipment
To make the smoothest nut butter in the shortest amount of time, and without worrying about destroying your precious kitchen equipment, you should absolutely get the very best food processor or blender you can afford. Food processors are generally considered better for nut butter, but either way, your equipment needs super-sharp, durable blades and a powerhouse motor, which don't generally come cheap — still, the investment will be well worth it, and you'll find lots of other uses for the gadget. On the high end of the home blender spectrum is the Vitamix, which will run you at least around $300, usually more. Slightly cheaper at about $200 is the Cuisinart 14-cup food processor. Another popular brand that will get the job done is Ninja, but you'll have to actively hold it down rather than just press a button, and since it's designed to work in shorter bursts, you may need to rest it between bouts of blending. However, it costs significantly less (between $40 and $50 depending on specific model and sale prices), so might be a better choice.
In any case, if your blender or food processor is less of a workhorse and more of a kid's carnival-ride pony, consider sticking to softer nuts (i.e. cashews instead of almonds) that will cause it less stress, and be sure to give it a rest once or twice — or even more often — during the blending process so you don't burn out the motor.
DIY
Now that you know how easy it is to make nut butter at home, give it a go — and consider branching out into some of these intriguing flavor variations. Where will you start — with hard-to-find nut butters like pistachio butter, or chai spiced almond butter? Go for an upscale nut butter that would make a great gift, like salted maple pecan butter? Or start your nut butter journey with a classic like chocolate peanut butter?
Chai spiced almond butter
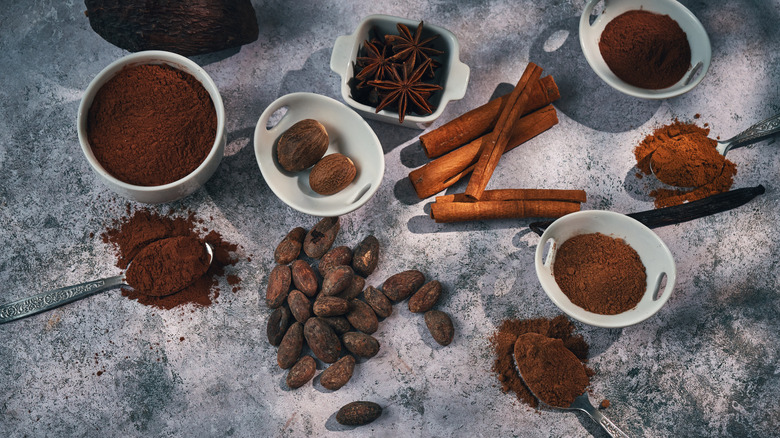
The warmth of cloves, cinnamon, cardamom, and nutmeg lend a lot of flavor to already-awesome almond butter, and work just as well with peanuts, cashews, and other nuts. Green cardamom or black cardamom would be great here, and if you want to go the extra mile, you could toast and then grind your own spices. Try adding a dash of ginger too, and prepare to have to make another batch right away, because this will not last long.
Homemade salted maple pecan butter
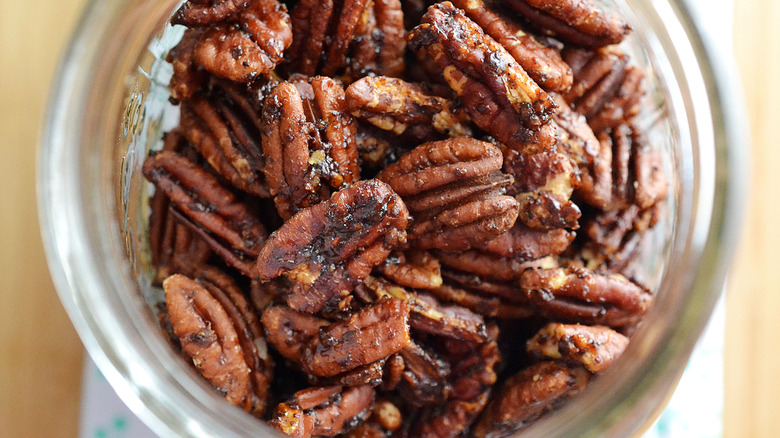
Pecan butter doesn't get as much press as other kinds of nut butter, but it's just as delicious, whether plain or flavored, like with dark chocolate, or sea salt and maple. One standout combination we've tried is salted maple pecan — sure to impress your guests. If you're a pecan pie fan, this is the nut butter for you. You could even make a version inspired by black-bottomed pecan pie and include dark chocolate.
Homemade chocolate peanut butter
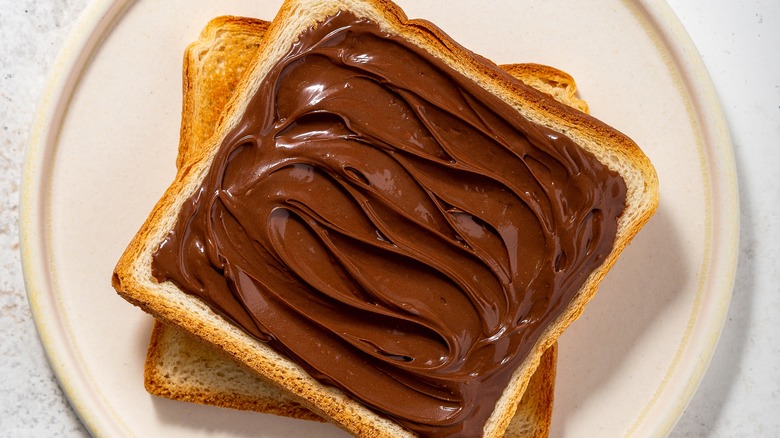
Save yourself the step of slathering peanut butter on chocolate and blend the sweet stuff right in, then spread it on toast, or eat some right off a butter knife (come on, we've all done it). This would be great for breakfast, but if you dip pretzels in it, you have a perfect midday snack. It's just as decadent after dinner, served on or with fruit, when you're looking for an easy, delicious dessert option.
Roasted strawberry walnut butter
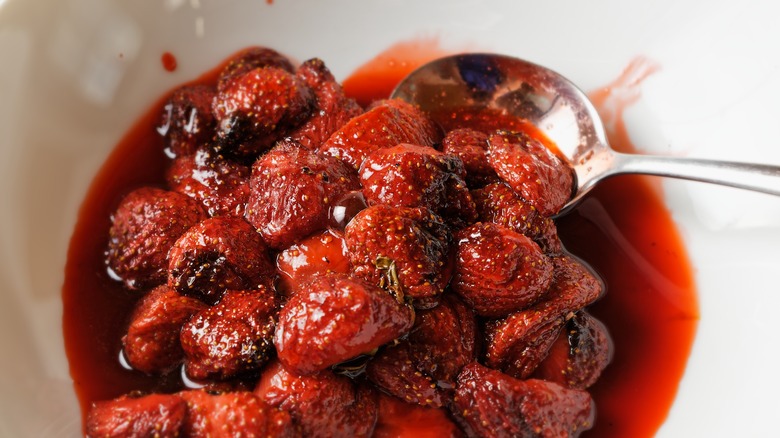
Walnut butter is another less common version that makes a nice addition to your pantry. Full of omega-3s, and great for cardiovascular health, according to the American Heart Association, walnuts are a great option for adding nut protein to your diet. They're often less expensive per pound than pistachios or pine nuts. This rendition blends in dried strawberries so it's kind of like a twist on PB&J all in a single jar.
Homemade pistachio butter
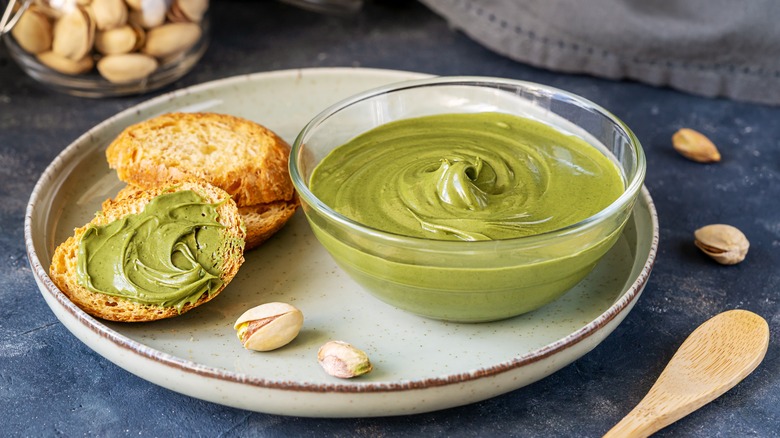
Luscious and beautifully green, pistachio butter is incredibly expensive, but much less so if you make it at home! Use it in ice cream, on bread, or to add a little flourish to a plated meal. It looks gorgeous on the side of an elegant dish of vegetables or a fancy bread plate. If you can find unshelled pistachios, you'll save some time, but fair warning, the price may reflect how much time it took someone else to shell them.
Macadamia cashew butter
Macadamia nuts are great made into their very own single-ingredient butter, but paired with rich cashews, the result is an ultra-creamy nut butter you'll want to put on everything. This would be at home on a bed of black rice, with some roasted squash, and some bright green herbs like cilantro or parsley. If it's tough to find an affordable source for macadamia nuts in your area, you can always substitute walnuts.
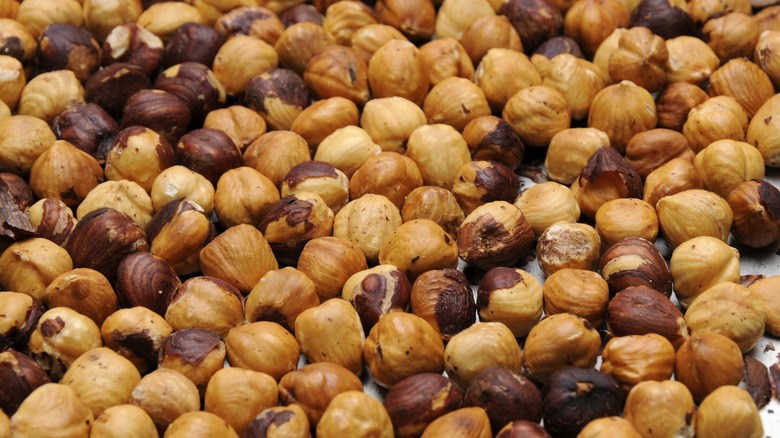
Vanilla cinnamon espresso hazelnut butter
Hazelnut butter is another especially luxurious type. Of course you can make homemade Nutella way better than the mass-produced stuff, but for something a little different, try adding vanilla, cinnamon, and espresso. It's a divine end to a meal. You can also use vanilla bean in your nut butter if you prefer it to extract — especially if you like to see those pretty flecks of vanilla bean in the finished product.
Super seedy sunflower butter
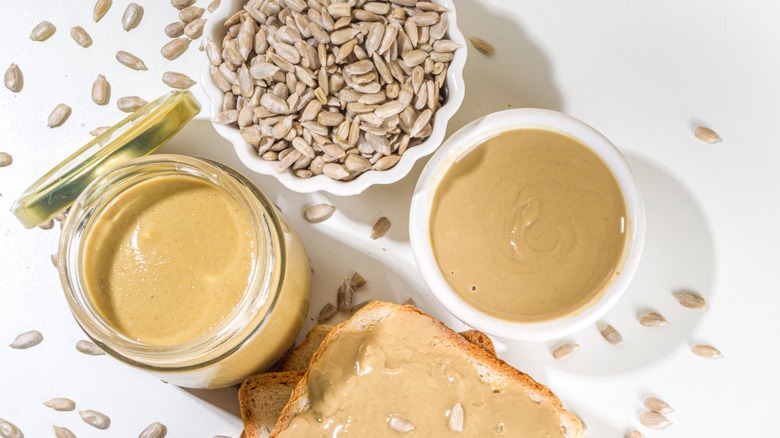
If you don't do nuts, you can make creamy sunflower butter instead, and flavor it any way you want. Honey complements the flavor well, especially in oatmeal. It mixes well in squash soup or can be drizzled over roasted carrots to up the ante of your sides. You could even add several different seeds like flax, hemp seeds, pumpkin seeds (also known as pepitas), and chia seeds for crunch and a nice nutritional boost.