12 Actually Reasonable Ways To Check Food For Doneness
It's important to check food for doneness both for the best flavor and for food safety. But just going by your gut is not reliable and can result in bland, overcooked food, tough or unsafe raw food, or just a miserable dining experience. Undercooked food can even cause foodborne illnesses such as salmonella poisoning. Using one of these methods will keep your dish looking and tasting great.
You can use special tools for measuring or use your senses to find out if your food is cooked just right. Visual cues like firm edges for cookies or a bubbling, golden top for cheesy casseroles are good indicators. Smelling onions and garlic will tell you if they are done or need more time in the pan. Touch is another helpful way to test foods, especially those that rely on specific textures like poached eggs. You can even give your food a quick taste test to see if the texture is to your liking by sampling your dish. For the most accurate results, tools such as thermometers can test the internal temperature of your food to make sure it is done cooking and safe to eat.
1. Use a meat thermometer
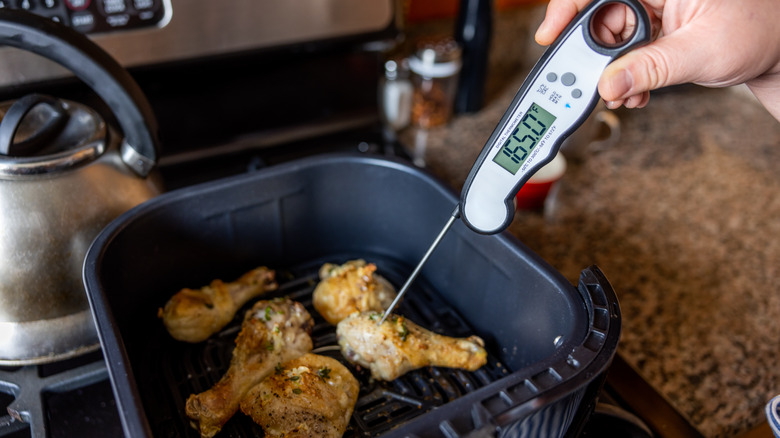
This handy kitchen tool measures the internal temperature of meat, eggs, and other dishes. A thermometer is one of the most reliable and accurate ways to test your food. It will tell you the doneness of your steak and alert you if your chicken or pork is undercooked. Thermometers come in digital or analog versions. Some even have alerts for unsafe meat temperatures or differentiate between rare, medium, and well-done steak. You can also test the temperature of cooking oils, eggs, and even candy. Beef steaks, pork chops, and other similar cuts of beef, pork, veal, and lamb should be at least 145 F. Ground beef, pork, veal, and lamb should reach 160 F. Chicken, turkey, and other poultry should be cooked to 165 F. Many meat thermometers include indicators that
A meat thermometer is essential for food safety but can also help keep your meat flavorful and delicious as well. Meat continues to cook while it rests. But if you cut into it to check for doneness, it can lose moisture and flavor as the juice runs out. Using a meat thermometer instead keeps the meat intact. It's best at least three minutes before checking the temperature to get the most accurate results.
2. Test for sponginess
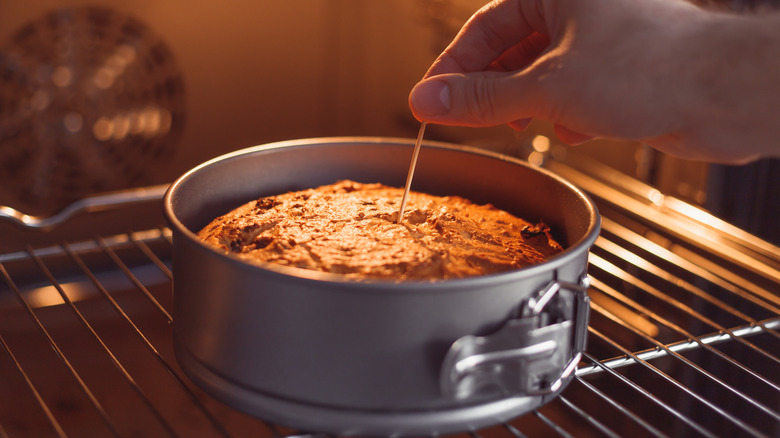
When baking, insert a toothpick into the center or press a finger on the top of a cake, cupcake, or muffin and notice how much it springs back. If it is done baking, the toothpick should come out clean and the cake should spring back into shape quickly. Betty Crocker recommends using two fingers to do the spring test and press gently into the center of the cake. The middle portion takes the longest to cook so once it is done, the rest of the cake will be ready as well. The exact cooking time will depend on the size and thickness of your cake. Thinner cakes and cupcakes take less time to cook than thick cakes. You can control the thickness by the height of your pan and the amount of batter that you use.
If the toothpick has batter clinging to it, the center is not done. Using the spring test, if the center does not spring back up, you'll still see a slight indentation from your fingers in the cake. An undercooked cake can be too soft or even still runny. Because most cake batter includes eggs, it can also pose a food safety hazard if it is not cooked all the way through. Put the cake back into the over for up to 5 minutes and try the spring test again.
3. Pierce with a fork
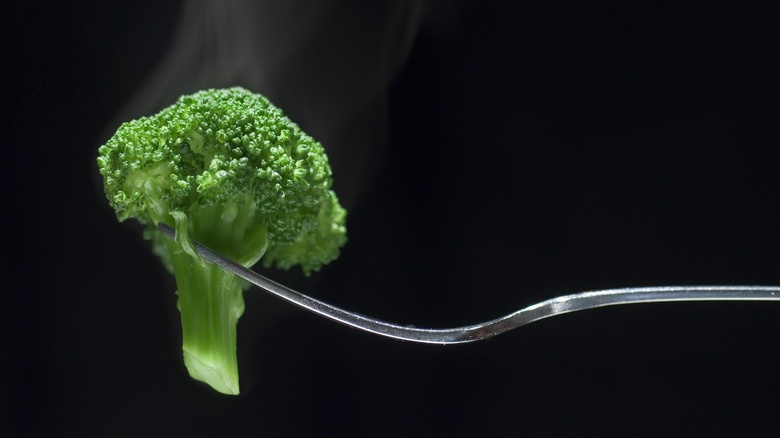
Steaming is a great way to add veggies into your diet that is easy and delicious. Simply boil water on the stove and add chopped vegetables into a steamer basket over the boiling water. Most cook in under 10 minutes. The pieces should be uniform for even cooking. The steam from the boiling water cooks the vegetables, which remain crisp and delicious. Firmer vegetables, such as potatoes and carrots, take longer to steam than soft vegetables and greens. You can also use a special setup to steam vegetables in the microwave. If the basket is overfull, those on the bottom will cook faster than those on the top, which can result in some pieces that are too tough or too mushy.
To test for the perfect balance of crisp and tender, all you need is a fork. Vegetables should be tender when pierced. There should be some resistance when you try to pierce them but not enough to require a knife. If they are too hard, let them cook longer. If they are too soft, they might be overdone. To take your perfect steamed vegetables to the next level, add melted butter, salt and pepper, slivered nuts, or other seasonings for extra flavor.
4. Sample pasta
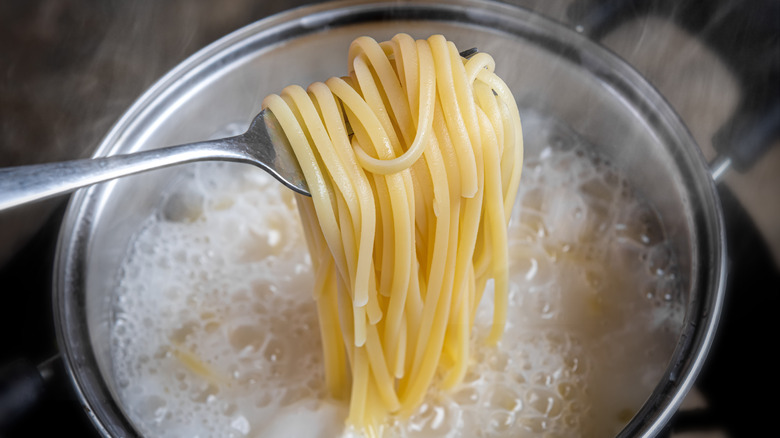
Perfect al dente pasta should be a bit chewy without being crunchy or hard. The center of the pasta takes the longest time to cook and break down. This is the part that gives the slight resistance when you bite into it. Al dente translates to "to the tooth" and describes the texture of the perfectly cooked noodle. Some people prefer a softer noodle, however, so one of the most reliable measures of doneness is to actually eat a noodle. See how you like the texture and if it works for you. Once you have the perfect noodle, drain the pasta to stop the cooking process. If you are adding noodles to soup, keep in mind that they can get softer with additional cooking time in the broth. You may want to remove them from the pasta water earlier to avoid overcooking to the point of the noodles breaking down.
Smaller pasta shapes, such as macaroni or penne, cook faster than thick noodles like linguini or fettuccine. Fresh pasta also cooks much faster than dried varieties. You can follow the recommended cooking time on the box and then test with your teeth when you suspect that it is done.
5. Watch the juices for poultry
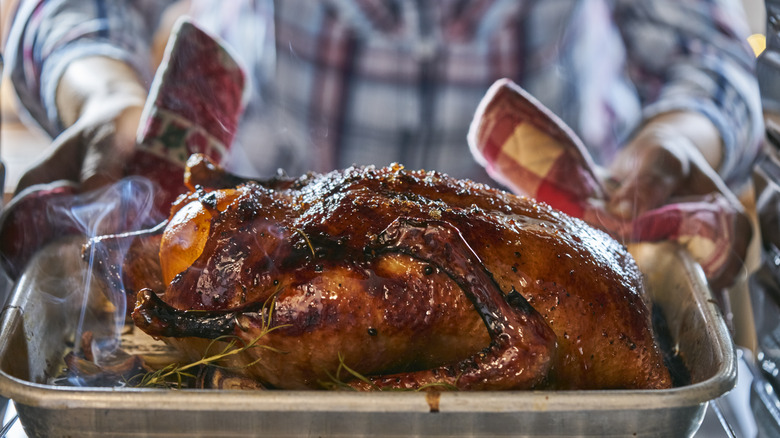
When cooking poultry, such as chicken or turkey, the juices from the bird should be clear when pierced with a fork. You can get a good idea by watching the pan. As the poultry cooks, fat and juice will appear in the bottom. When it runs clear, you'll know it's time to take the bird out. This method works best for oven-roasted dishes. If you are cooking your meat in sauce or as part of a casserole, it will be more difficult to determine if it is cooked through using this method.
Always double-check with a meat thermometer to make sure it is safe to eat. Chicken, turkey, and other poultry should be cooked to an internal temperature of 165 degrees F. Undercooked poultry can have harmful bacteria like salmonella. If you do not let the interior cook to a safe temperature, these bacteria can grow and ultimately lead to food poisoning.
6. Look at cookie edges
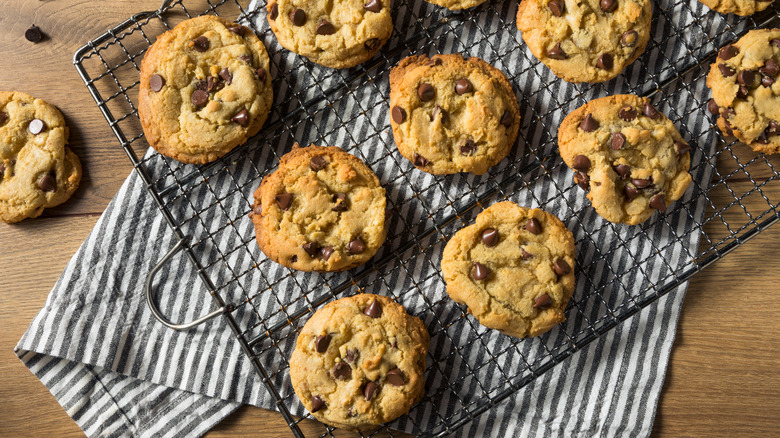
A perfectly baked cookie should have golden edges that look firm. The cookie should stand up on its own without looking dry on the top. If it starts to crackle, watch closely to avoid burning. If you like cookies with a gooey center, take them out of the oven on the earlier side, as soon as you see the edge start to form. Duff Goldman from "Ace of Cakes" recommends looking for the cookies to start developing a rich, golden color. Of course, cookies that use cocoa powder, molasses, or similar ingredients will start with a richer, darker color. This is where the reliable edge test can give you a good idea of doneness.
Crispy edges indicate it might be close to burnt while undefined edges can be a sign that it needs more time in the oven. If you notice that the edges are dark brown or black, there's a good chance that the cookie is burnt and that the bottom will be similar. Fortunately, you can turn burnt cookies into crumbles that are perfect for other tasty desserts or as ice cream topping.
7. Sniff with your nose
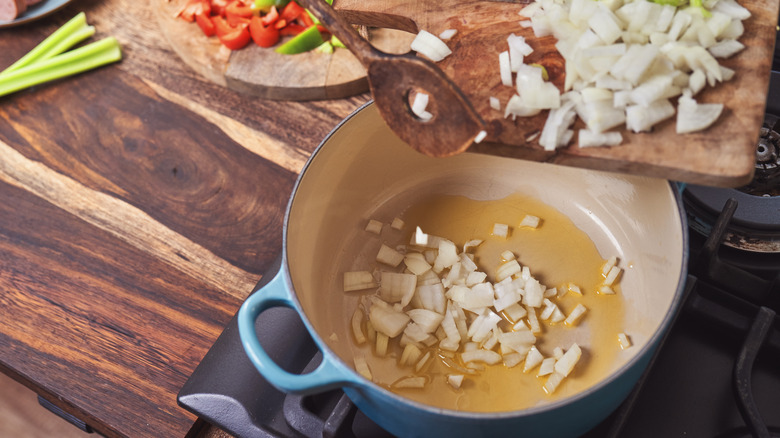
Our noses give great clues about the quality of our food. Some vegetables, such as carrots, onions, and garlic, give off strong aromas when they cook. They also have complex flavors, which make them popular in many styles of cooking. Once you begin to smell these aromatics, watch them closely to avoid burning. The exact cooking time will depend on the size of your pieces. But relying on your nose when using these ingredients is always a good idea. Aromatics should smell pleasant and flavorful. A burnt smell indicates that they have been cooking too long. You can also look at the color if you are cooking them on the stove in a pan. Common aromatics include onions and garlic, which should be translucent when cooked.
Your nose doesn't always make a reliable judgment when it comes to food safety. However, spoiled foods like milk or meat can have a distinctly unpleasant smell. You can use the expiration date plus your nose to decide if food is safe to cook and eat. It's best to ere on the side of caution when it comes to spoiled food since harmful bacteria can cause illness. Technology journal Sensors even published a paper about future food safety technology that includes artificial intelligence noses to can detect bacteria or spoiled food.
8. Look for bubbles
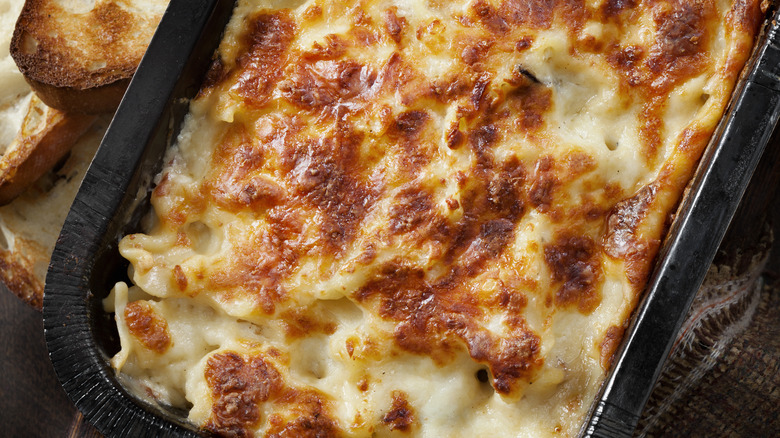
Baking something with a gooey cheesy top? Melted cheese that is just beginning to bubble is a good indication that it is close to done. Cheese can burn quickly if left in too long so watch it closely when you see bubbles start to form. This means that the cheese is melting together and will be delicious and gooey when you take it out of the oven. If you prefer a crispier cheese topping, let it cook a bit longer. Look for dark color to form, typically starting in the same places where you first see the cheese begin to bubble. If you need to bake something for a long time and don't want the top to burn, cover it with foil until the last 5 or 10 minutes of baking. This will prevent the cheese from getting direct heat until you are ready to finish the dish.
The same method applies to cheesy dishes in a pan, although the bubbles generally form on the edges rather than the top. The cheese that is closest to the heat will melt and bubble first. Dishes like quesadillas and grilled cheese can have bubbling, gooey cheese on the edges. Casseroles in the oven feature cheesy tops. Keep in mind that other ingredients in your dish might need longer cooking times, especially if you have raw meat. A meat thermometer can provide another helpful indication that your dish is ready to eat.
9. Opaque means done
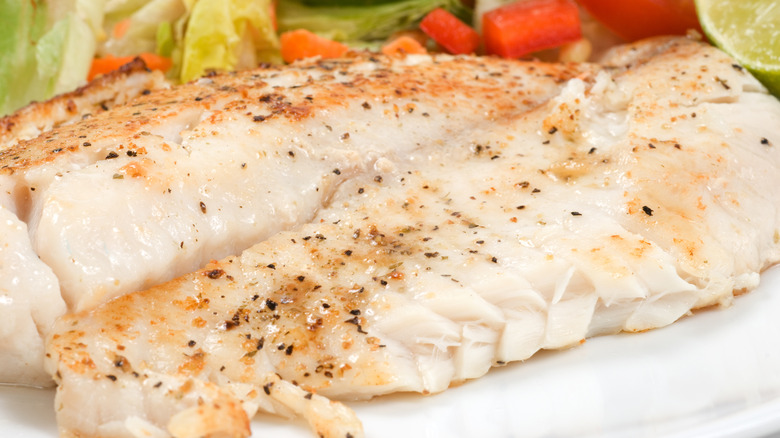
For most fish and shellfish, an opaque appearance is an indication that it is done cooking. This method works best for fish filets and steaks. You can roast these in the oven or cook them in a pan. They will appear opaque when ready regardless of your cooking method. This seared scallops recipe includes cooking the scallops in oil over high heat to create a crispy exterior. The interior of the scallops remains tender while the outside has a distinct crust. When it is cooked through, the interior should be opaque and not translucent.
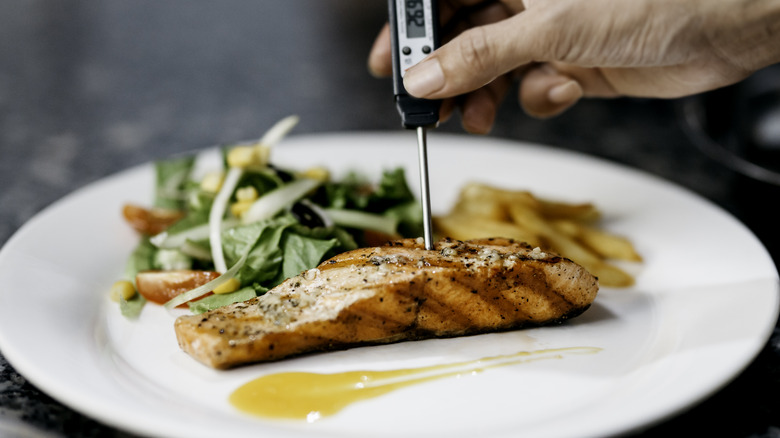
Depending on the dish, it can be tricky to see the sides of your fish clearly. Smaller or flatter pieces of fish can be harder to judge. If you are searing the sides, you might need to cut a small piece to be sure. To make sure that your fish is safe to eat, use a meat thermometer to double-check. Fish and shellfish should reach an internal temperature of 145 degrees F. Just like other cuts of meat, fish continues to cook while resting. You should remove it from the heat when it is 5 to 10 degrees shy of done and serve it once it has reached a safe temperature.
10. Enjoy flaky fish
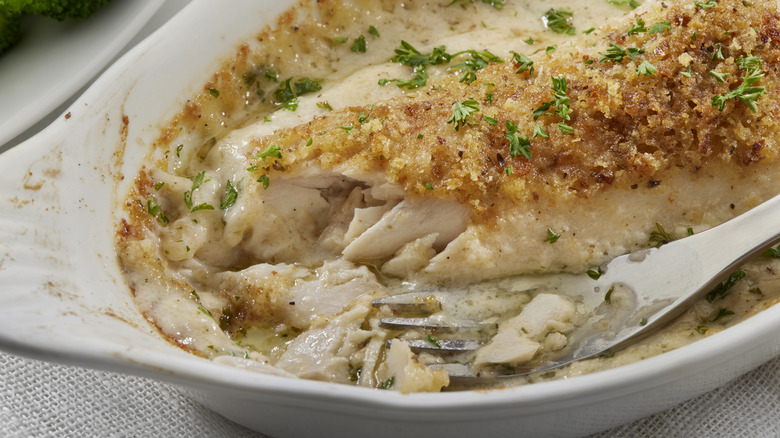
Flakiness is another sign that fish is ready to eat. It should flake easily with just a gentle pull from a fork. To use this test, pierce the fish with a fork at an angle. Test at the thickest part of the filet or steak for the most accurate results. If you twist the fork and the fish begins to come apart in flakes, it is ready to eat. Test the fish with a meat thermometer to be sure and get ready to enjoy your meal.
If the fish stays together without flaking, it needs a bit more time to cook. Overcooked fish will seem tough when you try to flake it. Watch fish closely because many types cook fast. Cooking time will vary based on the type of fish as well as the thickness of the piece. Smaller, thinner pieces cook faster than thick steaks. White fish, such as tilapia or cod, also tend to cook faster than meatier fish like tuna.
11. Stiff peaks mean perfect egg whites
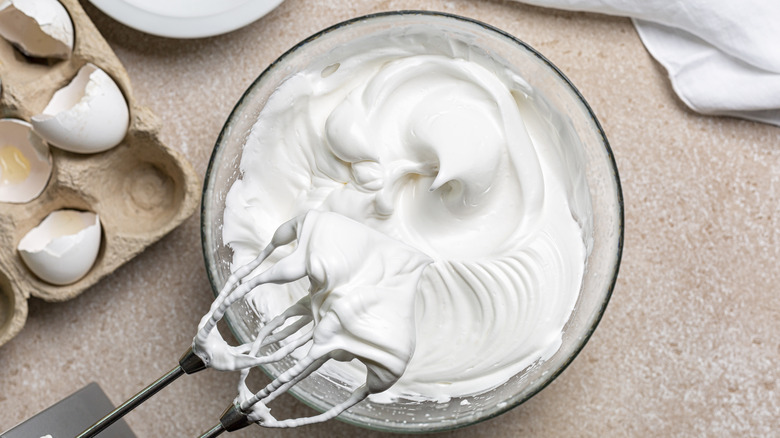
Meringues, angel food cakes, and other delicate desserts need a careful hand when whipping egg whites. Whip until you see stiff peaks form and stay, even when you pause. This indicates that the egg whites have enough air incorporated and that they are ready to use in your recipe. Most recipes call for whipped egg whites to be folded in. This takes a delicate hand to prevent them from losing their form.
When whipping egg whites, you'll see them go through a few stages. It's important to know what to look for so that you continue whipping. First, the egg whites will form soft peaks. In this stage, peaks form while you whip but droop down and disappear when you stop. Second, firm peaks form and stay in place even when you aren't actively whipping the egg whites. The final stage is stiff peaks that remain when you pause in the bowl and on the beaters themselves. When you see this, you will know that it's time to stop whipping. Overwhipped egg whites begin to separate and won't work in your light and airy dessert recipe.
12. Firm up your eggs
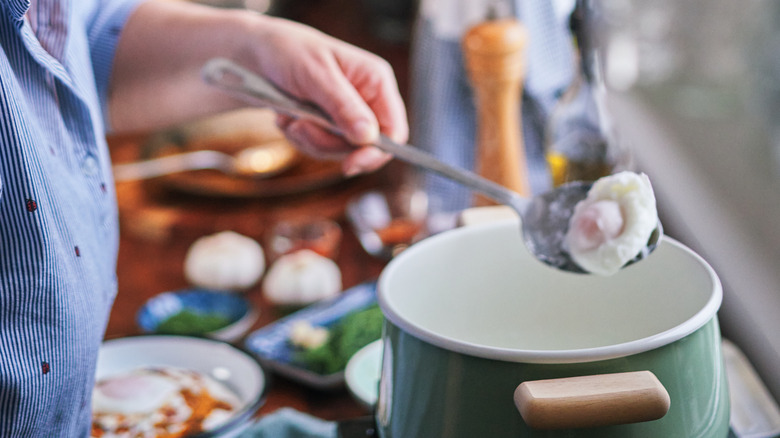
Poached eggs are cracked and cooked in boiling water to get an egg with firm whites and a soft yolk. Poached eggs should be firm to the touch, which you can measure if you remove them from the water with a slotted spoon and test their consistency. Also known as the poke test, this is a simple but effective way to test your eggs. A good poached egg has a firm exterior and a runny yolk inside. When testing, keep the egg intact and just use the exterior texture to judge its doneness. If you poke the egg and it feels too wiggly, put it back in the boiling water for another minute before testing again. If you can feel a firm yolk, your egg might be overcooked.
Make sure to test gently to avoid accidentally piercing the delicate egg. This can happen easily, especially if you are testing an egg that needs more cooking time. Using a large slotted spoon to gently scoop out the egg is the best way to handle the egg. A strainer is also a handy tool to keep the egg in place as it cooks and remove it from the water with minimal disruption. Make sure that your spoon or strainer has a rounded edge to keep from breaking the egg. Use just one finger to gently prod the egg to test for doneness.
