How To Clean A Dutch Oven With Burnt On Stains
Dutch ovens are one of the most valuable instruments you can have in a kitchen. They are heavy-duty, can go from stove to oven, and can be used for everything from making soup to deep frying. The problem is, with so much use comes some wear and tear and, inevitably, some burned-on stains.
Dutch ovens are traditionally made from seasoned cast iron, but today, they are more commonly found with an enamel coating. Popular brands such as Le Creuset, Staub, and Lodge make beautiful, well-crafted, enameled Dutch ovens. This is the type of Dutch oven we will be focusing on.
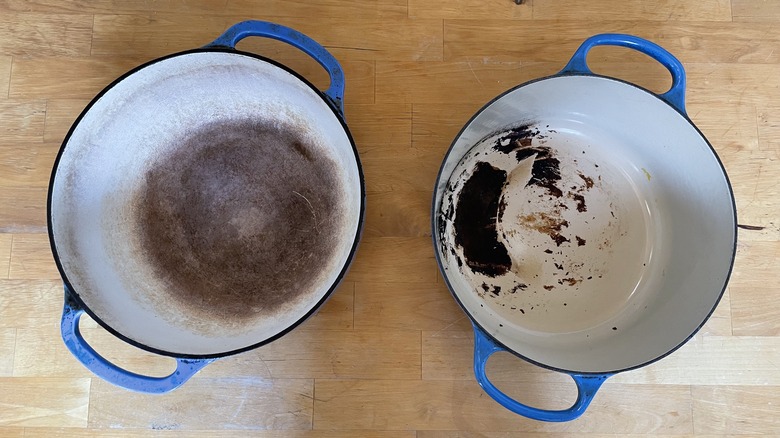
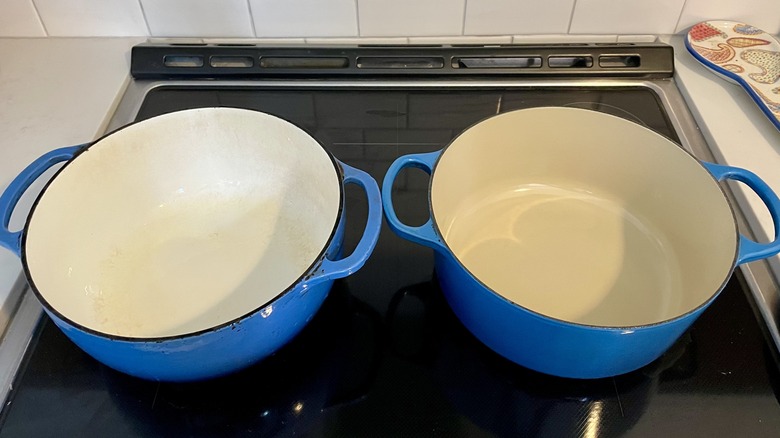
Since these pans are not cheap, you will want to keep them in as good shape as possible. Still, regular use and high temperatures can cause discoloration, which is most noticeable on light-colored enamels, such as those we will show. The staining isn't just unsightly; it can affect your ability to check for color changes in your food, impacting the final result. The good news is cleaning these pans is not difficult. Whether you are rehabbing a thrifted Dutch oven or cleaning up your tried and true one, these tips will help keep your Dutch oven looking sparkly and new.
Tools needed
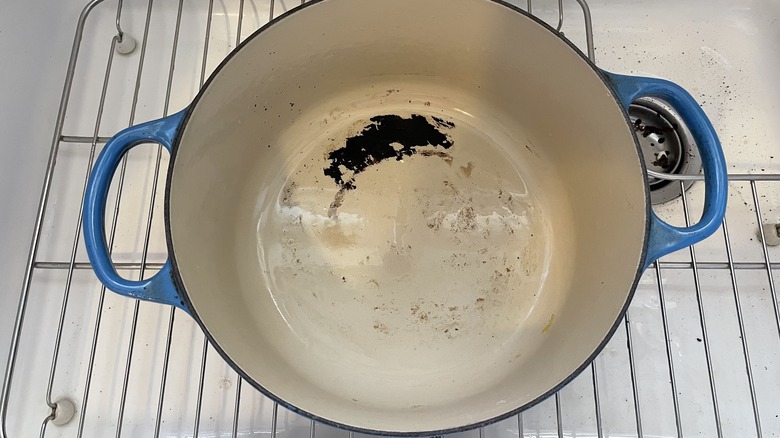
The carbonization of food primarily causes this discoloration. This basically just means burnt-on stains. For seasoned cast iron, this can be a good thing. For enameled pans, however, it is not.
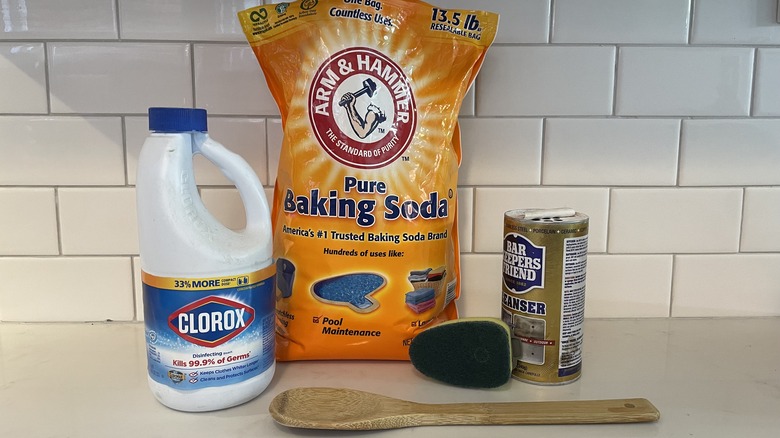
Luckily, it does not take much to clean Dutch ovens. You will need a stove, water, and baking soda. Additionally, a long wooden or plastic spoon can be useful. You will also need a rough sponge. However, do not use metal or anything too harsh for scrubbing. These will cause scratching and are not advised.
For tough stains, you will want to get some Bar Keepers Friend. We recommend the powdered version, which we have found more effective than the liquid. You will also want to get a small bottle of bleach. Finally, you will need your regular dish soap and water.
Fill your Dutch oven
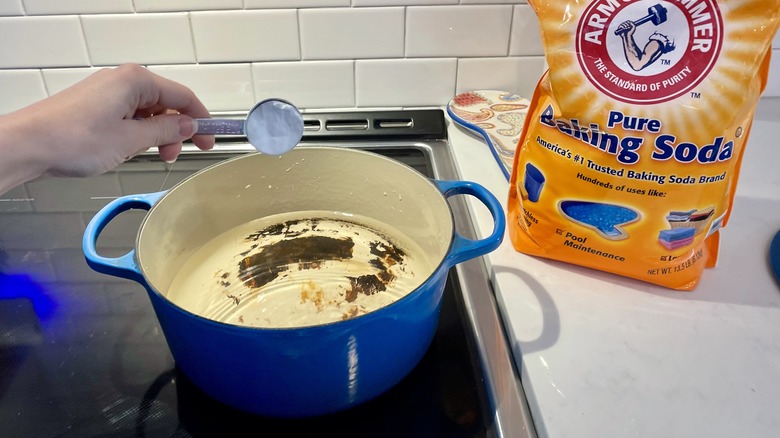
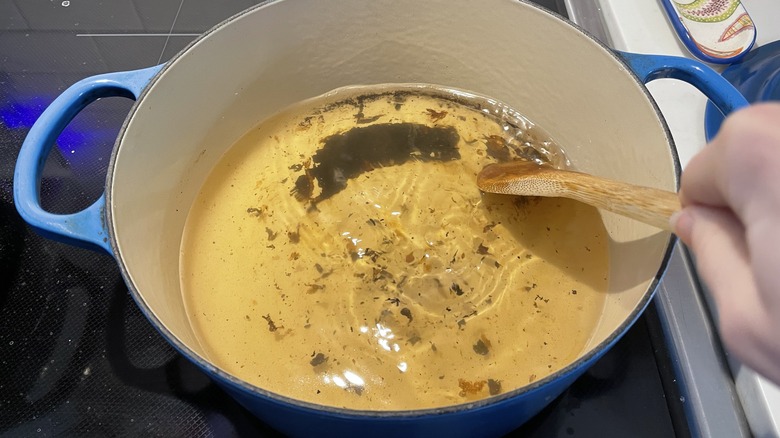
First, fill your Dutch oven with enough water to cover your staining. Then, place your Dutch oven on the stovetop. Once your oven is on the stovetop, add about two tablespoons of baking soda. As a base, the baking soda will help lift off the acidic burnt food that has baked onto the pan.
Simmer the pot
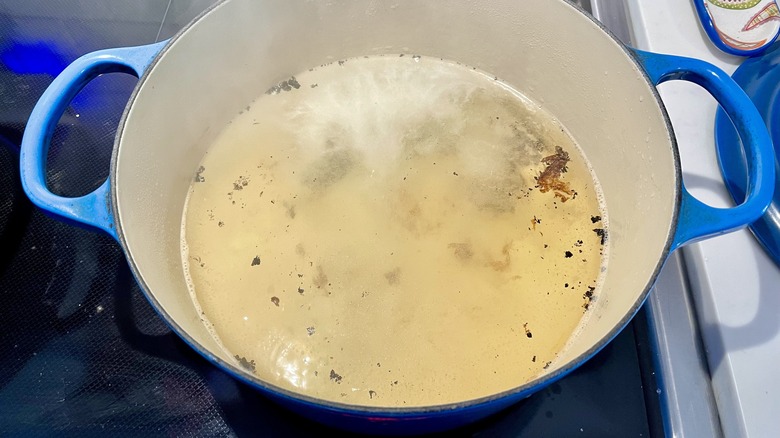
Bring the pot of water and baking soda to a boil and allow it to simmer gently for about 8 to 10 minutes. This can be done covered with the lid or uncovered. At this point, you may notice some of the burned bits flaking up naturally without any scrubbing.
Scrape gently at the stains
Turn off the heat. Take a wooden or plastic spoon and gently scrape the bottom of the pan. Do not use a metal utensil, as that will scratch the enamel.
The wooden spoon will help loosen the stuck-on food. This method is particularly effective at getting off thick and recently burned food, such as that caused by cooking at too high a heat.
Drain and cool your Dutch oven
When you are done scraping, take your pot to the sink and drain it. Let the pot sit and cool until you are able to handle it. If your oven is now stain free, skip to the wash and dry step. If not, don't worry; there are more stain removing strategies. Continue to the next step, the baking soda scrub.
Baking soda scrub
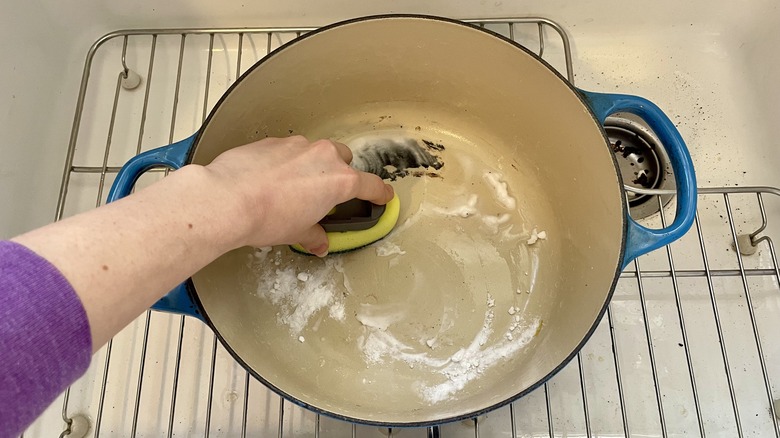
If there are still some stains, don't panic. Rinse the pot, but do not dry it. Sprinkle baking soda over the affected areas. This should make a paste with the residual water. Take the rough end of a sponge and scrub. This will take a little effort, but will loosen the residual burned food.
Turn to Bar Keepers Friend for extra stubborn stains
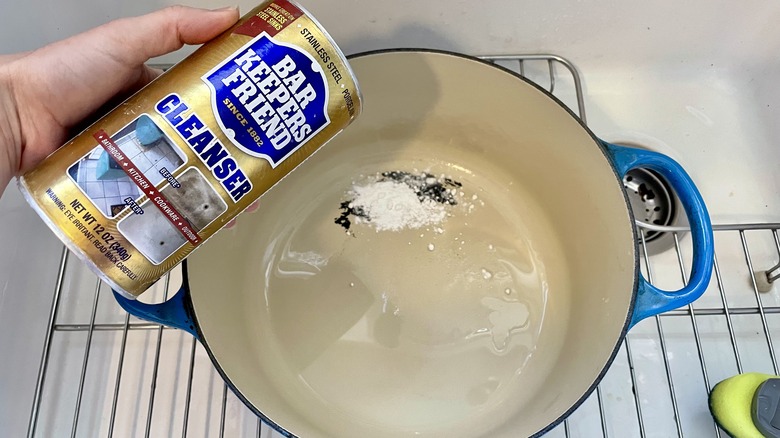
If the baking soda is also just not doing it, it is time to break out Bar Keepers Friend. Rinse your Dutch oven again, then sprinkle powdered Bar Keepers Friend on the wet Dutch oven to form a paste and scrub. This will also take a little effort, but you will find the remaining burned-on food will come loose.
Bleach the remains
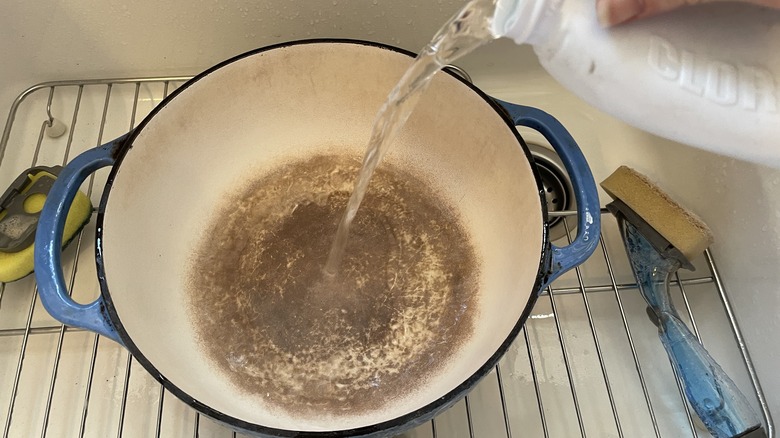
If none of the other options produce the result you would like, try bleach. We found this particularly effective for stains caused by long-term use.
If there are some stains that are just not coming out after thoroughly rinsing your Dutch oven, mix one part bleach to three parts water in your Dutch oven and let it sit for at least a few hours or even overnight. While this is safe, some may hesitate to use bleach on food surfaces. If so, skip to the next step.
It is important to note that before you use bleach, you must rinse away all other cleaners. Mixing chemicals together can have disastrous consequences. For example, mixing bleach and vinegar (or bleach and ammonia) creates poisonous chlorine gas in the air, which can cause serious and permanent lung damage.
Wash and dry
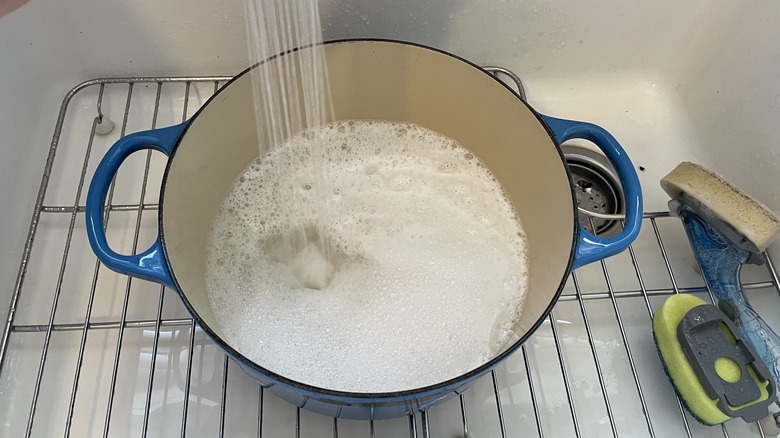
Once you have removed the stains to your satisfaction, wash and dry your Dutch oven as you would normally. Ensure you remove any remnants of baking soda, Bar Keepers Friend, and bleach.
Dutch oven maintenance
Now that you have restored your Dutch ovens to the state they deserve, it is time to ensure you keep them this way. Treat your Dutch oven kindly. They can handle high temperatures, but rapid temperature changes can cause thermal shock and cause them to crack. This means that you must not put ice-cold water into a hot Dutch oven.
Additionally, Dutch ovens hold heat well. Because of this, you do not need to set your stove to a crazy high heat, which would just lead to more burned food and stains, which will put you right back to where you started.
Finally, enamel can scratch, which will shorten the life of your Dutch oven. To avoid scratching the enamel, do not use metal cooking utensils or metal scrubbers on your Dutch oven.
Delicious Dutch oven recipes
Now that your Dutch oven is restored to a prime, clean condition, why not try one of these delicious recipes? A shallow Dutch oven is perfect for this herb-roasted beef tenderloin. Because many Dutch ovens are enameled, you don't have to worry about cooking acidic food in them, such as for this basic all-purpose tomato sauce or this classic pasta e fagioli.
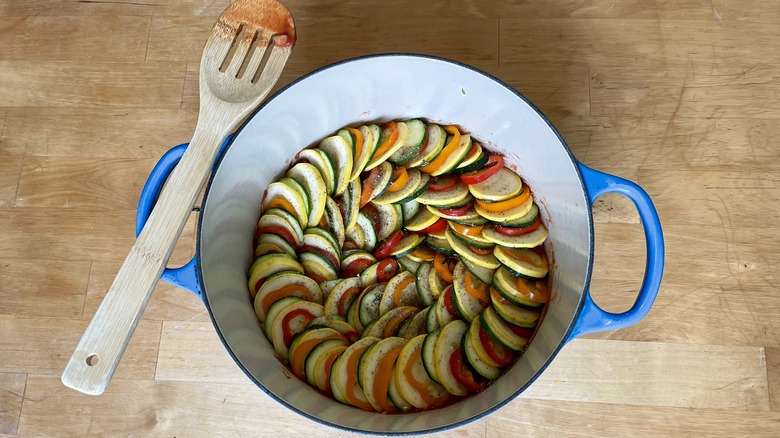
For a warm and hearty meal, try chorizo and beef chili con carne. Even recipes that don't call for a Dutch oven can benefit from one, such as this easy ratatouille pictured above.
