Why Green Olives Are Preferred For Making Olive Oil
There are a staggering number of olive varieties grown throughout the world, but green olives are typically the top choice for olive oil for several reasons.
Read MoreThere are a staggering number of olive varieties grown throughout the world, but green olives are typically the top choice for olive oil for several reasons.
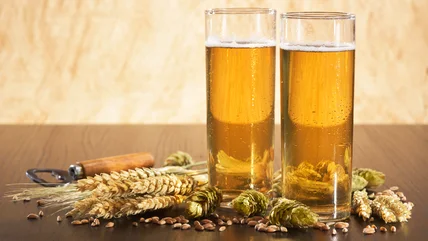
Read MoreKölsch and pilsner may look the same but there are major differences. From the fermenting process to their names, here's why you shouldn't confuse the two.
Read MoreYou might look at Chick-fil-A sauce and think of it as overly complicated, but once you learn what's in it, you'll see that it's incredibly simple.
Read MoreIf you thought that all fizzy water is the same, then think again. Seltzer, club soda, and tonic water are each ideal for different cocktails.
Read MoreKölsch and pilsner may look the same but there are major differences. From the fermenting process to their names, here's why you shouldn't confuse the two.
Read MoreYou might look at Chick-fil-A sauce and think of it as overly complicated, but once you learn what's in it, you'll see that it's incredibly simple.
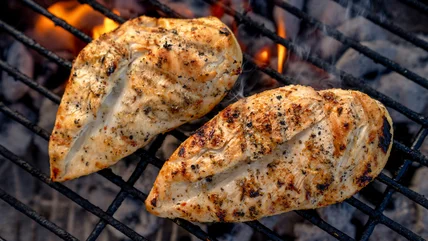
Read MoreGet your grilled chicken game on point with these important tips, from marinades, sauces, and brines to proper temperature regulation and much more.
Read MoreFans of sparkling wine know that the term "Champagne" is not to be used lightly. Costco's Champagne is tasty and affordable, but is it too good to be true?
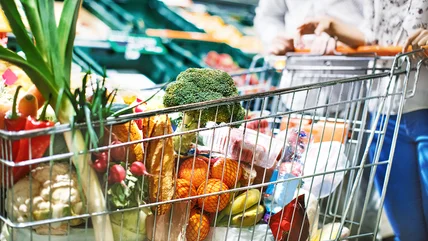
Read MoreIf you're buying loads of veggies only to find them moldy, wilted, or rotten just days later, these tips -- from fridge temps to correct packaging -- will help.
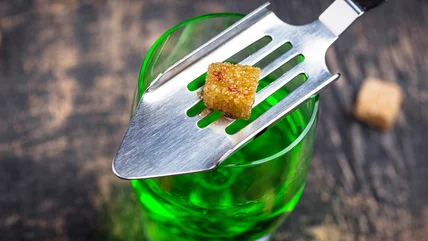
Read MoreEach emerald glass of absinthe comes with a sensational backstory, but there's one myth about the vintage drink that you can dismiss outright.
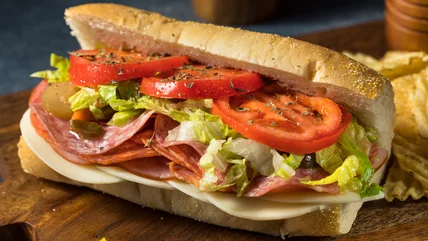
Read MoreItalian subs have been served in the U.S. for over a century, and stellar options are available across the country. Here are the best, according to customers.
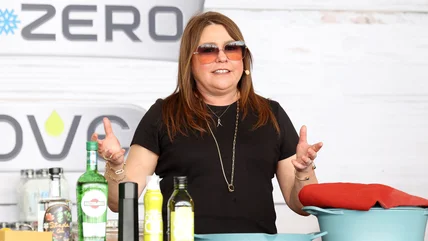
Read MoreIf you've misplaced your rolling pin or don't even own one, celebrity chef and entrepreneur Rachael Ray has a genius substitution you should use.
Read MoreIf you find yourself overwhelmed in the wine aisle, here are a few tips that Trader Joe's experts have shared to make your shopping trip as smooth as possible.
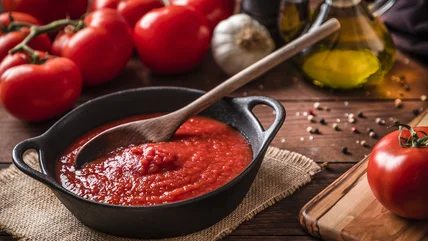
Read MoreIncorporating butter into your pasta sauce is a great way to give it some richness, but you need to make sure that you add it at the right time.
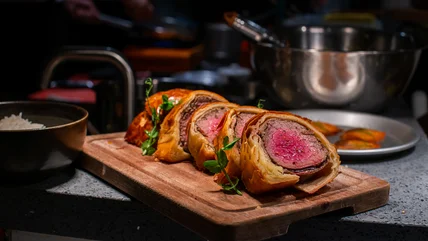
Read MoreIf you're a fan of beef Wellington, you're likely aware of how difficult it can be to prepare. Luckily, you can elevate the dish with one important adjustment.
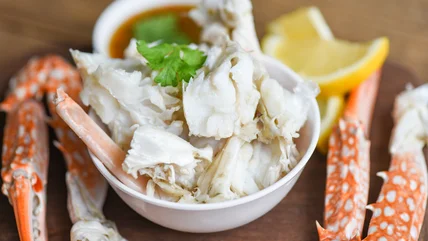
Read MoreYou may be aware that there are many different types of crabs swimming in the sea, but do you know the difference between white and brown crab meat?
Read MoreMembers love Costco for its focus on affordability, but the bulk retailer sells a number of high-end wine sets that are exorbitantly priced,
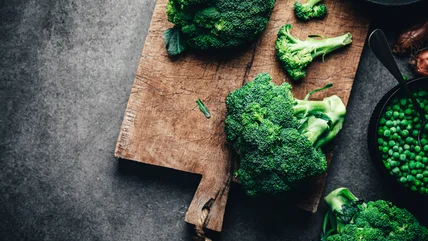
Read MoreThink broccoli is boring? From flavor-infused butter to firing up the grill, we collected our favorite chef tips for upgrading your broccoli.
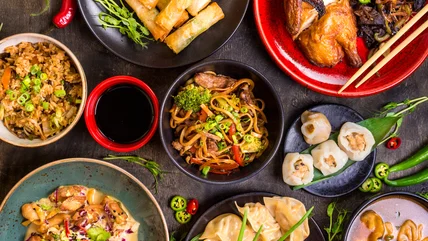
Read MoreClaims that MSG (monosodium glutamate), common in Chinese food, causes adverse health effects are overblown and rooted in bad research and xenophobia.
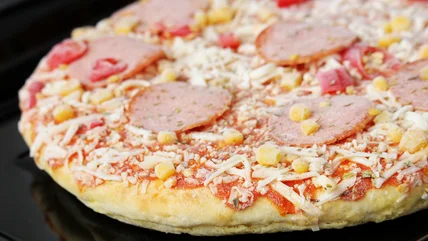
Read MoreFrozen pizzas may not feel all that fancy, but a few easy hacks can make all the difference. From fresh toppings to fire broiling, we've got you covered.
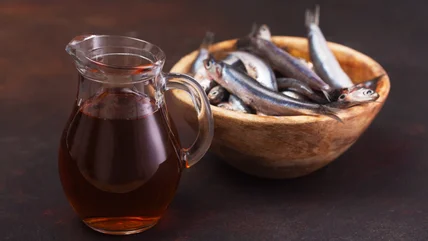
Read MoreEven for Ancient Romans, meals weren't complete without condiments, and there was one seriously pungent sauce made with fish that they ate alongside everything.
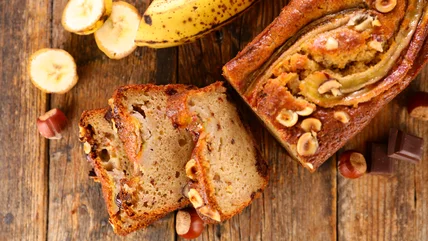
Read MoreFor impossibly soft, tender, and moist banana bread, there's one key ingredient you're missing. Add this popular veggie to your recipe for the best loaf yet.
Read MoreIf you're trying to decide which steakhouse to dine at for your next celebratory dinner or date night, here's what you can expect from these popular US chains.
Read MoreWith aromatic juniper and bubbly tonic a gin and tonic is the perfect summer drink. Here's why drinking it in a balloon-shaped glass elevates the experience.
Read MoreIf you're cooking at high altitude while traveling -- or even when moving to a higher-elevation home -- there are some important changes to keep in mind.
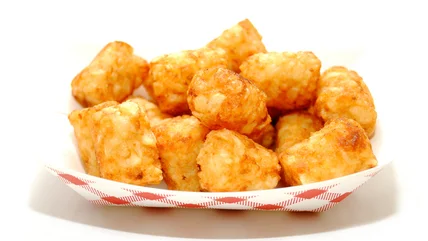
Read MoreWhether you are cooking a hearty casserole or putting a twist on a classic, frozen tater tots are the perfect canvas for culinary experimentation.
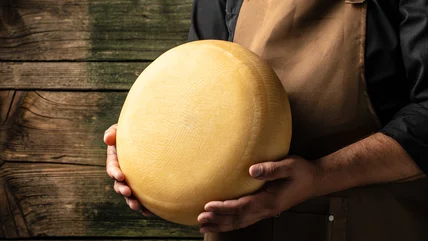
Read MoreCheese wheels aren't just created for the aesthetic. Cheese has been created and stored in wheels for centuries because science backs the method up.
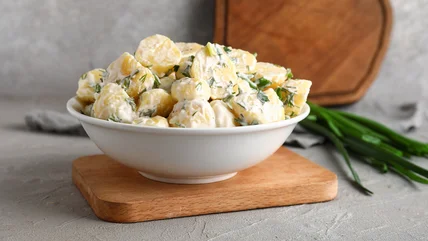
Read MoreTransform your leftover potato salad into a crunchy, tasty creation with the help of an air fryer. Here's how to do it -- and why this method works so well.
Read MoreMany adults love to drink around the world when they visit Epcot's World Showcase and there are delicious and thematic options at every pavilion, year-round!
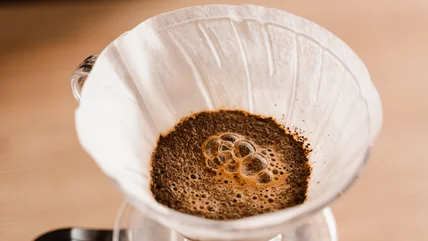
Read MorePre-wetting your coffee filters can lead to a smoother, better-tasting cup of coffee -- and it can even help prevent some logistical hiccups.
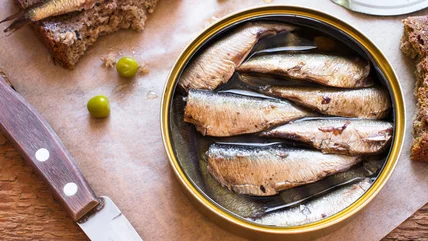
Read MoreA simple can of sardines presents a wide world of snacking possibility. This tips will turn your tinned fish into all types of tasty treats.
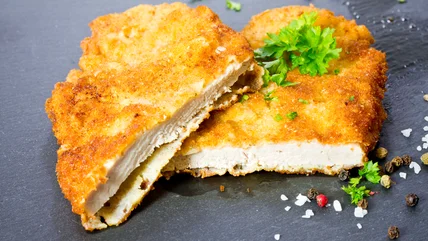
Read MoreOne simple mistake is causing your chicken cutlets to burn in the cooking process -- and it's probably the opposite of what you think it is.
Read MoreIf you've ever ruined a dish with an accidental drenching of olive oil, there's a straightforward hack that can save you from future disasters.
Read More