10 Tips You Need When Baking The Perfect Red Velvet Cake
The iconic red velvet cake has gone through quite a few makeovers throughout the last hundred or so years: what began as a naturally-colored cake made with beets in the early 1900s has now been all but replaced with a mainstream version that relies primarily on food coloring. Without beets, red velvet cake was also made by an accidental reaction of acid (buttermilk and/or vinegar) and untreated cocoa powder. This natural reaction creates a much more subtle red color, which eventually gave way to the modern consumer obsession with a chromatic red hue.
As a flavor, red velvet has earned its spot as a cult classic, especially over the last two decades. Appearing in everything from frozen coffees to Oreos to lip gloss, the flavor remains timeless with home bakers and consumers alike. But sometimes, nothing hits like a big slice of the original: red velvet cake with tangy cream cheese frosting. So how do you make the best red velvet cake possible? You find a reliable recipe, follow it precisely, and keep temperature and time in mind when assembling. We've got all the best advice and tips for making a perfect red velvet cake so you can skip the boxed mix and bake something truly special, with confidence.
Get organized and let ingredients come to room temperature

Step one for a successful red velvet cake is to find and review your recipe and make sure you have everything you need. If your recipe requires room-temperature eggs, butter, and buttermilk to create a smooth batter, make sure you give them time to warm up from the fridge. Eggs take about 30 minutes to come to room temperature, but to speed things up, you can place them in a bowl of warm water for a few minutes. Milk will take a bit of time as well, so think ahead and take the ingredients out up to an hour before starting your bake.
Following the French cooking method of mise en place is always advisable, meaning to measure each of your ingredients into separate containers or bowls and have them ready to go when you start cooking. You can also easily count your ingredients when they are in their own vessels, then cross-check the recipe and make sure the total matches. This may take a tiny bit more of your time, but it's way better to prepare and double-check things rather than bake a cake that doesn't come out correctly!
Weigh ingredients on a scale
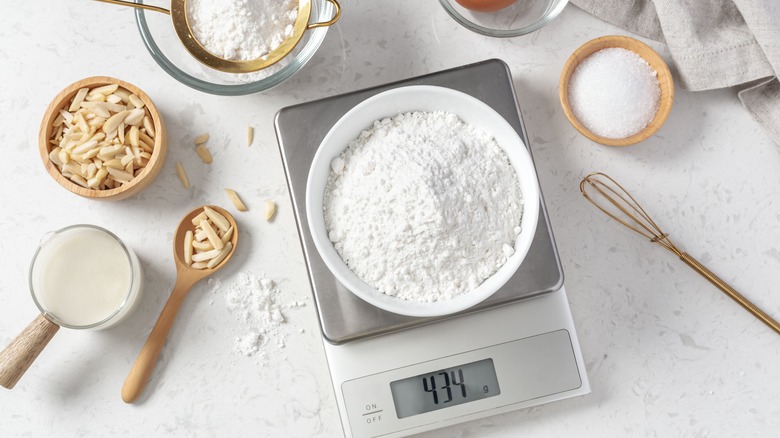
For temperamental recipes that are prone to failure, one of the smartest things you can do is eliminate any guesswork that may come in during measuring. Nobody wants a sunken cake, and the easiest way to avoid one is to make sure you're measuring correctly. Did you know everyone measures flour differently, and while your cup may measure 125 grams, your best friend's cup of flour may come in at 135 grams? This also pertains to sugar, which is equally important to measure accurately. These small variations can really affect pastries and cakes, which can intimidate those who are already nervous about baking. Too much flour? Expect a drier cake. Too much sugar? Expect crisp, overcooked edges and more browning than you'd like.
While a scale can have a slight learning curve, it's just there to make sure you are recreating the exact recipe that you are working with, as the recipe author intended. Scales can be ordered online for as cheap as $20, and owning one will open your world up to all types of recipes aside from cake. Once you start using one, you'll see how helpful it can be and you'll never bake without it again.
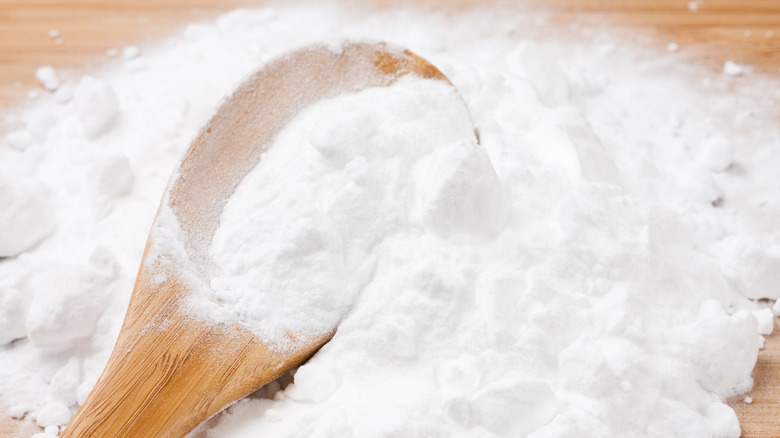
Use cake flour for a light crumb

Half the battle for an excellent red velvet cake is using the correct ingredients, like cake flour. Cake flour is a specialty ingredient that you may not have on hand, but if you want the best possible cake, you should consider using it. It can be found in most grocery stores, but unlike all-purpose flour, it may be sold in a box on the shelf instead of a bag. Cake flour is different from other flours because it's milled more finely, giving it a lighter texture. It's made from soft wheat rather than hard wheat, which would be more helpful when making something like sourdough bread.
Think of it this way: a cake recipe requires way less mixing and kneading than a bread recipe. When baking cakes, always avoid over-mixing and stop stirring once the batter is fully combined and no flour streaks remain. The more you mix, the more gluten forms, and the tougher the final cake will be. Cake flour gives you an upper hand because it has less protein content overall, and therefore, it can't form as strong of a gluten network as something like bread flour can. There's a reason all of these types of flours exist, so it's helpful to know why when it's time to use them.
Utilize food coloring for a brighter pop
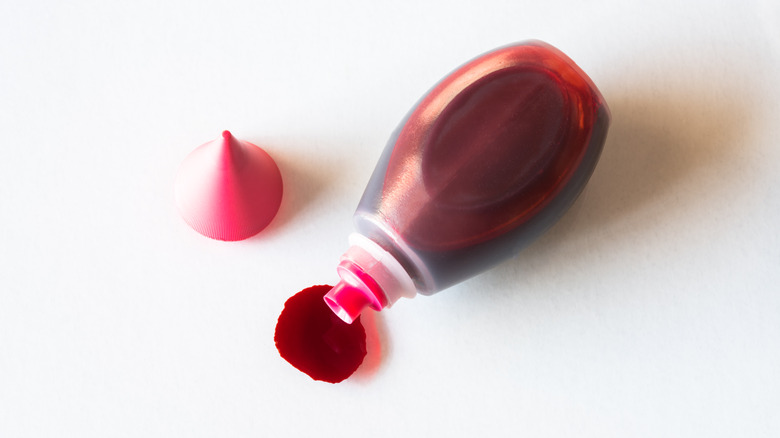
Red velvet cake's signature color originally came from beet juice, which was a very popular colorant (especially in the South) before artificial food colorings were invented. Beet juice can still work if you want to create a naturally-colored red velvet cake, but if you want to make something vibrant that truly lives up to the namesake, you'll probably want a bottle of red food coloring.
While it's not always natural, food coloring is much more reliable than beet juice for a bright red color that won't fade after baking. Try using a gel coloring, which packs a colorful punch in a small quantity. Liquid food colorings will work perfectly too, but may require a larger amount. At the end of the day, red velvet cake is simply a chocolate cake that has been dyed red. Even if you choose not to use food coloring, the cake will taste exactly the same — but it might trick your brain into thinking it's different!
Check your baking soda and powder
If you don't use your baking soda or powder often, it might be time to check the expiration date. Past its labeled shelf life, baking soda will not react with ingredients and therefore will not leaven your baked goods, sometimes leaving you with flat cakes and strange looking cookies. Baking powder will lose its lifting power, leaving your cakes helplessly squat and dense in their pans.
When you're using baking soda for baked goods, never use the opened container in your fridge or freezer that is there to absorb foul odors. Baking soda for consumption should always be kept in a lidded container and can be left in the pantry as long as it's covered tightly. It usually lasts 6 months after opening, but if you find recipes aren't coming out how they usually do, it may be time to toss the baking soda or powder and grab a fresh one. Wanna test it to be sure? Add half a teaspoon of baking soda to a cup of warm water with a little vinegar. If it gets bubbly, it's still alive and suitable for baking.
Use unsweetened cocoa powder

Rule of thumb says whenever you don't need extra sweetness, don't use sweetened cocoa powder. This means cakes, cookies, and anything else already containing sugar in the recipe most likely don't need additional sweetness from cocoa. One exception? Hot chocolate. But since we aren't trying to make a warm mug of chocolate to wrap our hands around, stick to the unsweetened kind. If sweetened cocoa is all you have on hand, it'll work in a pinch, but it might not produce the rich chocolate flavor profile you're aiming for. Cocoa powder itself is one of the most important ingredients of red velvet cake. Without cocoa, it would just be vanilla flavored.
Decades ago, bakers first noticed a red color in their cake batter from a natural chemical reaction. When raw cocoa powder comes into contact with acid — in this case, acid from vinegar or buttermilk — it will slightly change the hue of the batter to a deep, brick red tone. This is one way to make a "naturally colored" red velvet cake, but the color is very muted and not vibrant. You don't have to worry about this too much, because the cocoa you'll find in stores today is not raw, and therefore will not react with acid.
Buttermilk makes for a moister cake
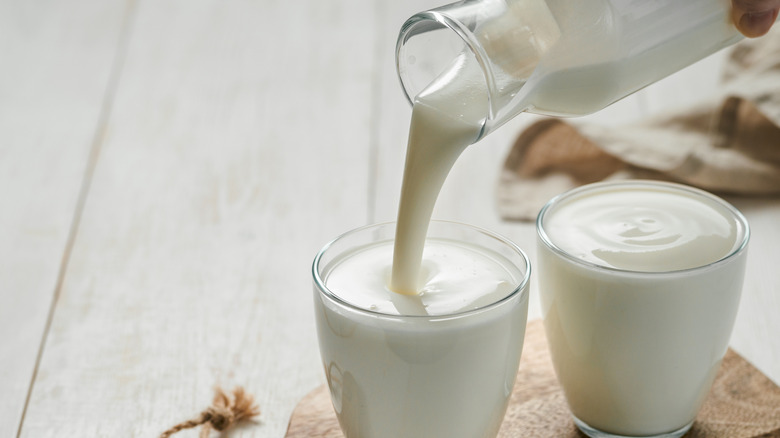
Southern recipes often use buttermilk (biscuits and gravy, anyone?), and red velvet cake can get a good boost of moisture from it. When researching recipes, don't be surprised to find a lot of red velvet cake uses buttermilk. The subtle tangy flavor can counter some of the sweetness of the cake and frosting, and the natural acidity further helps lift the cake by reacting with baking soda. Not only does it help with a rise, but it guarantees a tender cake thanks to its ability to break down gluten.
Lastly, buttermilk's acidity helps lift the cake by reacting with baking soda. Given all of these properties that benefit cakes specifically, it's a great idea to find a classic recipe with buttermilk. Not to fear, though — you can use regular milk in your cakes and they will turn out just as good (as long as the recipe you're following tells you to do so).
Try cake strips for even layers
Using cake bands or strips to insulate your cake layers can promote even baking, leaving you with a flatter cake that doesn't dome as much (perfect for stacking). These should be available in culinary stores, or online at any specialty baking retailer. Using cake strips is really simple: wrap one around a cake pan and secure it to the correct size. Soak the strip in water for a minute, then ring out excess water and place it on the cake pan right before baking. Water transmits heat more evenly, which is why desserts that are prone to collapsing before setting (like cheesecakes and crème brûlées) are often baked in a water bath. A more even transmission of heat means a more evenly baked cake, which is good not only for textural reasons but also for cake decorating.
If you don't want to buy any more baking equipment, there is a DIY method for making homemade cake strips. Start by tearing a long portion of foil and placing it on the counter. Wet some paper towels and ring them out, then fold them into skinny 2-inch wide strips. Enclose these damp paper towels in the aluminum foil entirely and wrap them around the cake pans — they will work just as well as the real thing, they're just not reusable.
Choose the right frosting
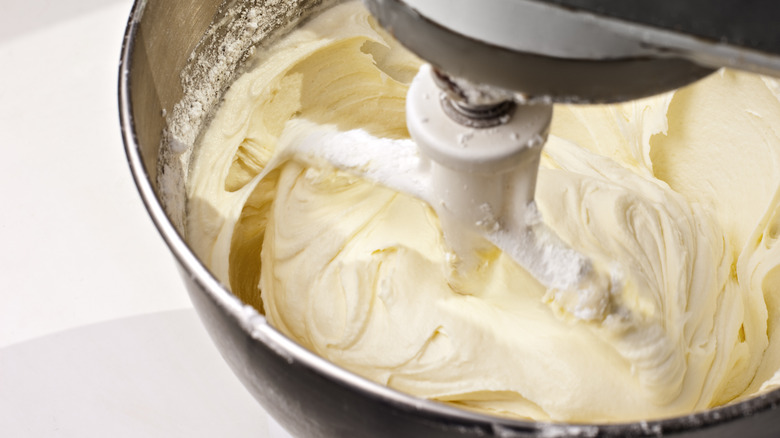
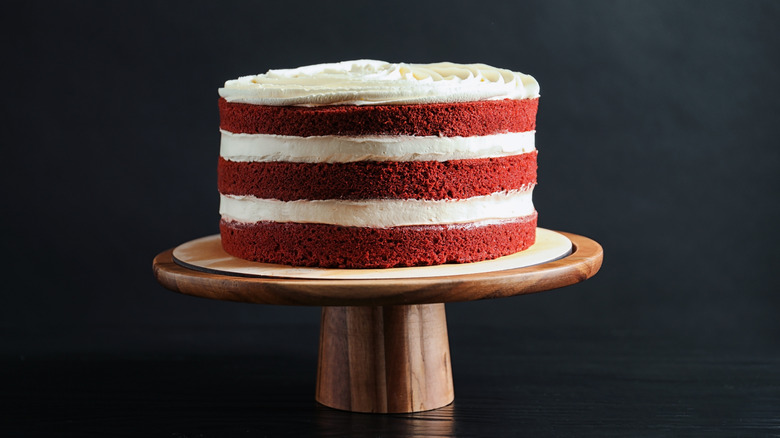
When assembling a layered red velvet cake, you'll need a stiff cream cheese frosting. Cream cheese frostings tend to be on the softer side, since it's softer than butter even when chilled, but adding extra powdered sugar will help stiffen it. If you use a frosting that is too soft, the cake won't stand upright and it will begin oozing out of the stacked layers, even if you try to chill it. If the cakes are denser and heavier than the frosting, it's going to weigh it down. If you're assembling a really tall cake, you may want to consider using a tool called cake dowels for extra support.
If you aren't making a layer cake and have instead opted for something like a bundt cake, cupcake, or even a donut, you have a little more flexibility when choosing toppings. A cream cheese glaze would be perfect for dripping down the sides of a bundt, and if you're making a single-layer "snacking" cake, you could even try a mascarpone or yogurt frosting instead of cream cheese. Since red velvet cake is typically on the sweeter side, it's usually best to complement it with a tangy frosting, no matter what shape or format it ends up in.
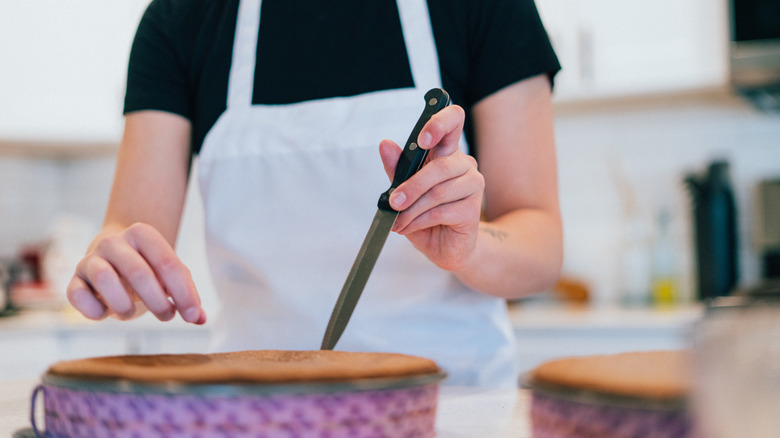
Patience is key
With all cakes and pastries, you'll need a little time and patience. They can be challenging, especially if it's your first time baking one, so pick a time that you don't have to rush through the process. Cooling times are not optional, especially when assembling multi-layered cakes or anything getting decorated with frosting, or even a glaze. Acting prematurely will leave your topping sliding off the sides of the warm cake, and you'll have to start over. Professional bakers often bake their cakes a day in advance, cool them overnight, and assemble them the next day for extra safety.
It's usually recommended to chill cakes until serving time, then let them come to room temperature for a short period before slicing. Following the rules may seem restrictive, but with time you will develop a further understanding and it will no longer feel that way. If you ever fail at baking, don't put yourself down — you've had a learning experience that you can carry into your next attempt, which should be a little less nerve-wracking. If you're looking for even more advice on cake baking, be sure to check out more tips from Queen Martha herself.