The Myth And Mystery Behind The Invention Of Italian Pasta
Many believe that Marco Polo introduced pasta to Italy after encountering noodles during his 13th-century travels to China, yet this narrative is incorrect.
Read MoreMany believe that Marco Polo introduced pasta to Italy after encountering noodles during his 13th-century travels to China, yet this narrative is incorrect.
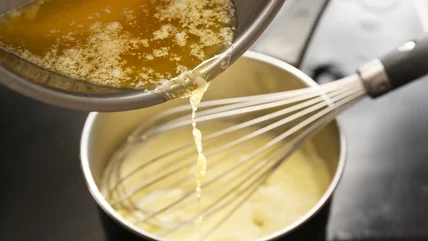
Read MoreWe explore the intertwined legacy and unique flavors of French culinary icons, hollandaise and béarnaise sauces, unveiling their rich heritages and uses.
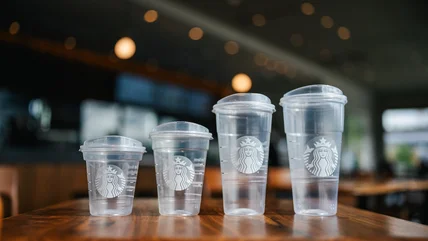
Read MoreIn an attempt to become a more resource-positive company, Starbucks will be introducing new cups that use up to 20% less plastic than its current cold cups.
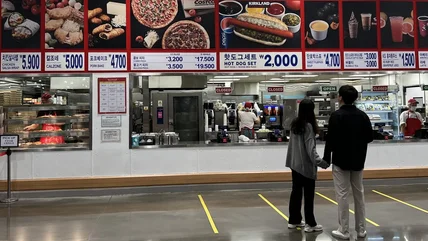
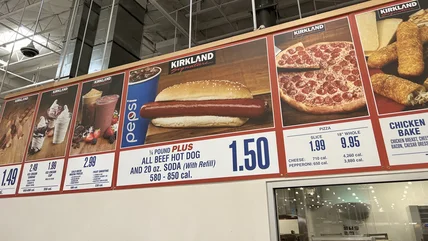
Read MoreWhile the staple hot dog remains consistent across Costco locations worldwide, Korea's Costco food court offers lots of delicious dishes that the U.S. doesn't.
Read MoreWe explore the intertwined legacy and unique flavors of French culinary icons, hollandaise and béarnaise sauces, unveiling their rich heritages and uses.
Read MoreIn an attempt to become a more resource-positive company, Starbucks will be introducing new cups that use up to 20% less plastic than its current cold cups.
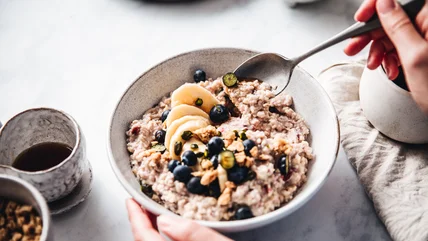
Read MoreThink oatmeal is bland? We share our favorite flavor hacks, from melted butter to rich chocolate. Your breakfast will never be the same again.
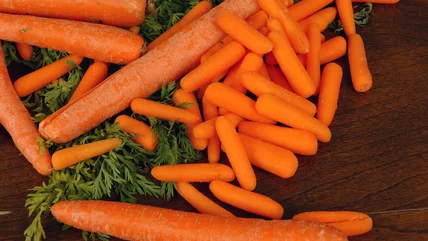
Read MoreBaby carrots may seem like they're the same as regular carrots, but they're too different to swap in a recipe. You should always stick with the real deal.
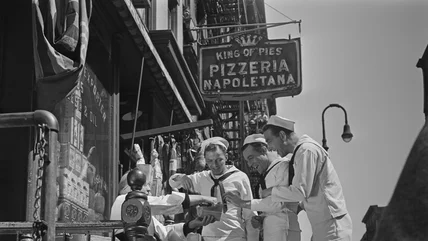
Read MoreEveryone loves pizza and some of the original pizzerias in the U.S. are still around. Take a look at the oldest pizzerias where you can still grab a slice.
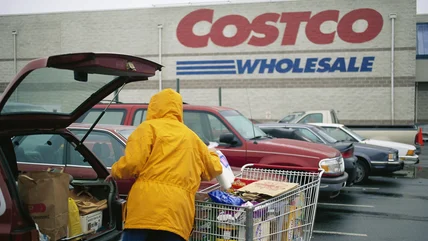
Read MoreThere is no other retailer quite like Costco, and that extends to its "left in lot" policy. The store goes above and beyond if you leave a purchase behind.
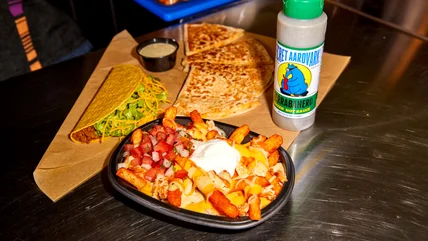
Read MoreNacho Fries are back at Taco Bell, this time with an extra spicy twist. This fan-favorite menu item is staying longer than ever, but it won't last forever.
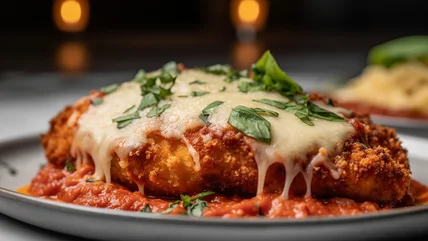
Read MoreMario Carbone, chef and co-founder of the beloved Carbone restaurant, has mastered the art of the perfect chicken parmesan. With his advice, now you can, too.
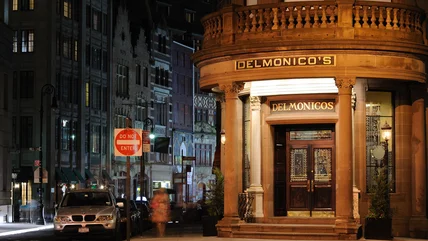
Read MoreDelmonico's -- which many consider to be America's first fine dining restaurant -- still stands today, and laid the foundation for modern U.S. restaurants.
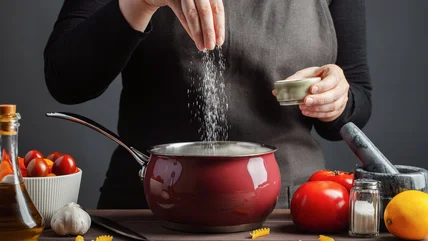
Read MoreSalting your pasta water is more than just a light suggestion -- it makes a major difference in the taste of the dish. Here's how much to actually add!
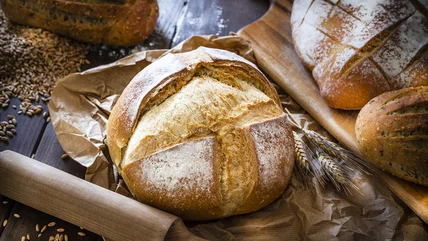
Read MoreThere's nothing worse than laborious homemade bread turning stale, so use these tips and tools to help your bread last for a week or even a few months.
Read MoreCanned tuna might seem bland, but it doesn't take much to elevate it. From diced veggies to colorful condiments, these are the best ways to upgrade your tuna.
Read MoreHave you heard about the ultimate Costco food court experience, the Jochizza? It's a daring, three-in-one secret menu hack that's a feast for the adventurous.
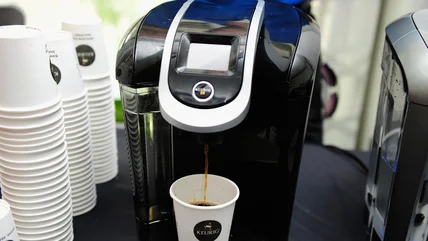
Read MoreIf you have a Keurig machine, you've probably been using it to make coffee. There's no need to limit yourself - why not try one of its other handy uses?
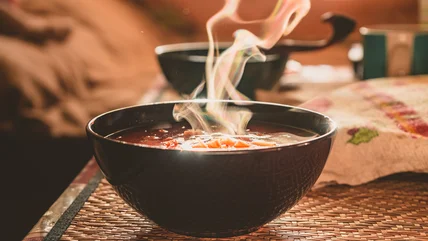
Read MoreIt's tempting to dig into hot food as soon as it comes off the stove or out of the oven, but you could regret it. Here's why it's best to wait a few minutes.
Read MoreAfter years of financial hardship, Red Lobster is contemplating filing for bankruptcy. As it turns out, it might just be Endless Shrimp's fault.
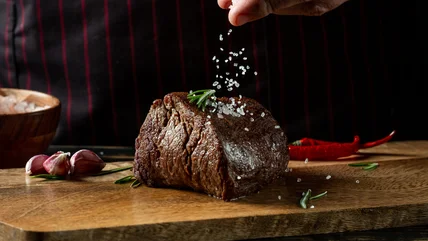
Read MoreWhen preparing steak, seasoning the meat is one of the most important steps. You probably haven't seasoned your steak like this, though - and you should.
Read MoreAndre the Giant was known for many things, including a larger-than-life stature, on-screen antics, and drinking quantities that surpassed any of his friends.
Read MoreWhen it comes to eggs, you can't have too many tricks up your sleeve. Jacques Pépin's spin hack quickly tells you whether your eggs are boiled or still raw.
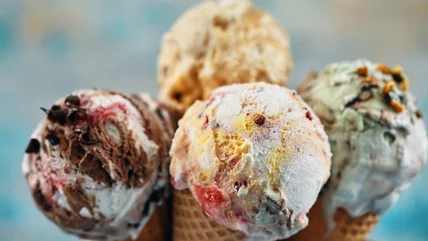
Read MoreWho isn't a little bummed out when a favorite ice cream flavor gets booted? Here's a bunch of Häagen-Dazs flavors that will likely never hit your tongue again.
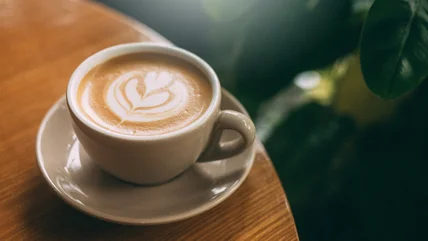
Read MoreThe reason you won't see any self-respecting Italian ordering a cappuccino past noon is that the amount of milk in a cappuccino is believed to hinder digestion.
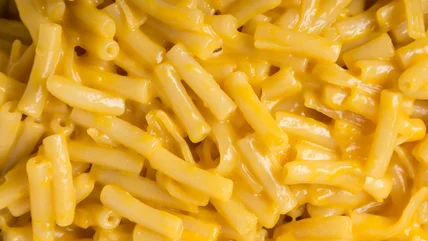
Read MoreThe most noticeable impact of incorporating egg yolks into boxed mac and cheese is the immediate thickening of the sauce, which enhances creaminess.
Read MoreSee the device Alton Brown's prefers for his perfect morning brew, and why this stow-able, affordable gadget earns his praise over pricier machines.
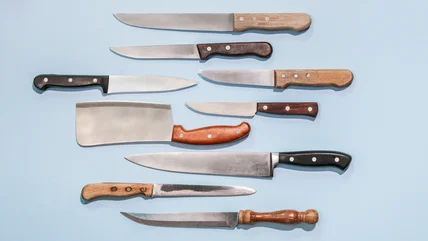
Read MoreChef James Dumapit of Bar Miller in NYC is an expert at kitchen knife maintenance. To keep your knives at their sharpest, be sure to follow his advice.
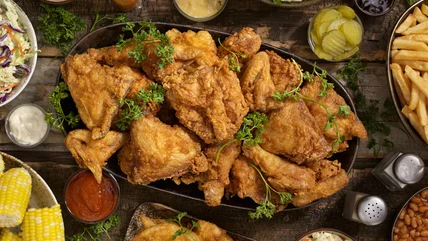
Read MoreFor tender, flavorful, and juicy fried chicken, pickle juice is your new best friend. Here are a few reasons why this marinade is so incredibly delicious.
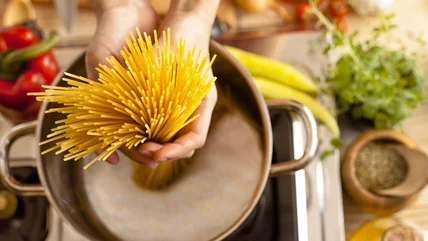
Read MoreEveryone knows how to make spaghetti, but it's time to take this ubiquitous pasta cut from good to absolutely stellar. These tips will help you.
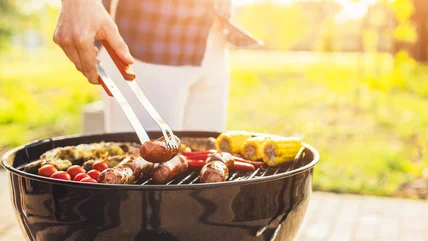
Read MoreGrilling up a great meal starts long before the meat hits the heat. That's why it's important to think twice about which starter to use on a charcoal grill.
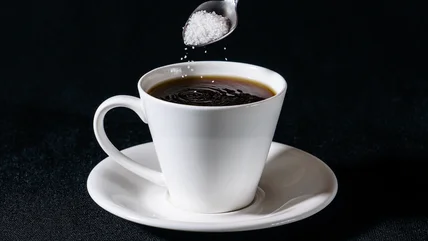
Read MoreThere's a surprising solution to a bitter cup of coffee: Salt. Instead of reaching for sugar, you can grab a dash of salt to smooth things out. Here's why.
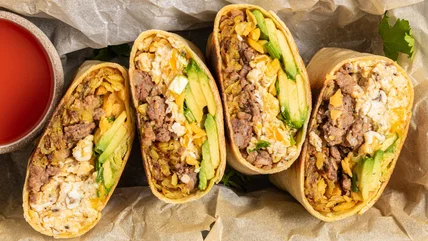
Read MoreHomemade hash browns add crunch to every bite of these crispy, cheesy, customizable breakfast burritos with eggs, sausage, and avocado.
Read More