15 Aluminum Foil Hacks For Hassle-Free Cooking
Keeping aluminum foil on hand is a must in the kitchen. It is an essential kitchen staple that serves many culinary purposes, from food prep and storage to cooking and cleanup. Aluminum foil is resilient enough to withstand both low freezer and high oven temperatures. The Reynolds brand of aluminum foil, for instance, can stand up to temperatures from -40 degrees Fahrenheit to 650 degrees Fahrenheit, making it ideal for baking or freezing. Additionally, aluminum foil is completely safe to use around the kitchen. The International Aluminum Institute has recognized aluminum foil as food safe since very little aluminum is transferred onto food and is absorbed through digestion.
Beyond the oven, aluminum foil has so many uses in the culinary world that you may not have discovered yet. Not only does it make cooking hassle-free and cleanup a breeze, but aluminum foil also has some surprising uses to make life easier in the kitchen. Try these aluminum foil kitchen hacks for yourself, and you will be using this kitchen staple for more than just baking.
1. Line cookware for easy cleanup
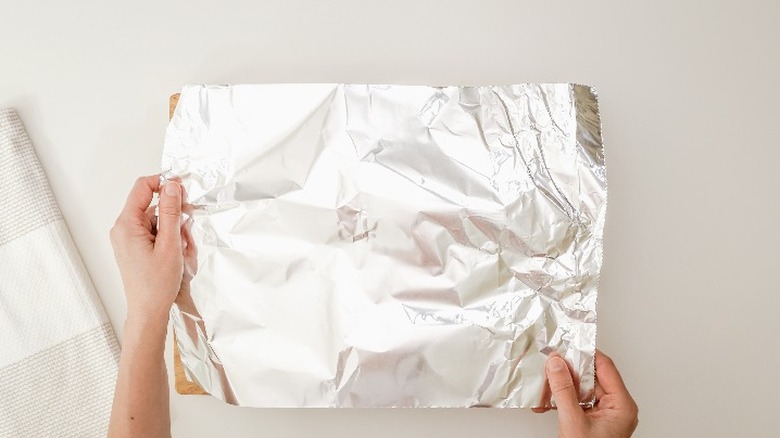
Stuck-on food can be such a pain to scrub off a pan. After spending all that hard work in the kitchen, the last thing you want to do is put your time and effort into scraping off stubborn food residue. Keeping aluminum foil on hand can help with kitchen cleanup, but food can still stick to its surface. Thankfully, there is an easy way to make your own non-stick aluminum foil that is definitely worth a try.
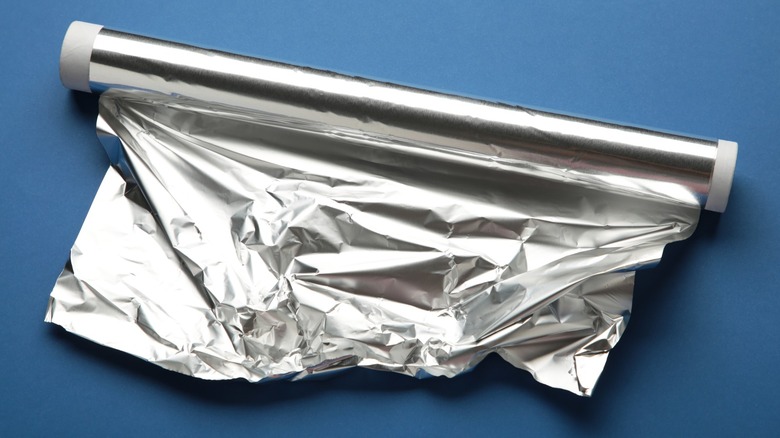
All you need is a roll of aluminum foil. A slightly wrinkled sheet of aluminum foil can help create a non-stick surface for easy food removal. Tear off a piece to fit the size of your pan, gently crinkle the foil in your hand, unwrinkle it, and lay it across your pan. It is as simple as that. The crinkles in the foil sheet act as pockets of separation between the foil and the food, allowing the food to separate from the sheet easily. Make sure not to crinkle the foil too tightly, or it may rip when it is spread on the pan.
2. Soften clumpy brown sugar
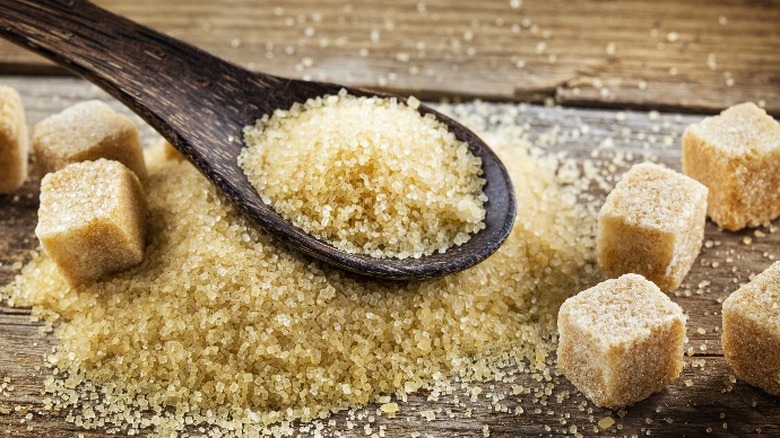
Picture this: You are pulling ingredients out of the pantry to bake some tasty cookies. You reach for the brown sugar, open the container, and realize that it is as hard as a rock! This situation has happened to everyone, and it can be frustrating. The molasses added to brown sugar may give it its signature color and taste, but it can also dry out brown sugar with lengthy exposure to air and cause hard clumps to form.
Don't let clumpy brown sugar screech your baking plans to a halt. A simple brown sugar aluminum foil hack can solve your cooking complications. Wrap hardened brown sugar clumps in aluminum foil and bake in the oven at 250 F for five minutes. The low temperature of the oven helps the molasses release moisture, loosening the hardened clumps and restoring brown sugar to its fresher texture. With proper storage and this handy baking tip, you can stretch the freshness of your ingredients to make delicious desserts with brown sugar without having to replace your old sugar.
3. Protect bananas from browning

Bananas are a difficult fruit to keep fresh. The color of a banana can change from green, to yellow, to brown in just a matter of days. Bananas produce ethylene gas which signals the ripening process to begin, causing the fruit to change colors. At the overripe stage of a banana, the fruit can become mushy and very sweet. While the ripest stage is perfect for cooking with bananas, it is not the greatest milestone in the banana life cycle for eating straight from the peel.
Slow down the ripening process of a bunch of bananas with a little aluminum foil. Wrap the bunch's stem in aluminum foil to stave off brown bananas for a few extra days. Since bananas release ethylene gas through the stem, covering the stem with foil helps trap in the ethylene, preventing it from signaling bananas to brown. Now this is an aluminum foil tip truly worth going bananas over.
4. Keep celery fresh
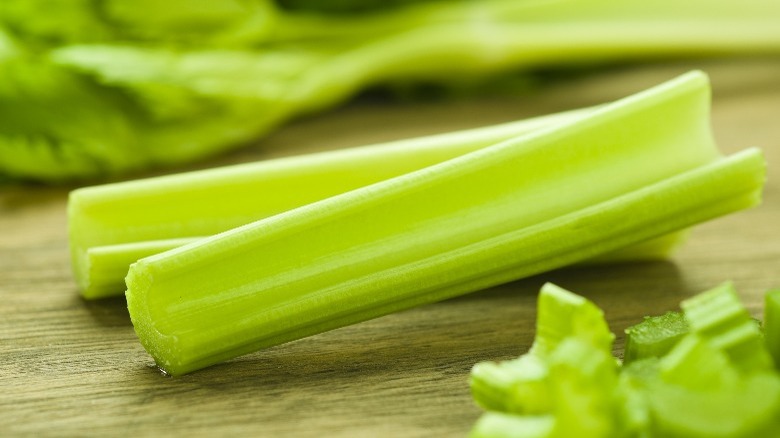
A fresh piece of celery should be crisp and sturdy, with a satisfying snap when a piece is broken off. Like bananas, celery also releases ethylene gas, causing the vegetable to lose its crispness and become limp over time. Celery is often packaged, sold, and stored in a plastic bag. The plastic traps ethylene gas inside, exposing and trapping celery with the gas, causing it to spoil faster.
The best way to preserve the freshness of celery is by wrapping the vegetable in a damp paper towel and then in aluminum foil. Aluminum foil traps less ethylene gas than plastic and prevents too much outside oxygen from reaching the celery, while the damp paper towel helps lock in moisture. By using aluminum foil to store celery, it can stay fresh for two to four weeks when stored in the refrigerator. Use the fresh celery to make nutritious celery juice or roast celery in the oven with root vegetables for a tasty side dish.
5. Create specialty cake shapes
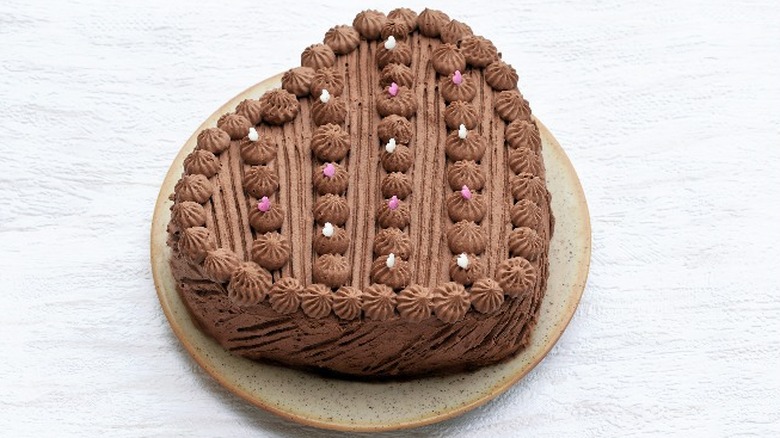
Sometimes, your typical round cake pan just doesn't cut it. A cake baked into a fun shape can take a birthday or holiday to the next level. No need to buy a specialty cake pan for your next event. You can easily use aluminum foil to bake a cake in unique, customized shapes and sizes.
Using aluminum foil to form fun cake shapes is an affordable way to show off your baking skills without buying multiple shaped cake pans. Mold sheets of aluminum foil into whichever shape you would like to bake your cake. Make simple shapes like a lovely heart and a brilliant star, or opt for a more complex design like a cute cat-shaped cake. Insert the foil into your regular cake pan, and pour in the cake mix. Reinforcing your shape with multiple layers of aluminum foil helps give the mold stability and prevents it from collapsing during the cooking process. Once the cake is finished baking and has cooled, carefully remove it from the pan, decorate with cake frosting like a pro, and proudly serve up your beautiful cake creation.
6. Freshen up stale bread
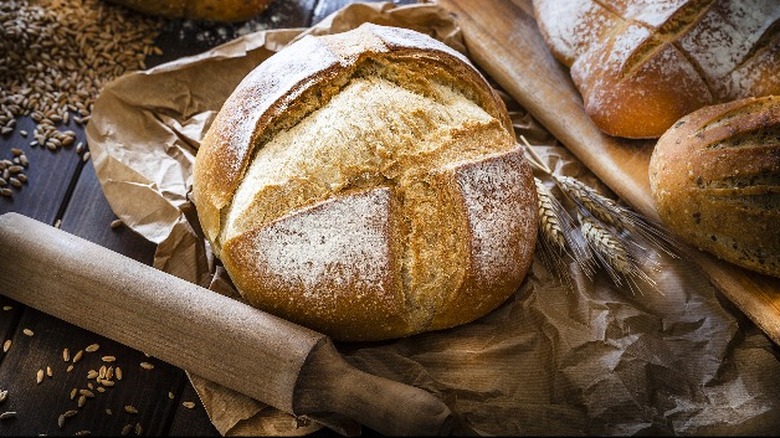
Bread can be fickle when it comes to staying fresh. Even leaving bread for just one day out in the open can turn it from fluffy and doughy to tough and stale. The reason why bread goes stale so quickly is because of a reaction that occurs during the baking process. The high temperature during baking breaks down the starch molecules in the dough, allowing it to absorb moisture and produce a softer texture in bread. When bread cools, the starch molecules harden again, pushing out the moisture and creating the hard texture that we associate with bread going stale.
Thankfully, it is easy to revive stale bread with your oven and some aluminum foil. Wrap stale bread in a sheet of aluminum foil and place it in an oven preheated to 300 F. Bake for 15 minutes to bring back the bread's freshness. This kitchen tip also works wonders on bread that has not gone stale yet; try warming rolls or biscuits with this method for a fresh-baked taste and aroma before serving alongside butter and jam.
7. Make a multicourse slow cooker meal
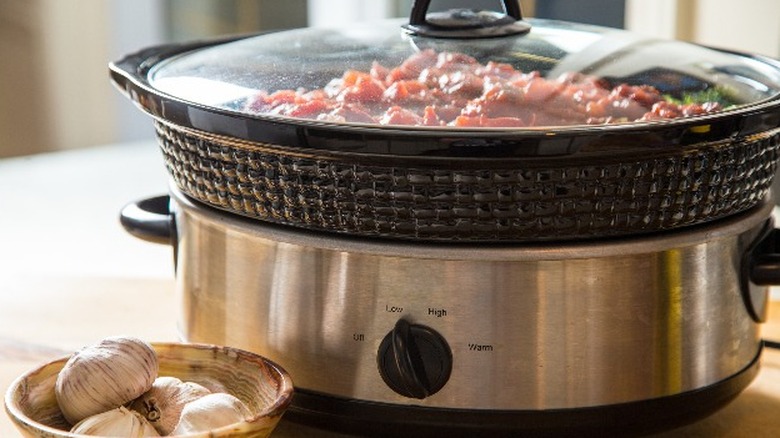
Slow cookers are an amazing appliance that makes life easier in the kitchen. This set-it-and-forget-it kitchen gadget can keep food cooking for hours on end, giving you the freedom to spend your precious time doing other things while a delicious meal essentially prepares itself. Did you know your slow cooker can pull double duty? One of the best uses for your slow cooker is making multiple dishes at the same time, and all it takes is a simple cooking hack.
You can make your slow cooker more efficient with an aluminum foil divider. This kitchen tip allows you to make the most of your slow cooker, helping you to cook two dishes in the same appliance while keeping them separated. Fold a few sheets of foil together and fit them snugly inside your slow cooker, creating a wall to divide it into sections. Using multiple layers of heavy-duty aluminum foil ensures the divider stays in place. If you have a larger slow cooker, make more dividers to cook three or four dishes at the same time for your next party.
8. Prepare foil packet dinners
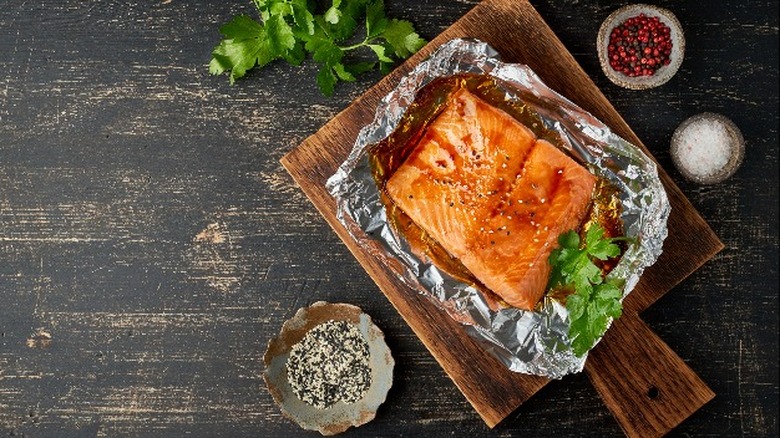
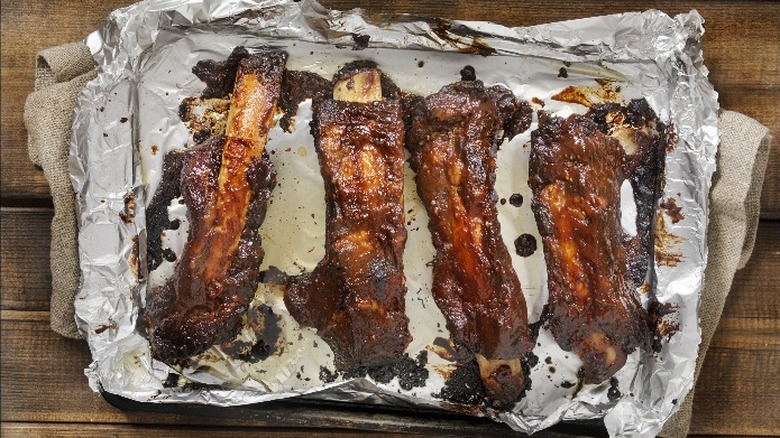
Foil packet meals are easy to make and perfect for getting a balanced meal on the table with minimal cleanup. Simply wrap the meal and any seasonings or sauces in a neat foil pouch and place it in the oven. The aluminum foil seals in all the flavor while the mess stays inside the packet for easy cleanup afterward.
One of the best things about foil packet meals is their versatility. Any protein, vegetable, sauce, or seasoning cooks perfectly in these meal packets, but salmon is especially delicious when cooked in a foil packet. Salmon cooked in aluminum foil packets stays moist since the foil helps lock in steam. Salmon skin crisps up, and the glaze will caramelize and infuse the meal with rich flavor. Aluminum foil packet vegetables are also delicious when roasted with olive oil and seasonings, getting perfectly tender and flavorful during the cooking process. Try making foil packet meals on your next camping trip over a roaring fire or on the grill in your backyard.
9. Collect ice cream drips

Summertime means fun in the sun, beach trips, and poolside lounging. Ice cream is a dessert that is synonymous with the season, since summer's high temperatures and frozen dairy desserts are a match made in heaven. Unfortunately, the heat of the summer sun can quickly cause an ice cream cone meltdown, leaving a drippy mess in its wake.
While you could enjoy ice cream in a bowl, there is something special about enjoying summer with an ice cream cone in hand. To keep cones from leaking ice cream onto your shoes, wrap the base of the cone in aluminum foil to avoid messy ice cream. The foil will help catch the drips as the ice cream melts, letting you enjoy your ice cream cone worry-free. Whether you are grabbing a cone from your local ice cream shop or making your own homemade ice cream from scratch, this hassle-free hack will have you reaching for the aluminum foil when summer rolls around next.
10. Make a sling to remove baked goods with ease
Aluminum foil can be a frustration-free timesaver for baked goods. Removing baked desserts from pans can be difficult, even with the use of non-stick cooking spray. Cutting desserts like fudgy brownies straight out of the pan can cause your knives to scratch the pan's surface. Aluminum foil is an affordable option that makes removing food from pots and pans quick and easy while keeping your cookware looking its best.
Making a foil sling is an easy first step for removing baked goods from pans. Cut a piece of foil larger than the size of your pan. Mold the foil to your pan, leaving flaps of excess aluminum foil hanging off the sides. Feel free to coat it with cooking spray or add a layer of parchment paper on top of the foil if you wish. Pour in your batter, bake, and let cool. Once your dessert is cooled, use the overhanging foil as makeshift handles to lift baked goods out of your pan easily. This method also makes a great aluminum foil sling for removing pans from your instant pot with ease.
11. Form a funnel to prevent spills

A funnel is a useful tool to have around the kitchen. Funnels can help transfer oil, jam, melted chocolate, shredded cheese, and other foods of varying temperatures into any container without spilling on the countertops. If you do not have a funnel — or are having a hard time finding your misplaced one — it is easy to make a funnel with a sheet of aluminum foil. There are other materials that you can use to make a homemade kitchen funnel as well, but aluminum foil's versatility makes it fast and easy to form into a useful cooking tool.
Tear off a sheet of aluminum foil and form it into a cone shape. You may need to adjust the size of the funnel according to the size of the container you are transferring food into. Cut the narrow tip of the funnel off to make a smaller hole towards the bottom. Food transfers easily between containers with this aluminum foil funnel, and there is no messy cleanup to take care of afterward.
12. Prevent pie crust from burning
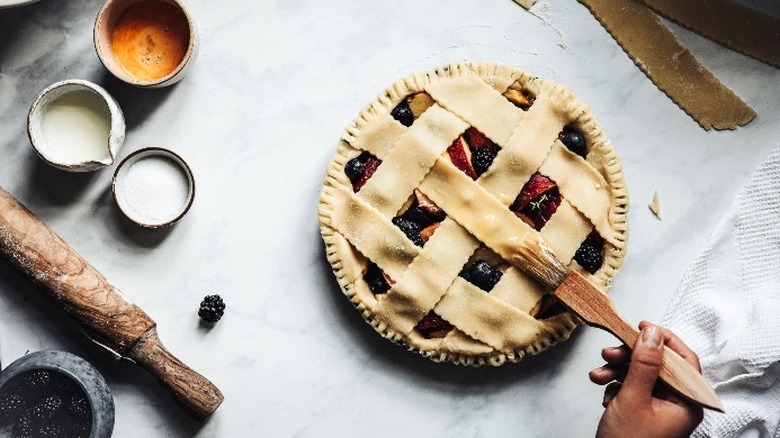
The art of baking delicious pies can be a gratifying skill to master. Sweet and gooey fruit filling with a flaky pie crust makes for a perfect dessert. However, baking a pie has its challenges, especially when it comes to the crust. Many common pie crust mistakes can be hard to avoid. One everyday challenge home bakers face is achieving an even cook on the edges of pie crust. You can protect your pie with a pie crust shield that covers the edges of the crust to avoid burning. If you do not have this kitchen tool at home, making one out of aluminum foil is easy.
The aluminum foil pie shield can be made in a few different ways. Tear off small squares of aluminum foil and mold them around the pie crust edges. Another option is to fold a long piece of aluminum foil in half and mold it into one big circle to cover the edges. For whichever method you choose to use, the pie shield can be removed with 20 minutes left of baking time to ensure that the crust is golden brown.
13. Construct a panini press
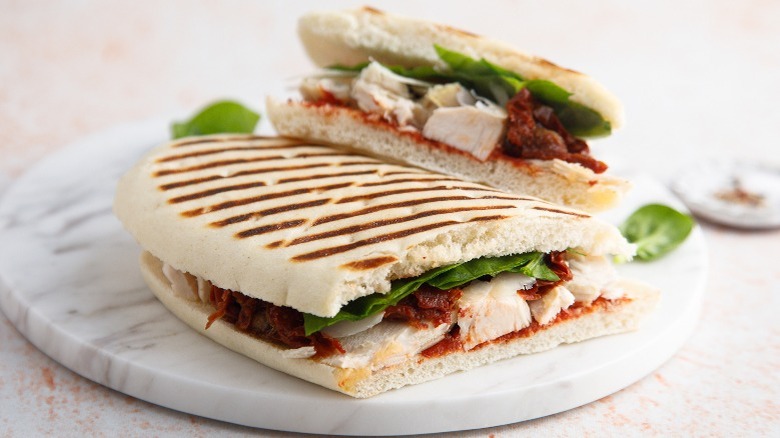
Freshly toasted paninis have become popular over the years for good reason. Any sandwich cooked in a hot panini press promises big flavor, crunchy bread, and melty cheese with a satisfying pull. While there are many ways you can use a panini press, not everyone has a panini press at home or wants to purchase a new appliance. With a little aluminum foil, you can go above and beyond your sandwich cravings to create a perfect panini without a panini press.
Assemble your sandwich with all the filling you would like between two pieces of bread and wrap it in aluminum foil. Place the wrapped sandwich between two cookie sheets and place everything in the oven. To create the press, you can either wrap a brick in aluminum foil and place it on top or place a heavy oven-safe skillet on the cookie sheet. With this key panini tip, the result is a perfectly toasted panini made on your very own DIY panini press.
14. Easily get rid of grease
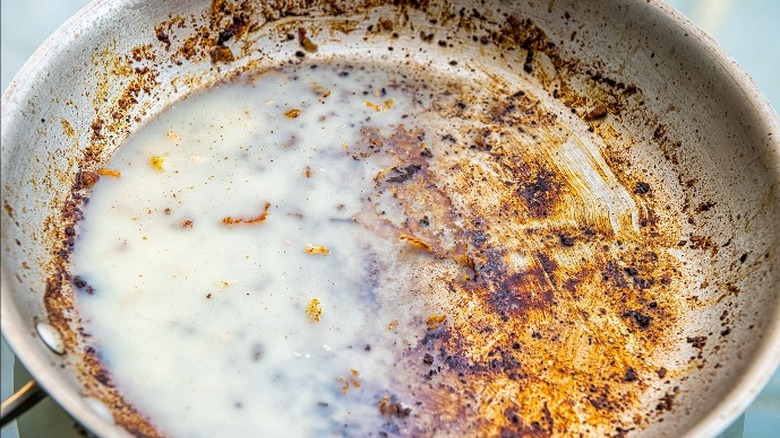
Anyone who has fried up a pan of bacon is familiar with the puddle of grease that is left behind. You can use leftover bacon grease for cooking, but if you are looking to get rid of the grease, it is important to dispose of it properly. Grease and oil should never be dumped down the drain, no matter how tempting it may be. When liquid grease hits colder temperatures in your pipes, it begins to solidify and cause blockages, potentially becoming a costly plumbing mistake.
The best way to get rid of grease is to throw it away in the trash. Use aluminum foil for mess-free grease disposal. Line a bowl with aluminum foil and pour the hot grease into the bowl. Wait until the grease cools and solidifies against the aluminum foil, then simply throw away the foil and the pooled grease. This hack can save you time from cleaning a greasy mess, both in your pan and your pipes, in the long run.
15. Scrub stubborn food messes

Steel wool can be a lifesaver in the kitchen. It easily cleans tough, stuck-on food messes. While steel wool is a great kitchen tool, it is prone to rusting, which can ruin your pots and pans. When it is time to toss your trusty scrubber, you need something that will get the job done just as well. Substitute steel wool with a crumpled ball of aluminum foil to get your kitchen cleaned up in no time.
Aluminum foil is a heavy duty scrubber for kitchen messes that you should take advantage of. The jagged edges of crumpled aluminum foil act similarly to steel wool, lifting stubborn food residue from pans with ease. Foil is pliable for getting in the nooks and crannies of dishes for a deep clean. Just be sure only to scrub pans without non-stick surfaces to keep your cookware in good condition. This kitchen hack is great if you need an effective substitute for your scrubber in a pinch.